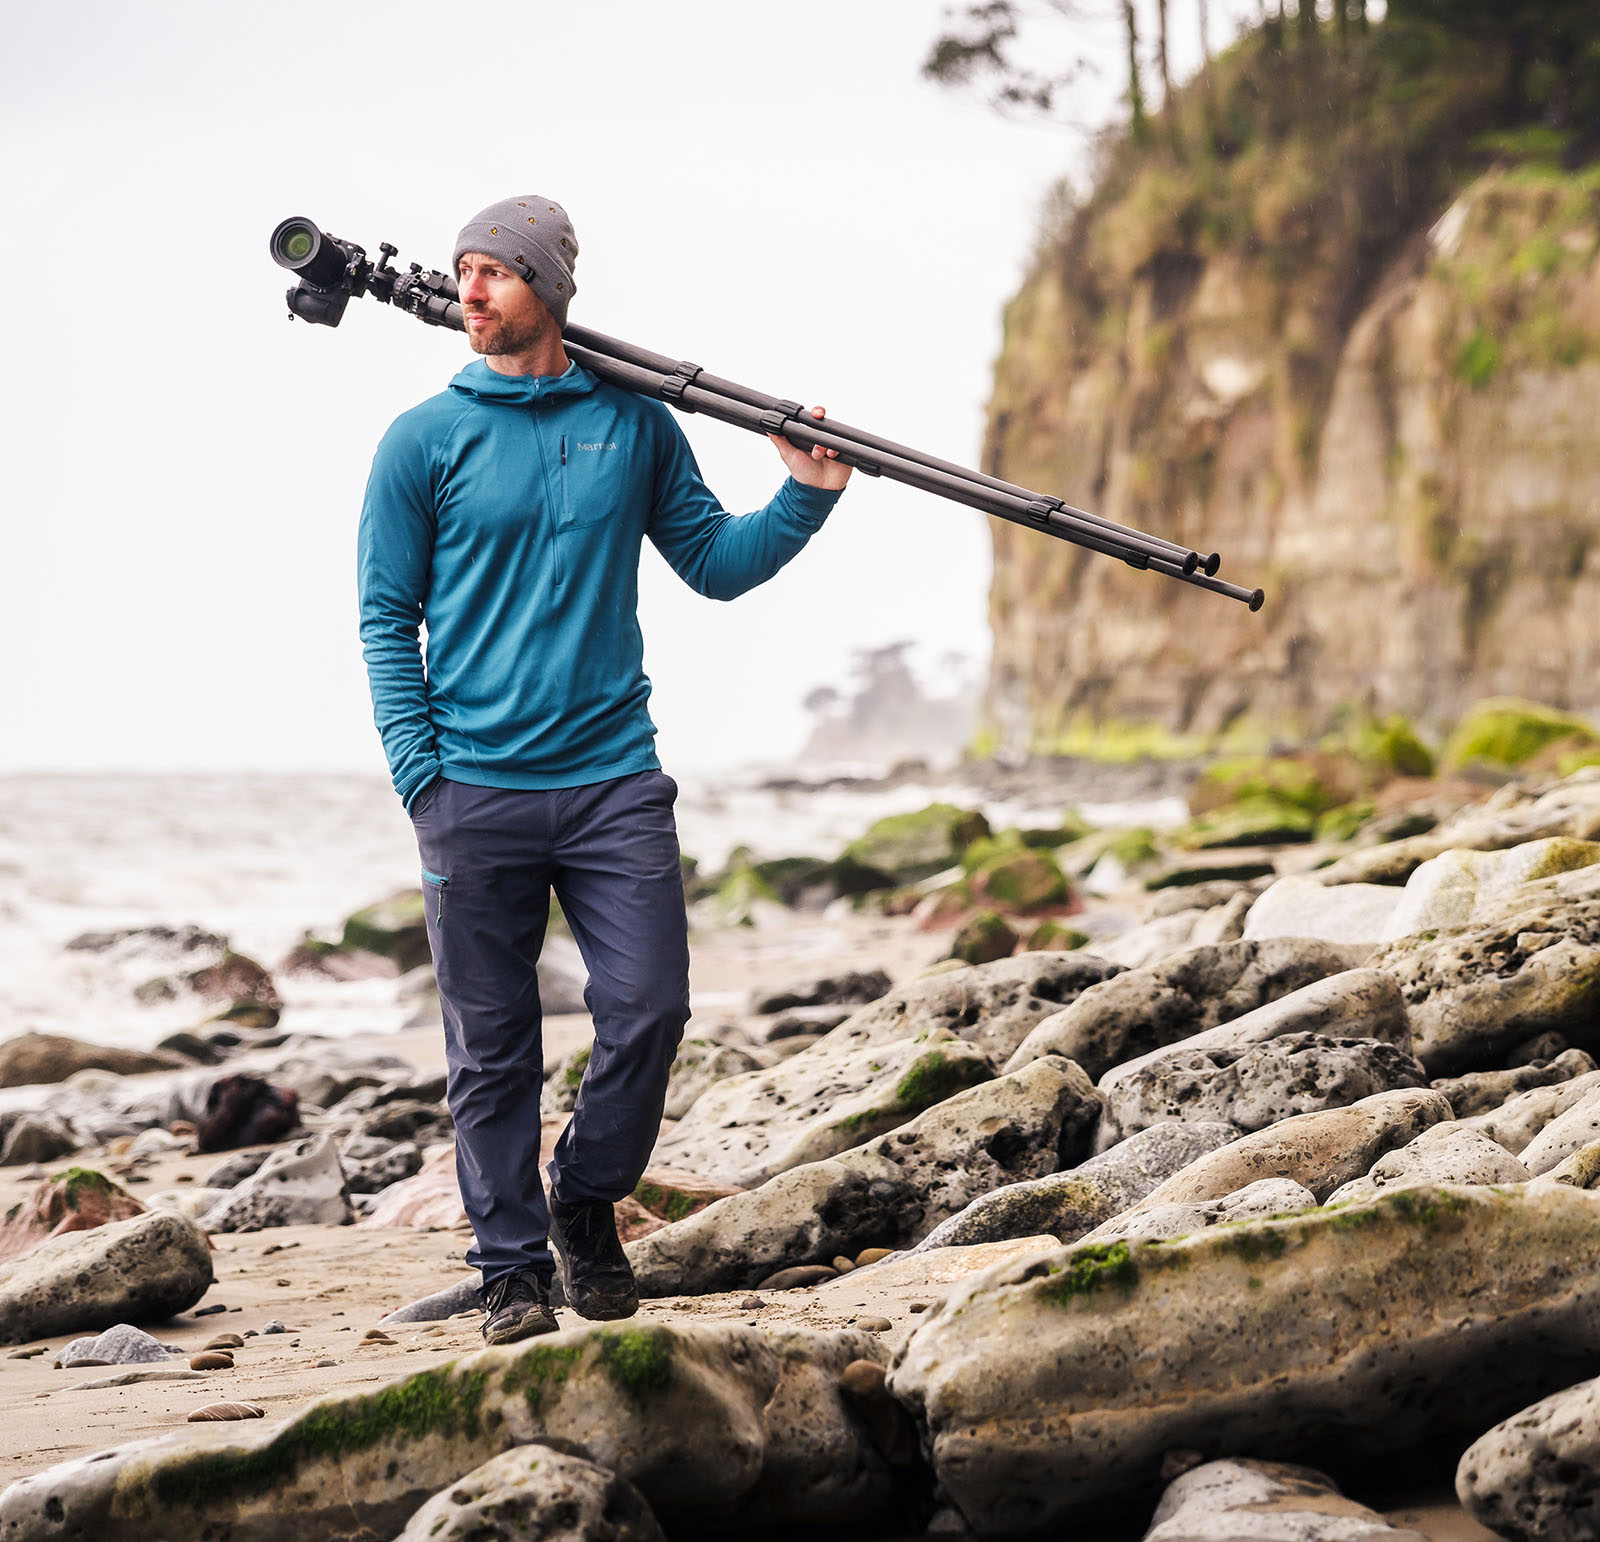
Hey. So as you can see, I’ve got a bunch of lenses lined up here on my desk. And if you had to guess, which one of these would you think is my personal favorite for landscape photography? Now you might be tempted to say that it’s the 14 millimeter ultra wide angle. This is the super classic. When it comes to shooting landscape photos, or you might think it’s the big gun over here, the 200 to 500 that I use for my eclipse photos and my moon shots. And while I do love both of those lenses, my favorite is actually this one right here, the 70 to 200 telephoto. And the reason for that is because it’s a fantastic storytelling lens. So let me get rid of all these other ones. And I’ll tell you a little bit more about what I mean cool. Over the past few years, I’ve become absolutely obsessed with the idea of storytelling.
And I’ve learned that in order to be effective, any story has to do at least three things which are established the environment of the story, provide storytelling moments. In other words, what’s actually happening in the story and give details about the characters and the places within the story and from a photography standpoint, what that means, if you want to tell a complete visual story is you’ve got to have these overall shots that give your viewer a sense of what a place is like in general, you need photos that show unique moments of what special kinds of things happen at that particular place. And you need detail shots, which show some of the character of the place and the story. And this is important because on your journey as a photographer, you get to a point where superficially bouncing around the world and taking banger shot after banger, after banger, just isn’t going to cut it anymore. If you want to start doing more meaningful work as a photographer, you have to dive deeper and telephoto lenses like the 70 to 200 Excel at helping you tell those unique storytelling moments, as well as shooting those detail shots. And that’s why I love using them. So in this video, I want to give you four simple tips that can help you improve your telephoto landscape.
Greetings my excellent friends. It’s Josh Cripps here. Now, if you haven’t heard me say this before, I like to teach a four prong approach to photography. If you have a great subject, you have compelling composition that shows off the most interesting aspects of your subject. You have intelligent artistic camera technique and you have good light. Then I guarantee that you’re going to have a great photograph. And in this video, I want to give you one simple tip for each of those four points. The first one that’s arguably the most important. It’s a little bit philosophical, but it’s to help you improve the subject and the story of your photo. And my advice to you is when you’re shooting with a telephoto, stop looking at the big picture instead, look for small vignettes that epitomized what’s going on in front of you, or add a little dash of mystery or unexpectedness to the scene.
Let me give you a couple of examples. Here’s a classic wide angle composition from Milford sound. It was shot on her super great day. There was absolutely no color or interest leaking through the sky at all. And it would have been very easy to simply say, well, this is disappointing. These aren’t the conditions I wanted. Let’s pack it up and go back to the hotel. But instead I had to ask myself, what’s actually happening in the scene here. You’ve got clouds swirling around the tops of the mountains. So rather than looking at the scene as a whole, instead, I can use a telephoto to zoom in and focus on the vignette. Just the clouds swirling around the tops of the mountains. That really epitomized the most interesting thing of what’s going on in that particular moment. And by doing so, I was able to create the much more interesting photograph or check out this photo from the Dolomites in Northern Italy.
This was a stunningly sensational scene with a mountain and beautiful puffy clouds being reflected in this turquoise Lake. But this scene as a whole, it has no mystery to it. It’s kind of a smack you in the face. Here’s what the scene looked like, kind of shot, but by really honing in on what was most mysterious or unexpected about the scene, I noticed that the reflection of the Lake didn’t actually match what it was reflecting. Now, this of course was just a cool trick of the geometry, but it created a very interesting juxtaposition between the reflection of the sky and the green mountains beyond it. And by zooming in with the telephoto, I was able to capture that small vignette showing a little bit more mystery, creating a little bit more uncertainty in the viewer’s eye and more engagement with the photograph because they want to know what the heck is going on here.
Why doesn’t the reflection match what’s going on in the top of the frame, and that pulls them in a little bit more into the photo. All right. So if you can start looking at those small vignettes with your telephoto instead of the big picture, you’re well on your way, but let’s move on to those other three points. Now I want to give you a little tip for composition, and this is one of my favorite telephoto lens composition tricks is to use juxtaposition and visual tension. This is a super easy idea, but it is so powerful when you put it into practice. And all you have to do is basically find two things within your scene that have some kind of a relationship and then position those things opposite and diagonal within the frame, kind of like this photo from Alaska, you can see here, how I’ve juxtaposed these lower shaggy tree covered rocks with that IC glacier clad mountain behind there.
That juxtaposition creates a relationship within the frame and that positioning there just across the photo, diagonally from each other, it’s incredibly easy to implement, but it is so and so effective. It pulls your viewers eye back and forth across the frame. It fills the photo really, really well with what you want to fill it with, or take a look at this photo that uses the exact same kind of idea here. I’ve got my friend, Sarah in the foreground and the mountain, lone pine peak there in the background, and I’ve placed them kind of opposite diagonally across the frame and by doing so, it creates a very powerful relationship between those two subjects in the frame and using that diagonal placement really fills the frame nicely, and it keeps the composition super simple, super easy to create. You can see the exact same idea with this photo of the eclipse that I photographed in the United Arab Emirates.
I’ve got the camel and the camel farmer in the lower, right? And I’ve got the eclipse there in the upper left, diagonally across the frame. These two subjects, it creates a relationship between them. That’s powerful, that’s immediate, that’s obvious. And it’s such a simple thing to do with your telephoto composition. So take it, use it, don’t abuse it. All right. Let’s move on to camera technique here and specifically, I want to talk about adding depth to your telephoto landscapes because the most common way to add depth to any kind of landscape photo is to use a wide angle lens and get close to the foreground. And it brings the foreground right up to the viewer. But a lot of times when you’re shooting with a telephoto, you can’t do that. You don’t have a foreground and consequently, your photos end up feeling a little bit flat like this, but one of the things you can do to bring some of that depth back is utilized layering.
Now this works really well when you have repeating elements that kind of fade off into the distance within the frame, or when you very explicitly use distinct layers within the photograph. So here are a couple of examples in this shot from Yosemite. I have got these Dogwood trees layered consistently within those conifers. And that layering creates the depth. This is not a wide angle photo. This was shot at 86 millimeters, but that layering creates the depth. The same idea is present here in this photo of these cacti from Bolivia. And this is a photo that’s at 145 millimeters, but by utilizing this repeated layering within the frame, it gives more depth than the photo otherwise would have. As I mentioned, you can also create depth by utilizing very distinct layers within the photograph where you have something very obviously on one plane of the image and something very obviously on a different plane of the image.
Now we saw this a little bit already with those compositional tips, but here’s another example. This is me. This is a self portrait of me taken in front of Mount Whitney. Now this was taken at 200 millimeters where normally 200 millimeters would compress a scene and make it feel very flat. But by utilizing these very distinct layers here I am maybe 500 feet away from the camera. And then you have Mount Whitney, you know, miles and miles past that. They’re two very obvious planes within the image and it creates that depth as well. Cool. Now let’s move on finally to that fourth of our four pillars here, which is light and when it comes to shooting with a telephoto lens, my biggest piece of advice to you is, do not be afraid of shooting indirect light. Oftentimes when you’re using a telephoto, you’re working with a smaller or scale of the landscape.
And so the light tends to transition more gradually. In fact, this photo from the Paloose was taken around 2:00 PM and this photo of Yosemite falls was taken at 11:00 AM on a Bluebird clear sky day. This is direct light hitting waterfall, but because I’m working with such a small section of the wall, waterfall that light feathers off much more gradually than it would if you were using a wide angle lens. And consequently, the lighting in this photo is quite dramatic and compelling, even though this is a direct sunlight clear sky trying to shot. But let me say that my favorite time to shoot with a telephoto lens is the hour after sunrise and the hour before for sunset. And the reason for that is you still tend to get that really nice low angle of light that makes the landscape look really good. But the, the light itself is often interacting with the landscape in a really unusual way that you don’t see right at sunrise or right at sunset or in the middle of the day.
And those interactions of the light and the landscape you can really pick out and spotlight those small sections of the entire scene. That’s beautiful. What you can do with a telephone. For example, this shot from tourist till Piney and chili was taken perhaps an hour and a half or two hours before the sunset. The late afternoon sun is filtering through these fantastic lenticular clouds. And it’s creating this engaging spotlighting patchwork effect all over these mountains. The queerness still pioneers. Here’s another example taken maybe 90 minutes after sunrise in the white mountains in California. These are bristle cone Pines, and that sun is shining through the Pines through some dust that was blowing through this Grove of trees, creating these fantastical, very tail kind of beams. Now this didn’t look good with the wide angle at all, but by zooming into 135 millimeters with, by telephoto, I could pick out just this one tiny little vignette again, that epitomized the coolest aspects of what was happening there in front of me.
And because I’m working with such a small scale, the lighting is quite beautiful within this scene. Sweet as an area habit, that’s four tips to help you improve your telephoto landscapes. I’m going to be sharing more tips for telephotos in the future. So be sure to thumbs up and subscribe and hit the little bell and do all the YouTube stuff you guys are really helps me out. And it makes sense sure that you get more content in the future that’s applicable to you. So I’ll see you guys in another video until next time. This is Josh scripts signing off saying have fun and happy shooting.


Joshua Cripps is a renowned landscape photographer who has garnered worldwide acclaim for his breathtaking images of our planet’s wild places. His photos have been published by the likes of National Geographic, NASA, CNN, BBC, and Nikon Global.

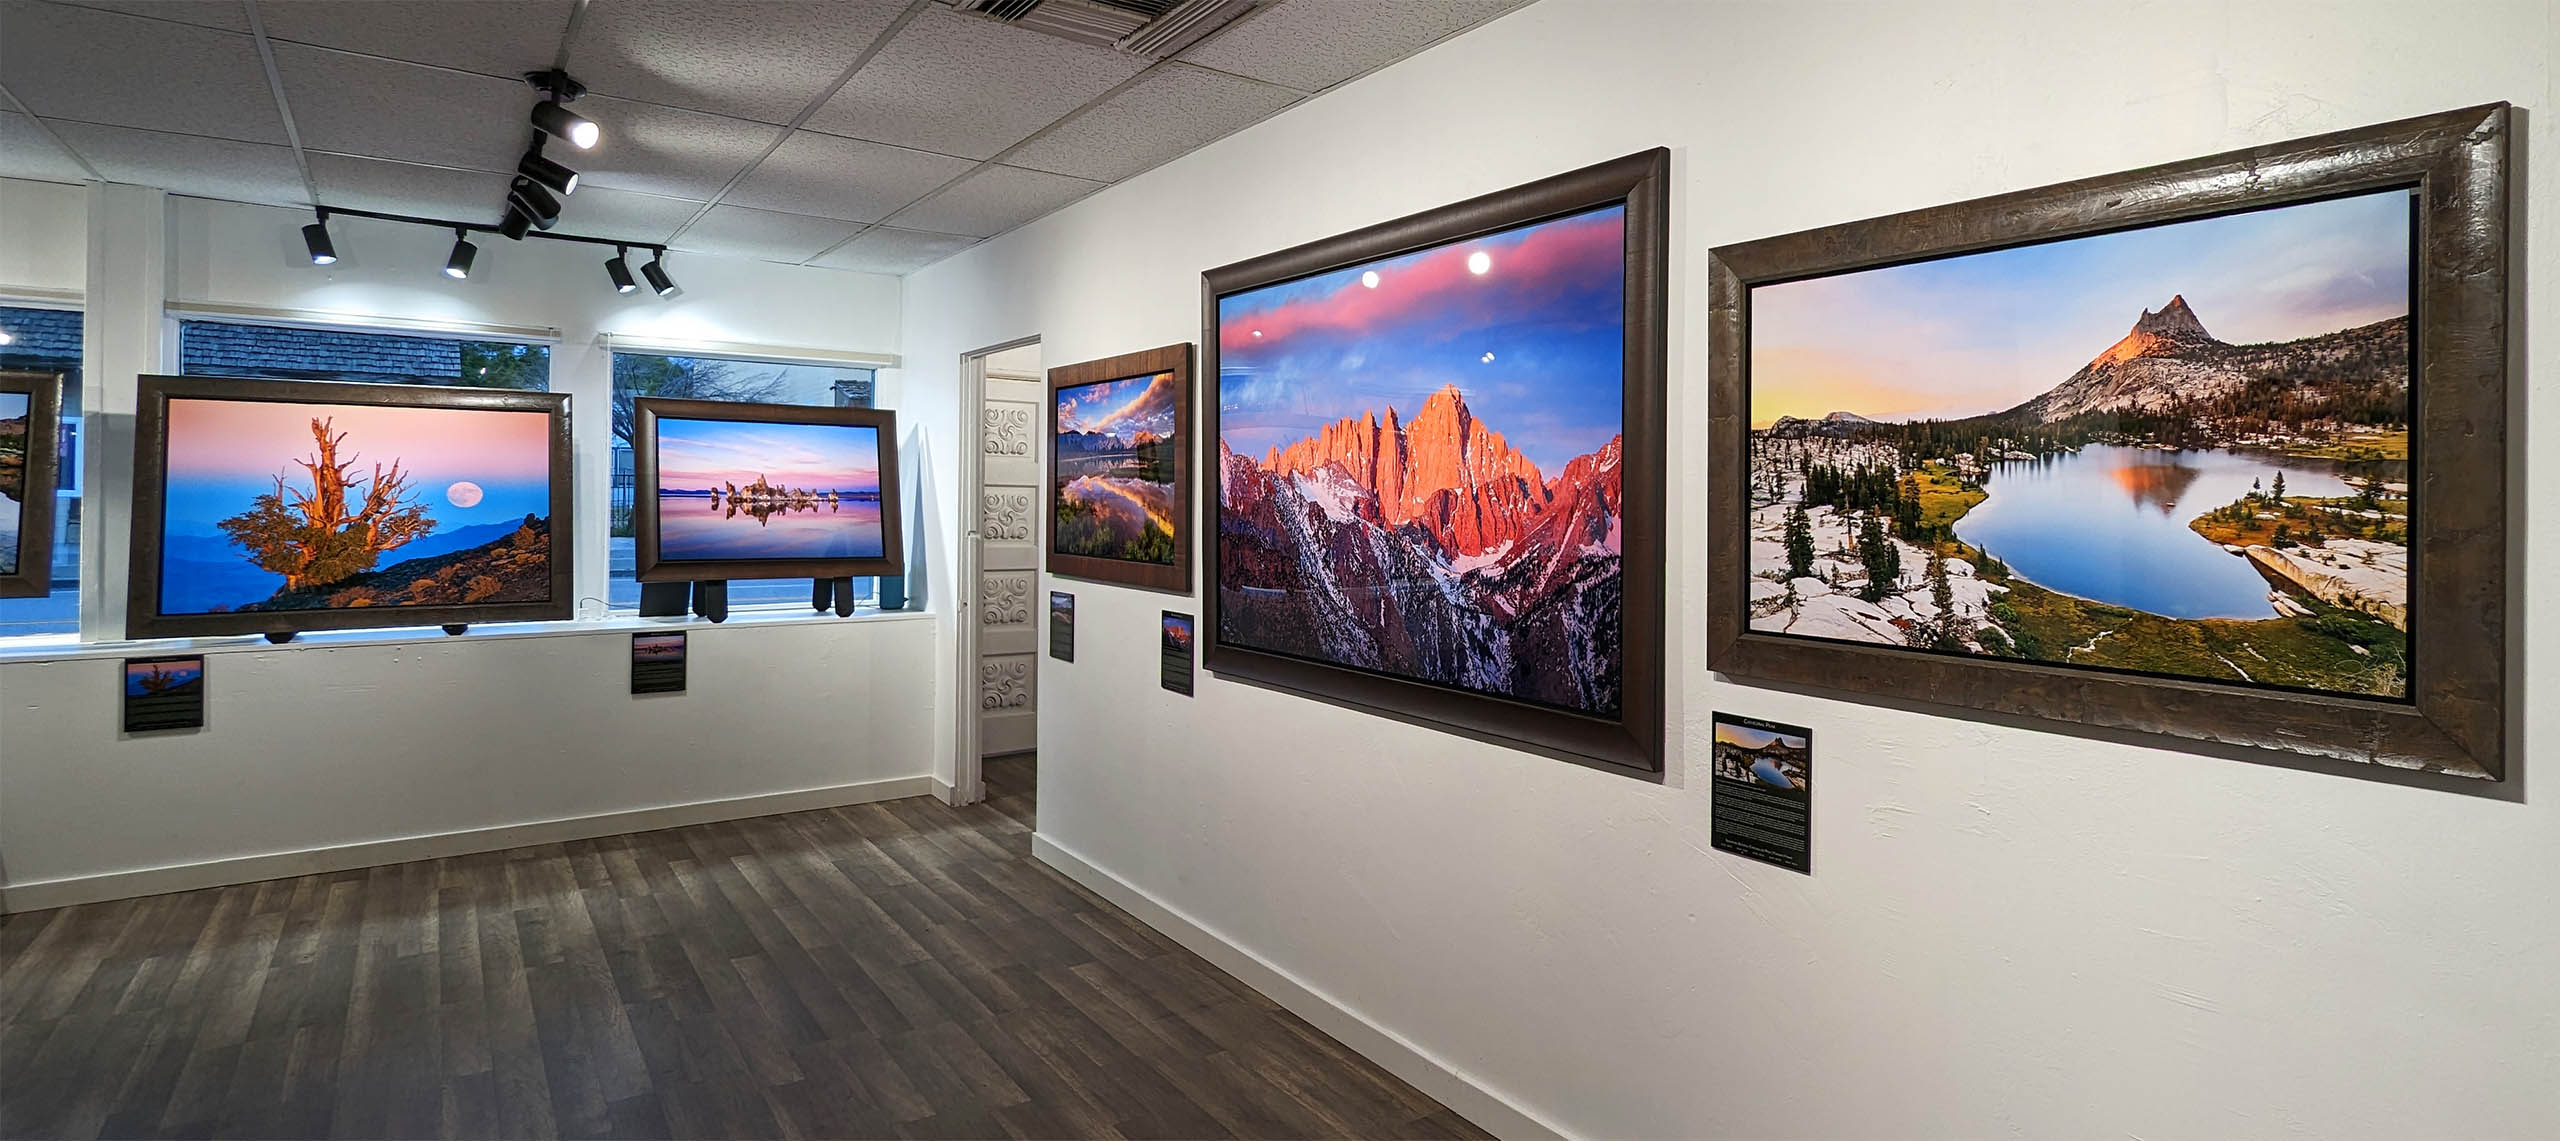
The Mt. Whitney Gallery was founded in 2023 by Joshua Cripps as a way to share his passion stunning landscapes of the Sierra Nevada and beyond.
Set at the foot of the breathtaking Sierra with a view of the range’s highest peaks, the gallery features large format, museum-caliber fine art prints of Josh’s signature photographs.
Course Login | Results Disclaimer | Terms and Conditions | Privacy Policy
© Copyright – Joshua Cripps Photography
