Lightroom is a killer program that combines photo organization tools with raw development tools. And while it’s generally easy and intuitive to use there are a lot of features hidden under Lightroom’s hood that will make your experience with the program that much more enjoyable. Here are 5 of my favorite Lightroom Hacks, Tips, and Best Practices.
Lightroom has lots of wonderful tools for organization. One of my favorite best practices is to combine diligent keywording with Smart Collections. This allows me to do things like find all sunset photos taken in Wanaka, New Zealand in a couple of clicks.
Want to impress your photog friends? Easy, have your logo appear in the Develop Module tool panels. At 3:17 in the video I show you how to exactly do that, or to display any other custom graphic. Me personally, I display a list of my favorite Develop keyboard shortcuts.
Do you start every photo with the exact same edits? For example, maybe you change the camera profile to Vivid, add a certain amount of noise reduction, and set the WB to Auto. By creating Develop Defaults you can have Lightroom apply these edits every single time you import a new photo to the catalog. See 4:49 in the video to see how.
In the Develop Module the histogram display gives you the option of seeing clipped highlights or shadows. The only problem is if you turn on these visualizations they are always on. It’s annoying and can obscure the details of your photo. Instead, hold the Alt / Option key on your keyboard when making any tone adjustment (Exposure, Whites, Blacks, etc.) to see any clipping. See 8:15 in the video to see what I mean.
When you add a local adjustment to a photo it’s common to combine multiple adjustments into a single tool. For example, you might add a Gradient Filter to the sky that darkens, adds clarity, warms the color balance, and increases saturation. If you later decide the effect you created was too strong you have to go back through and individually slide each of those adjustments back toward zero. Or do you?? Check out this super simple keyboard shortcut that allows you to make each of those individual adjustments stronger or weaker all together. Watch from 10:19 in the video.
There’s one key on the keyboard that allows tons of additional functionality within Lightroom. It’s the Alt / Option key. In some panels it allows you to reset all your adjustments in one click. In other panels it helps you visualize sharpening and noise reduction. It has a lot of power but I’ll leave you to discover some of the other fun things you can do with the Alt / Option key. Watch from 12:25 in the video.


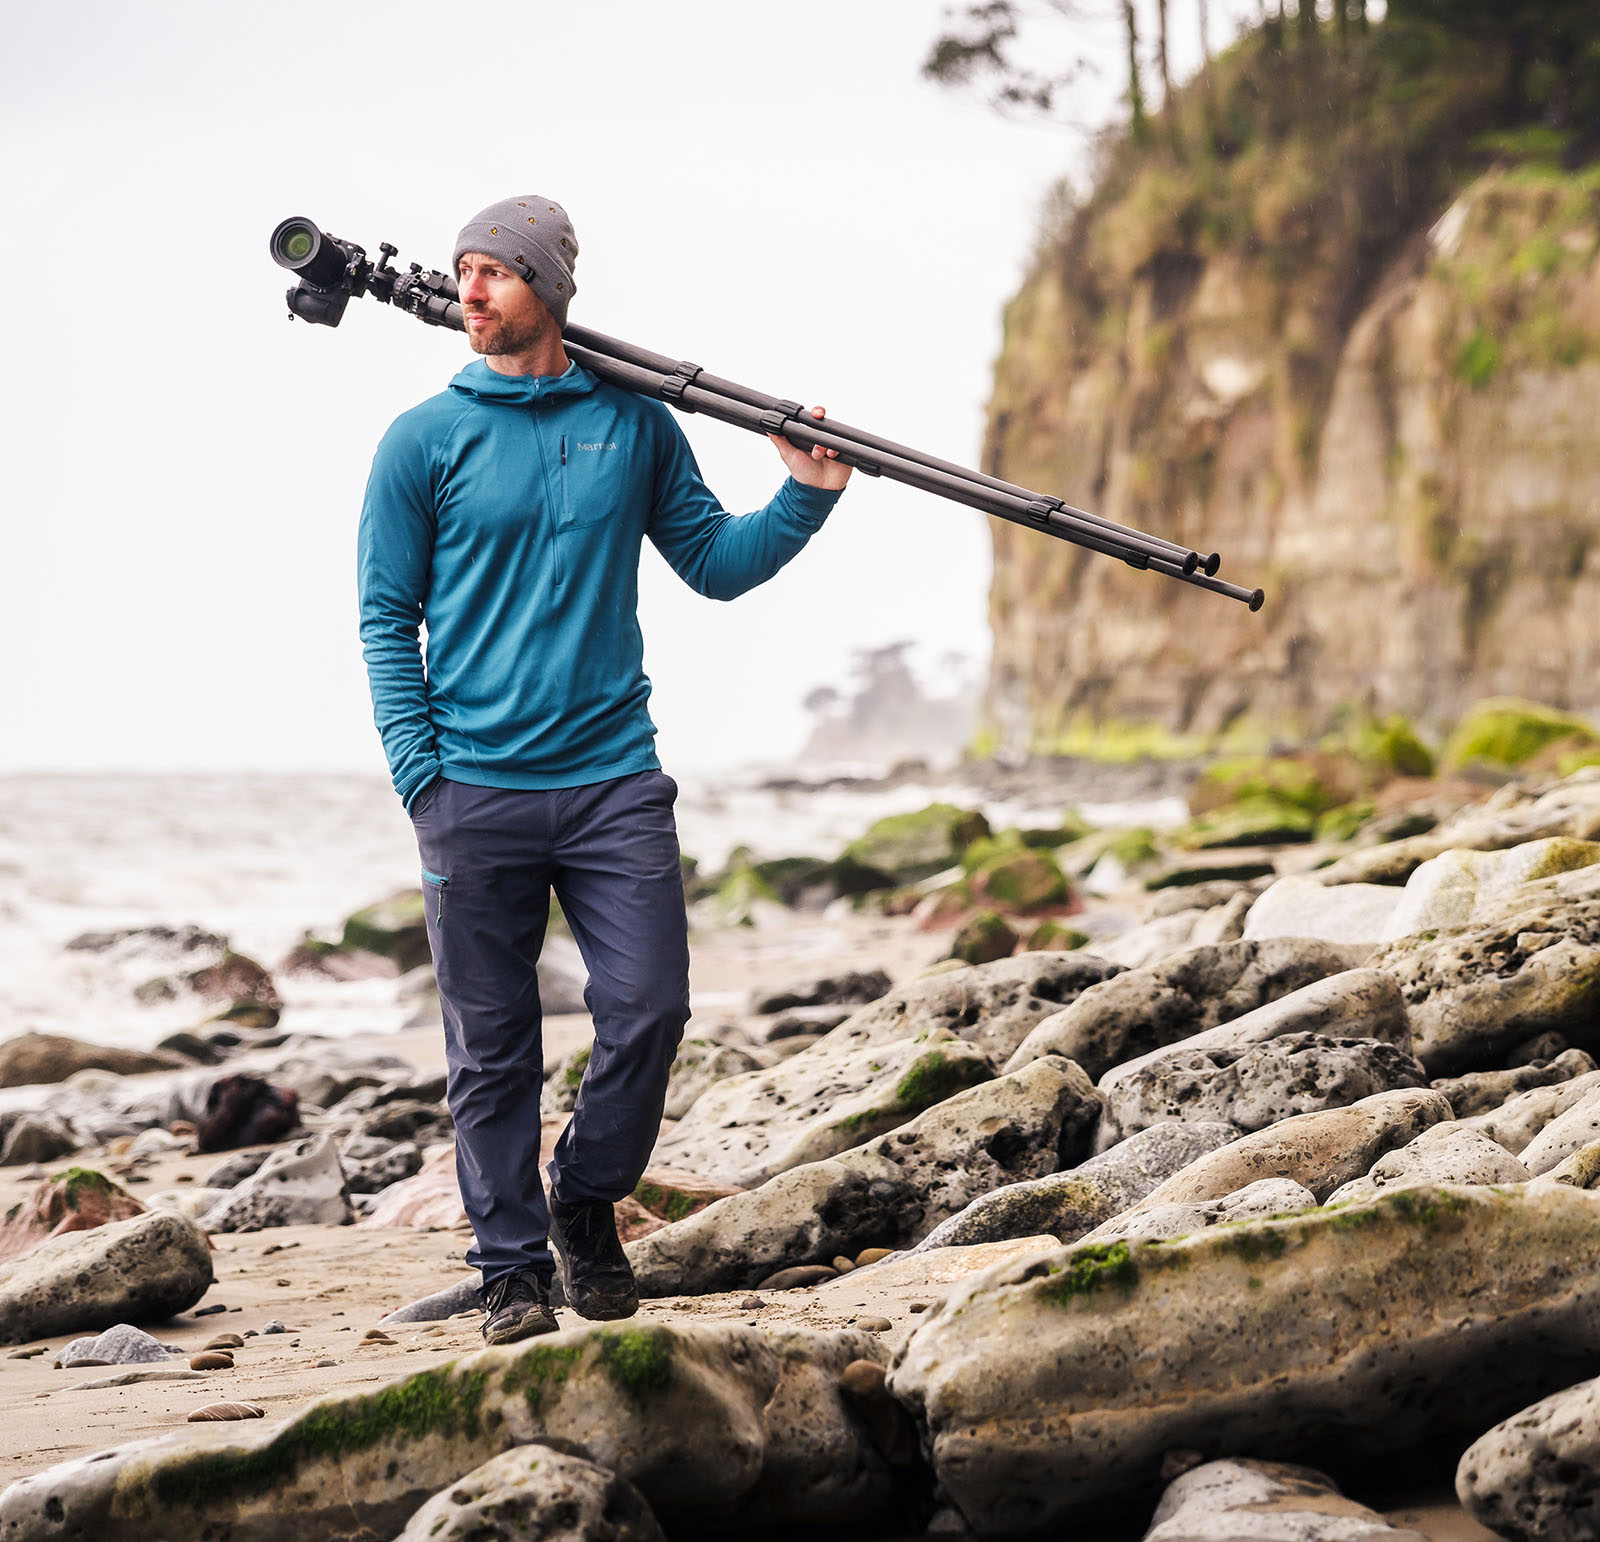
Joshua Cripps is a renowned landscape photographer who has garnered worldwide acclaim for his breathtaking images of our planet’s wild places. His photos have been published by the likes of National Geographic, NASA, CNN, BBC, and Nikon Global.

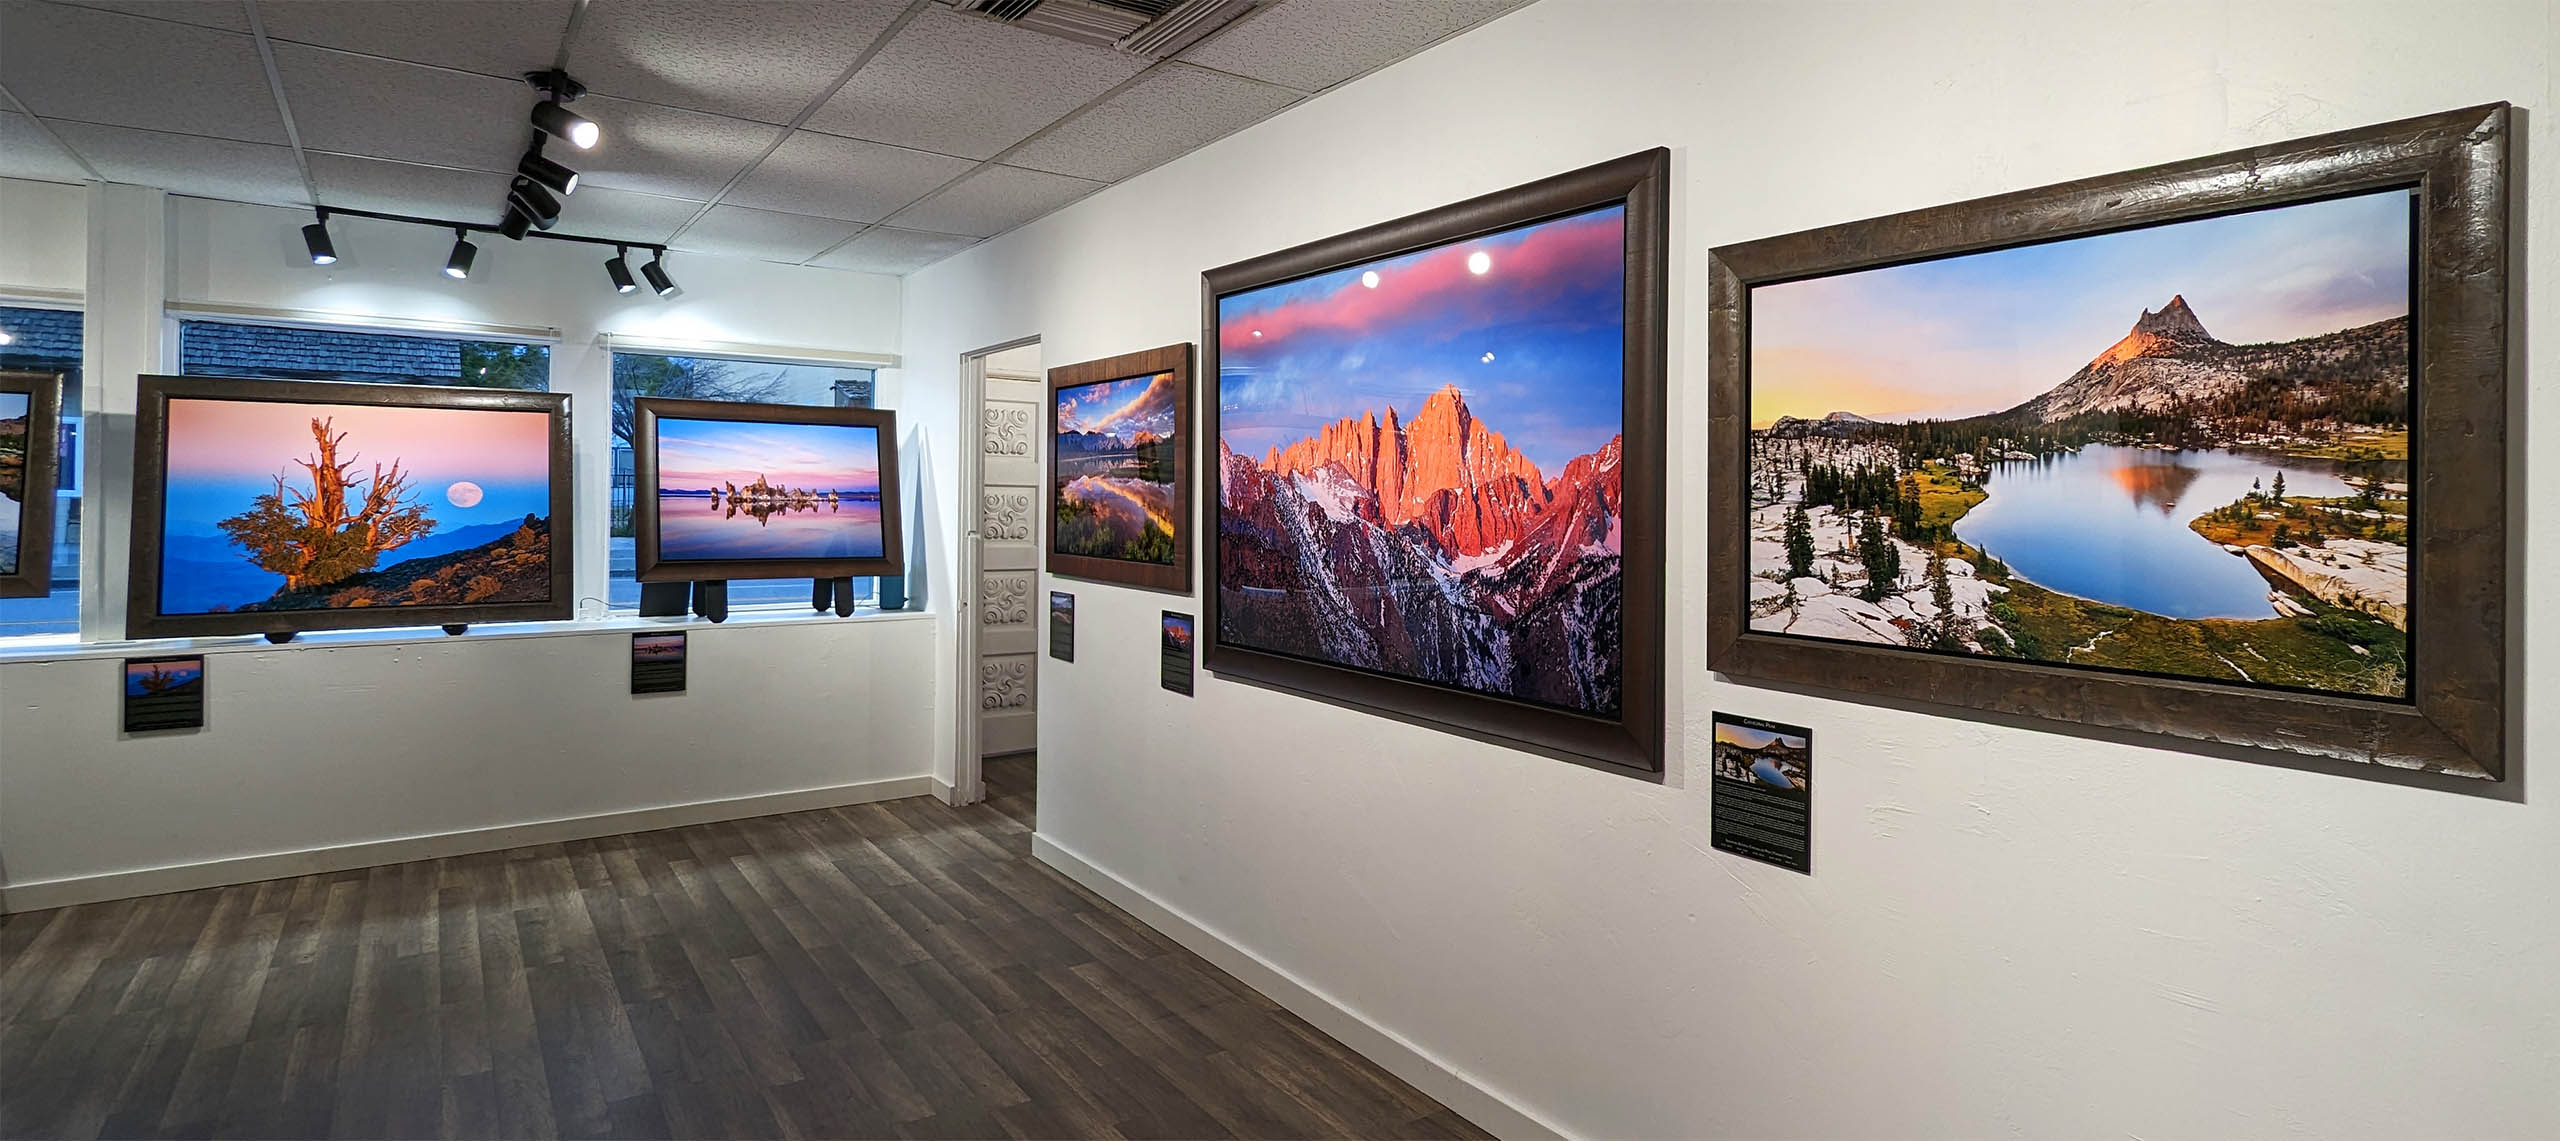
The Mt. Whitney Gallery was founded in 2023 by Joshua Cripps as a way to share his passion stunning landscapes of the Sierra Nevada and beyond.
Set at the foot of the breathtaking Sierra with a view of the range’s highest peaks, the gallery features large format, museum-caliber fine art prints of Josh’s signature photographs.
Course Login | Results Disclaimer | Terms and Conditions | Privacy Policy
© Copyright – Joshua Cripps Photography
