Greetings friends, Joshua Cripps here and right now I’m going to show you five of my favorite hacks tips and best practices for Photoshop to make your editing experience just a little bit more enjoyable.
One of the very first things to do when you start editing in Photoshop is to increase the number of history states available. This allows you to go back farther as you make changes. The default number of history states, which is 20, may not provide enough flexibility when you need to undo multiple steps. To change this, go to Edit > Preferences > Performance, and here you can set the number of history states. Keep in mind, though, that increasing the number of history states can negatively affect Photoshop’s performance. I personally keep it at around 50, but you can go as high as 1,000 or as low as one, depending on your preference.
Now, let’s discuss navigating within an image in Photoshop. We all know about the Navigator tool, with its large mountain to zoom in and small mountain to zoom out. Once zoomed in, you can use the Hand tool to click and drag the viewing window to focus on different areas of the image. But there are faster ways to navigate using keyboard shortcuts. For example, hitting Ctrl (Cmd on Mac) and “+” zooms in the image, while Ctrl (Cmd) and “-” zooms out. Ctrl (Cmd) and “1” sets the image to 100% zoom, and Ctrl (Cmd) and “0” fits the image to the screen. Additionally, if you are zoomed in and want to move around the image more fluidly, you can hold the spacebar to switch to the Hand tool temporarily, allowing you to click and drag the image.
Next, let’s talk about adjustments. Take, for instance, a curves adjustment. If you want to increase the contrast in the sky, you could manually drag points on the curve, but a more efficient method is to use the Targeted Adjustment Tool. This tool allows you to click directly on the image to create control points on the curve. For example, to brighten the sky, find a bright spot in the clouds, click, and drag upward. To darken another area, find a darker spot and drag downward. Photoshop automatically creates control points based on the areas you select, making it easier to apply tonal adjustments exactly where you want.
If you find that adjusting the curve has darkened the foreground too much, you can mask it out. One way to do this is by using the Gradient tool, but if you want to refine the mask, you can switch to the Brush tool by pressing “B.” When refining a mask, a soft, large brush is often useful. You can adjust the brush size and hardness in the Brush settings, or use shortcuts: the right bracket key makes the brush larger, and the left bracket key makes it smaller. There is also another quicker shortcut—hold down the Alt (Option on Mac) key and right-click with the mouse. Dragging right increases the brush size, dragging left decreases it, dragging up makes it softer, and dragging down makes it harder.
Now, let’s say you want to increase the saturation of just the sky. You could add a Hue/Saturation adjustment layer and then manually mask out everything but the sky. However, a more efficient way is to use a clipping mask. Hold Alt (Option on Mac), place your cursor between the two layers, and click when the cursor changes to a square with an arrow. This clips the adjustment layer to the layer below, so the effect only applies where the bottom layer is visible. You can also create a clipping mask by right-clicking the layer and selecting Create Clipping Mask.
In conclusion, these five tips—adjusting history states, using zoom and navigation shortcuts, applying targeted adjustments, refining masks with the Brush tool, and using clipping masks—can streamline your Photoshop workflow. With these tricks, you can edit more efficiently. Until next time, have fun and happy editing.


Joshua Cripps is a renowned landscape photographer who has garnered worldwide acclaim for his breathtaking images of our planet’s wild places. His photos have been published by the likes of National Geographic, NASA, CNN, BBC, and Nikon Global.

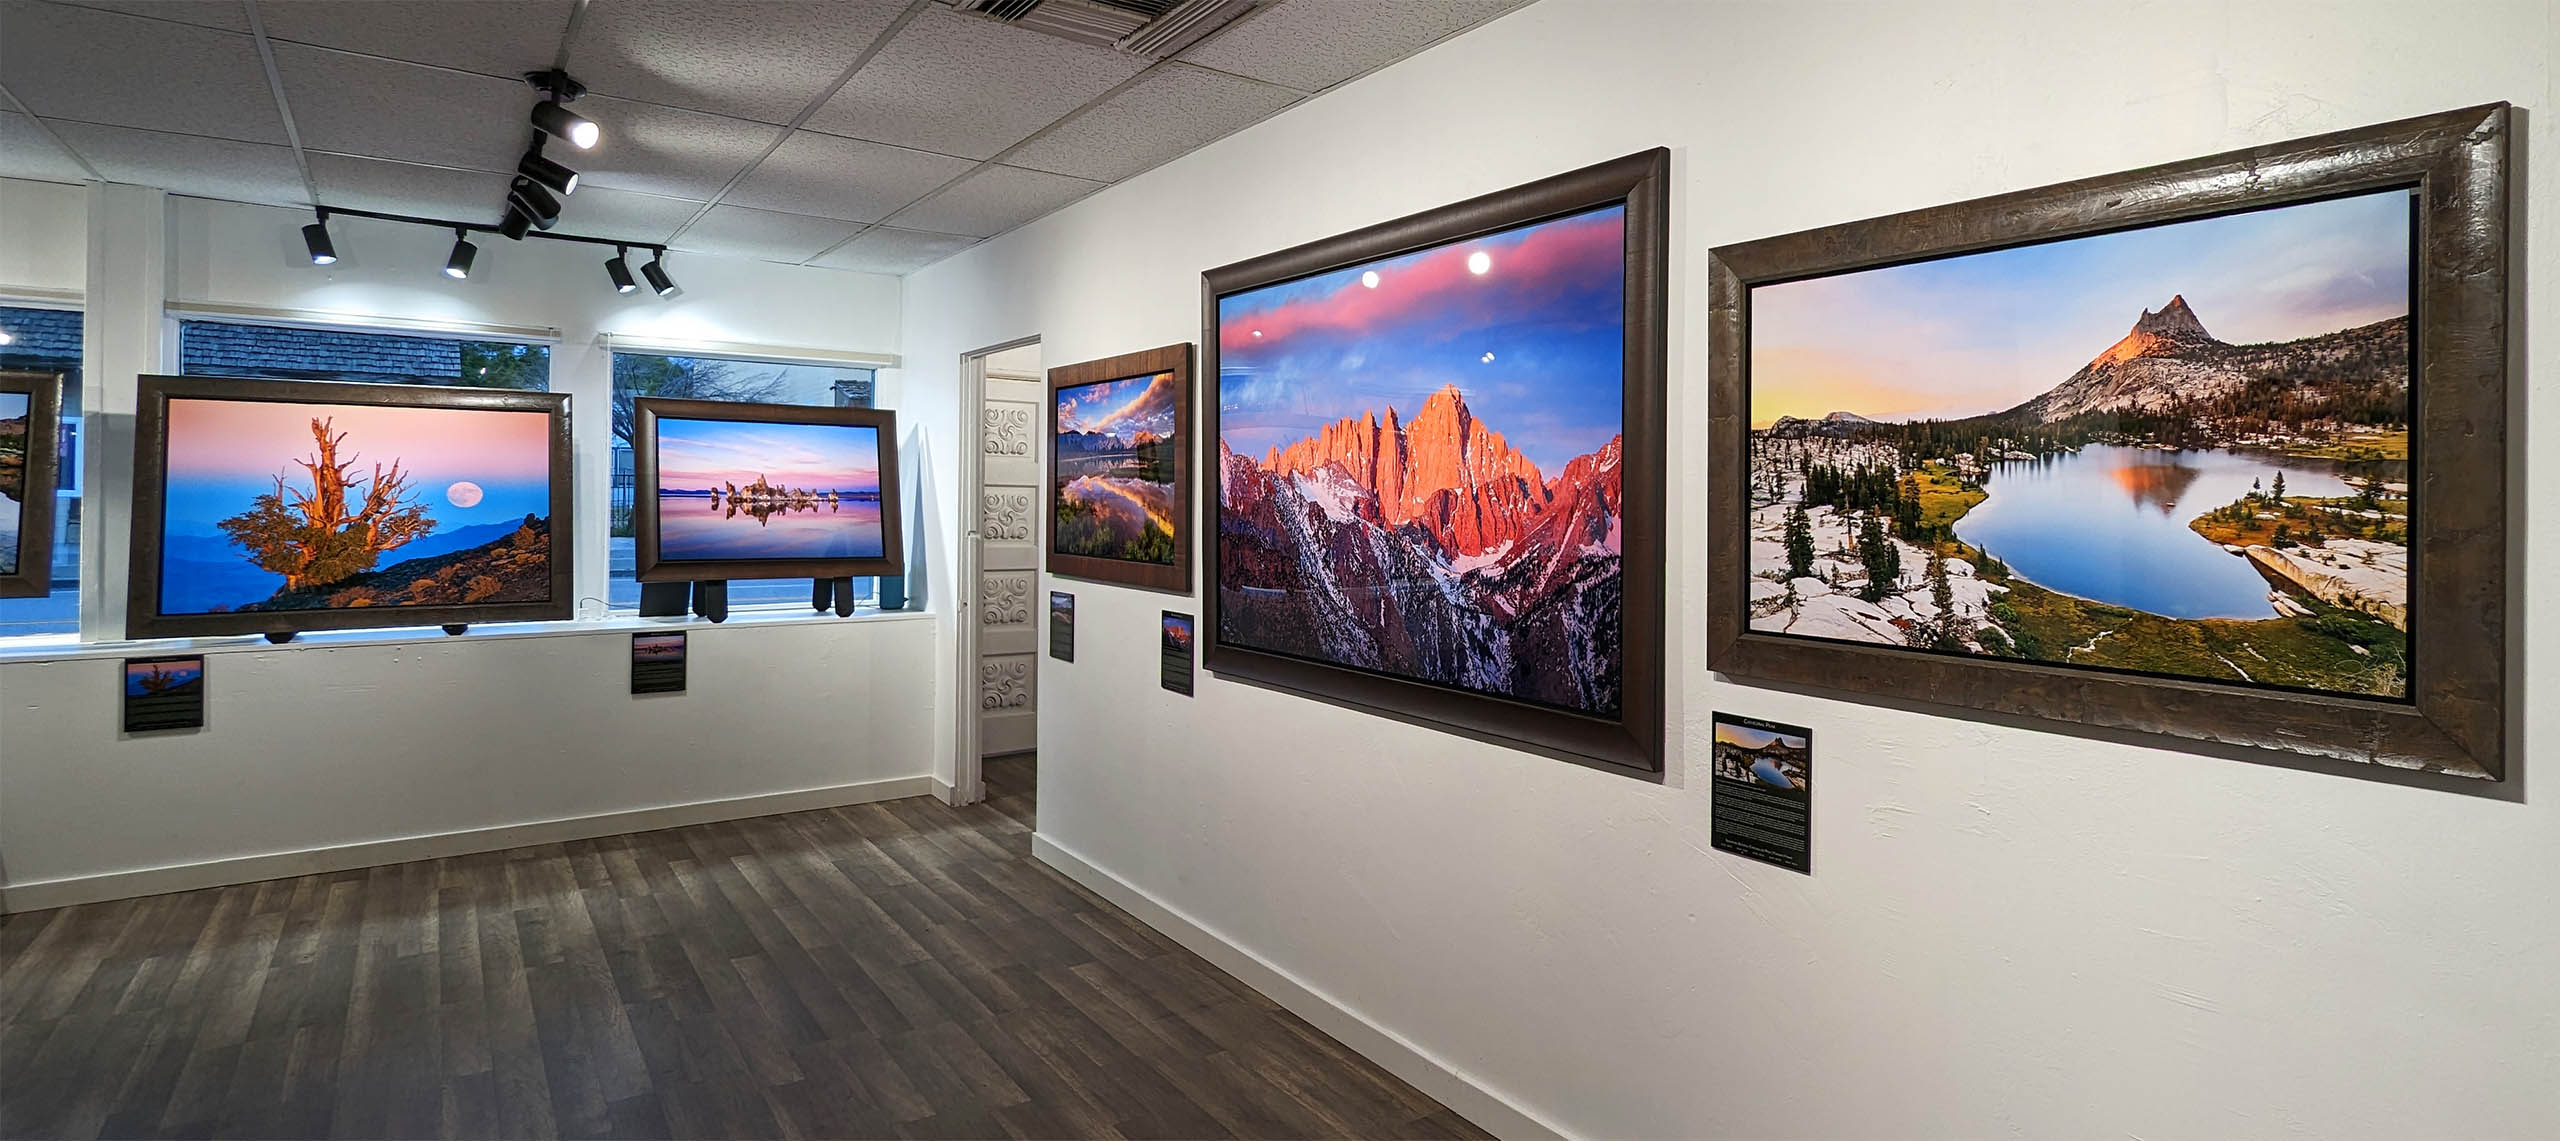
The Mt. Whitney Gallery was founded in 2023 by Joshua Cripps as a way to share his passion stunning landscapes of the Sierra Nevada and beyond.
Set at the foot of the breathtaking Sierra with a view of the range’s highest peaks, the gallery features large format, museum-caliber fine art prints of Josh’s signature photographs.
Course Login | Results Disclaimer | Terms and Conditions | Privacy Policy
© Copyright – Joshua Cripps Photography
