Greetings my excellent friends. It’s Josh Cripps here. Now y’all know that I’m a huge believer that you don’t need to be a Photoshop expert in order to be a great landscape photographer. I have nothing against Photoshop and I think all those really cool advanced techniques can be useful tools when you know when and how and why to use them. But they’re not requirements in order to create fantastic landscape imagery. In fact, in my opinion, if you have a really special, magical moment out there in nature, and you capture it well with a strong composition and there’s good light, and you intelligently apply your camera settings in your technique to create a great raw file, then you can turn that raw file into an amazing final image with some pretty simple adjustments in a program like Lightroom. But if you’ve been thinking well, that’s really easy to say Josh, but how much Photoshop do you actually sneak into your photos behind the scenes? Well, in today’s video, I want to show you exactly how I practice what I preach and how much editing goes into my landscape photography.
So here’s a photo that I’m going to be working on today. This is the final product, and this is a photo that I shot just recently, just a couple of days ago in an absolutely breathtaking place called the Darwin Bench in Kings Canyon, national park. This is the final image and here is the raw file. And I got from point a to point B just in Lightroom. So I’m going to show you exactly what I did, exactly what I put into this raw file to create this final image for me, one of the most important parts of the image creation process is the capture in the field and knowing what you want the final product to look like. So you can make decisions in the field. According to that idea. And in this scene, what I really wanted to showcase was the beautiful contrast between the warm colors, the cool colors, all the neat rocks in the pool here, as well as the reflections that would appear in the smoothness of the water.
So I set up a composition and chose my camera settings to capture those things. And that gave me this raw file and having that vision of what I want to see also lets me now direct my processing because I know that I want to bring out the color, contrast the detail in the rocks and the smoothness of the water. So let’s look at exactly how I do that. The first thing I noticed is I feel like the image is very slightly crooked. So I’m just going to pull up the crop tool here by hitting R and make a very small correction to straighten that out. Something like come on there, where we go. Okay, perfect. So to really bring out the details of these rocks, I’m just going to brighten up the overall image and then dark and the bright part. So I have a nice, smooth exposure across the entire frame. So here in the basic panel, I’m just going to pull up the exposure a little bit. I’m just checking my histogram here, making sure that doesn’t get blown out and I pull that up, like a stop or so something like that. I still have detail on the sky. Nothing’s clipped there, but nevertheless, I’m going to go ahead and pull down my highlights to pull back some of those details. And I’m going to increase my shadows a little bit as well.
This is going to start to create a very flat looking image, but that’s okay because we’re going to add contrast back in later, you can see that the sky is still a whole lot brighter than the reflection. And I really want those two things to be close in exposure to create a sense of connection between the reflection and the sky. So I’m also going to add a graduated filter by hitting em on my keyboard. And I have this preset darkened sky. It’s a pretty subtle adjustment and I tend to use it on a lot of my images and I like to make a nice, huge transition like this. So it doesn’t make it obvious where the adjustment is being applied. Right? If this is a very short transition like this, and it’s very obvious where you’re making these adjustments, but if you make this fantastically broad like this, then the transition smooths out and it’s really, really not noticeable.
Okay, let me close that out. Now we have a pretty good overall exposure across a frame, but like I said, it’s still looking pretty flat. So it’s time to start bringing some contrast back in the image and we can do that in two ways locally and globally and locally. I’m going to add just a little bit of texture here that help with some of the details in the rocks. And then clarity is what allows us to bring in that local contrast. The micro contrast in both the sky, the rocks, the water, all that stuff. And if I add a little bit of D hazing as well, that’s going to help bring out some of the detail in the sky. And at this point I’m also going to increase my vibration, my vibrance, and my saturation a lot. And what that’s going to allow me to do is figure out what the overall color balance of the photo is looking like.
And for me, that color balance is one of the most important parts of this photograph. I want a really, really nice compliment between the cool tones and the warm tones, so fine tuning the white balance and tint on this photograph is one of the most important parts of the editing process. And from where I shot it, I think I was using the cloudy white balance. It’s a little bit too cool for my tastes. I want to bring out some more of the warm tones. So I’m going to go ahead and warm it up here just till I get a level that looks good. I think that’s looking pretty nice. I’m starting to feel a little bit extra yellow tones though. In the, in the scene, it’s starting to feel a little sickly and that’s just because of some of this excess green here in the tent.
So I’m gonna just pull that up a tiny bit to get rid of some of that yellowness and that’s looking pretty good there. I feel like I’ve got a nice color balance in a nice exposure. I do however want to add some global contrast and I like to do that here in the tone curve. And I generally just make a nice, simple S curve where I dragged down the shadows and then I pull up either the midtones or the highlights or whatever I want adjust, and I might make some fine tune adjustments, you know, just so I get the level of detail in each of these tonal range that I like that really helps bring the photo to life, but of course what I needed to do now, I can’t forget that I need to pull down now that I’ve got the color balance figured out.
I want to pull down that vibrance and saturation back to a reasonable level. So it doesn’t feel like a cartoon photograph. Okay. That looks pretty good. I like the saturation and the blues. I feel like the reds and oranges themselves could use a little bit more saturation. So I’m going to do that in the HSL panel. And I’m basically just going to grab my little targeted adjustment tool. Like for example, I want to see this cloud a little bit more saturated, something like that. I can see that it’s living kind of in the magenta and the red channels here. So I’m just going to pull those up a little bit, just to add a little bit more to the warm tones and let’s see, did they have a very subtle effect, but a good one. Now finally, like I said, at the beginning, I really liked the detail in all the rocks. I want to help bring that out here in the detail panel. And I recommend when you’re doing this kind of sharpening that you zoom in to a hundred percent, either on the foreground or on the background, preferably both. And that way you can see what effect your sharpening is having across the entire frame. Now, overall, I’d say the, the depth of field looks pretty good for this photo, but the details could be sharpened a little bit.
When I’m doing this, I tend to make a compromise between my foreground sharpening and my background sharpening. And here I’d like to see the background a little bit sharper. And for me that means applying the sharpening and a slightly larger radius. So if I pull the sharpening up a lot, then I can fiddle with the radius to see what looks best for the background. And I don’t really like it on the higher end actually. So I’m going to keep it down here, maybe on something like that, the default radius, that’s pretty good. That looks nice and sharp. And that should have also sharpened all of the details here in our foreground rocks too. Yeah. If I turn this on and off, you’ll see how much sharpness it adds to that. That’s fantastic, but I want to make sure that I’m not sharpening the water here.
So I’m going to pull up my masking quite a lot. And if you hold all your options, while you do this, you can see exactly where the massing is being applied. Let me zoom out so you can see it on a global scale. Cause I really only want to sharpen the rocks, right? I don’t need to sharpen the clouds with the water. So something like that looks pretty good. And then let me just add I’ll zoom in here. You might not be able to see it on the screen capture, but I’m just going to add a kiss of luminance noise reduction to smooth out any details in the clouds. And that’s looking pretty good. And I was very, very smart. I have to say much smarter than I normally am in that I cleaned my image sensor right before this trip. So hopefully as I scroll around here, I’m not going to see any big fat dust spots are correct.
There is one right there, but that’s okay. We’ll just bring up the Q tool cleanup tool and get rid of that guy. Oh, there’s a, there’s a good one right there. Smack them. Let’s just say it was a mosquito. Yeah, there was a mosquito on my sensor. That’s what it was. It wasn’t my negligence and cleaning my camera. Now there were mosquitoes flying around a lot of times on my images. I like to apply a little bit of a vignette at the end, just to kind of force the viewer’s eye to stay into the center of the frame. But on this one, I felt like it really doesn’t need it. So I’m going to leave it as is. And that is the final product there. You guys, you can see that these adjustments in Lightroom are not complicated. There are no really advanced techniques that you need to understand in order to create a final product like this. So once again, let’s go ahead and look back at the raw file. And then the final result obtained through some really simple processing here in Lightroom. And that’s going to do it for this video as always. Thank you guys so much for watching. If you enjoyed it, please consider subscribing or sharing it with your friends. It really helps me out a ton. I’m going to see you guys soon in a lot more videos. So until then have fun and happy shooting.


Joshua Cripps is a renowned landscape photographer who has garnered worldwide acclaim for his breathtaking images of our planet’s wild places. His photos have been published by the likes of National Geographic, NASA, CNN, BBC, and Nikon Global.

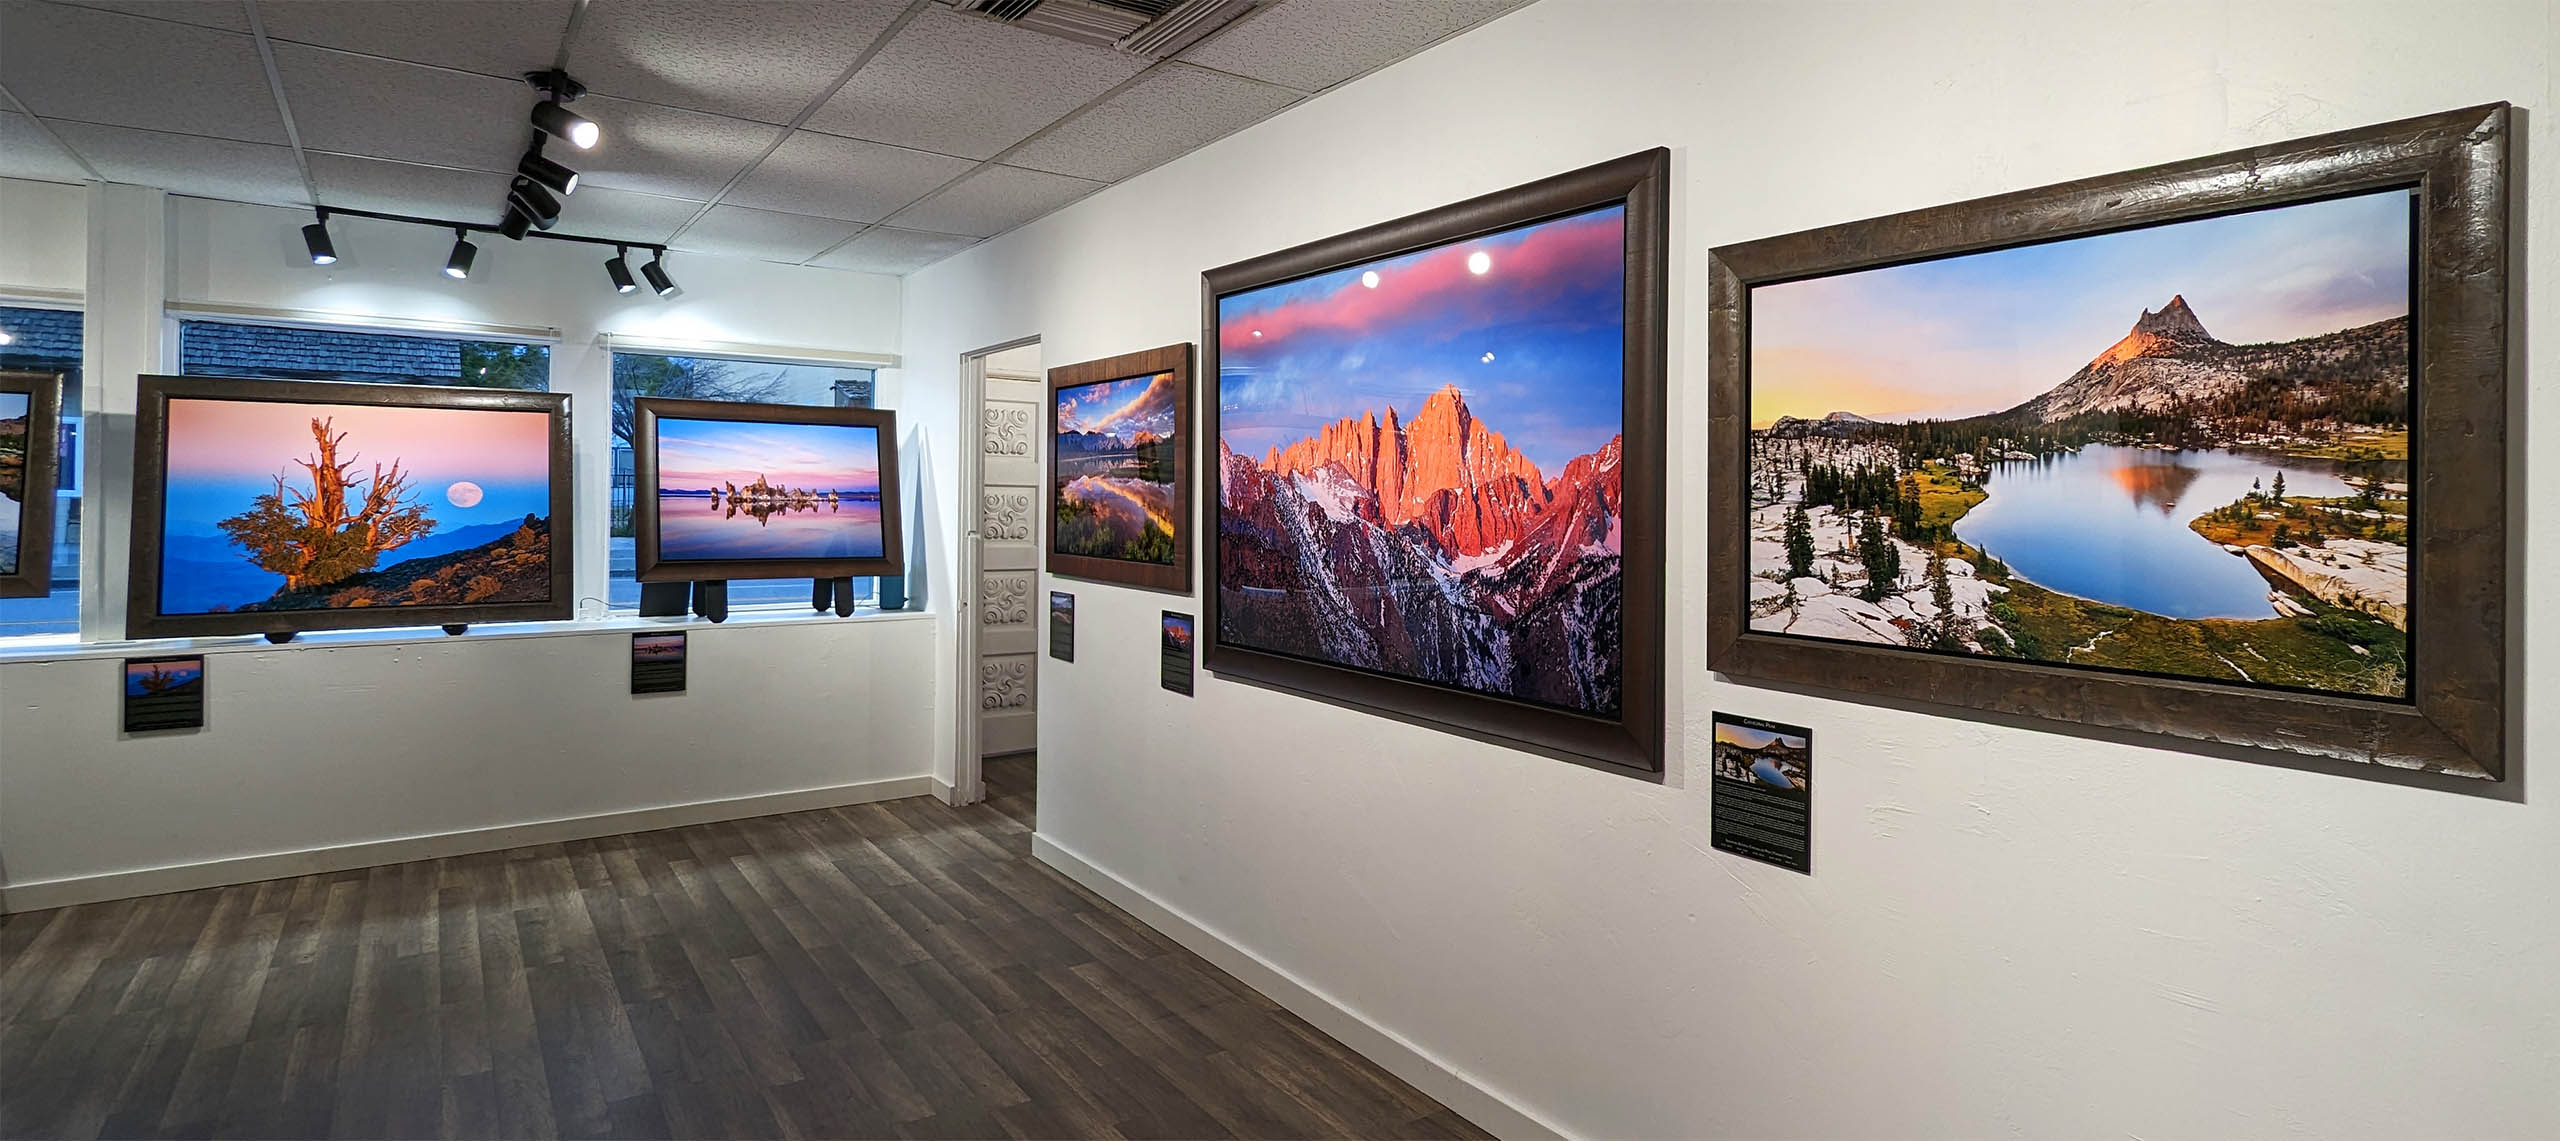
The Mt. Whitney Gallery was founded in 2023 by Joshua Cripps as a way to share his passion stunning landscapes of the Sierra Nevada and beyond.
Set at the foot of the breathtaking Sierra with a view of the range’s highest peaks, the gallery features large format, museum-caliber fine art prints of Josh’s signature photographs.
Course Login | Results Disclaimer | Terms and Conditions | Privacy Policy
© Copyright – Joshua Cripps Photography
