I’m not exactly sure why I had such an acute urge to backpack into the Kearsarge Lakes Basin this August. Perhaps it was because I had just purchased a new ultra-light backpack and wanted to try it out. Perhaps it was because I had only been there once, ten years before, and wanted to revisit as a photographer. Or perhaps it was because I only had one night free and knew the hike in wasn’t very long. Whatever the reason, I found myself on a beautiful, sunny afternoon locking up my car in the Onion Valley trailhead and stomping off into the Sierra on another gorgeous trail.
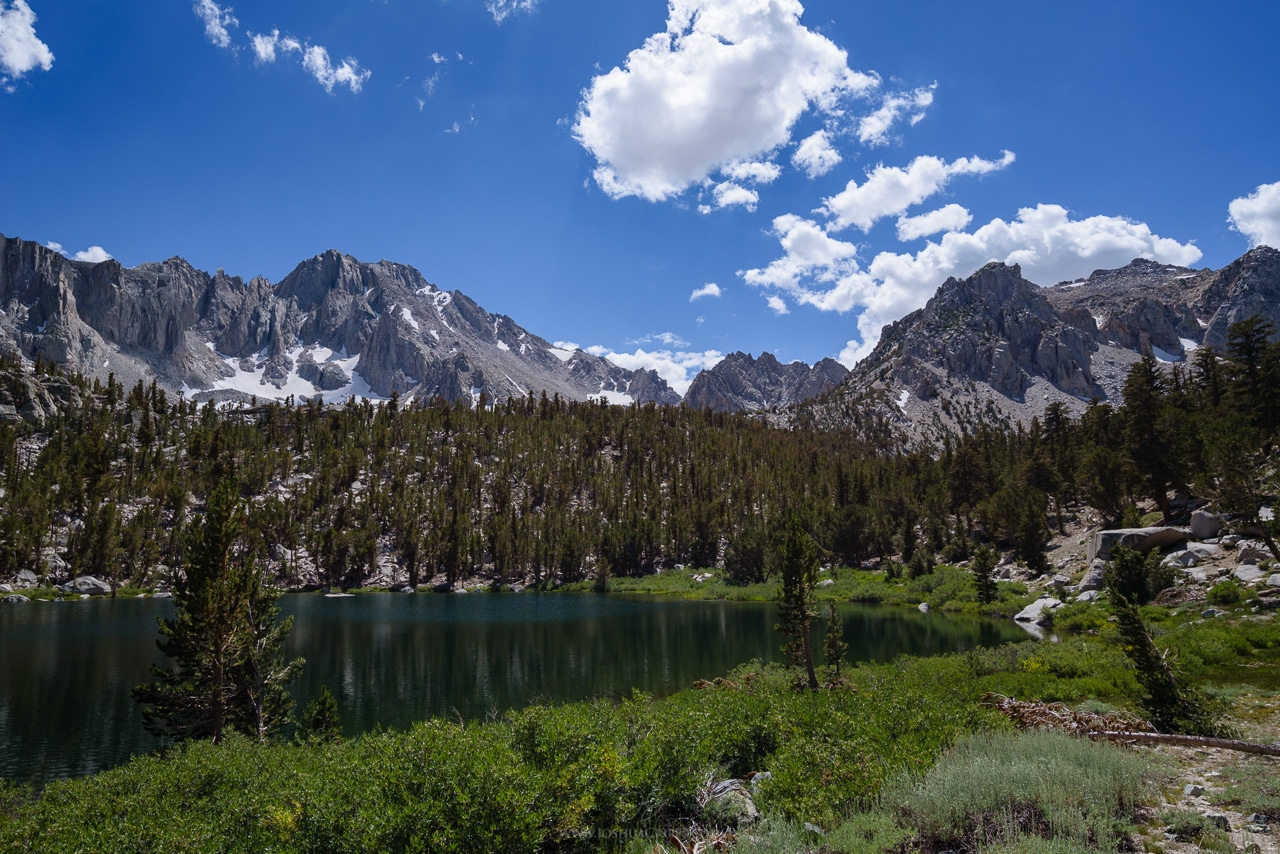
Scenic views from Gilbert Lake.
Like many trails in the Eastern Sierra, Kearsarge Pass starts out as a hot and dry slog. Mixed pumice and dirt switchbacks lead up through the sage and juniper forest. And while there are trees, they aren’t dense enough or tall enough to provide much relief from the sun. However, after 30 minutes or so the trail begins passing a series of lakes and the views quickly take your mind off the sweaty work of climbing. The first is Little Pothole Lake, beautiful with its two waterfalls cascading into it. Next is Gilbert Lake, another of those impossibly-perfect Sierra Lakes nestled in a mix of meadow and pine trees, with massive granite mountains jutting out in every direction.
Above Gilbert the landscape becomes a bit starker as the trail climbs above tree line. Here the lakes are plopped in basins made of talus, and the trails snakes its way past gigantic granite blocks and cliffs.
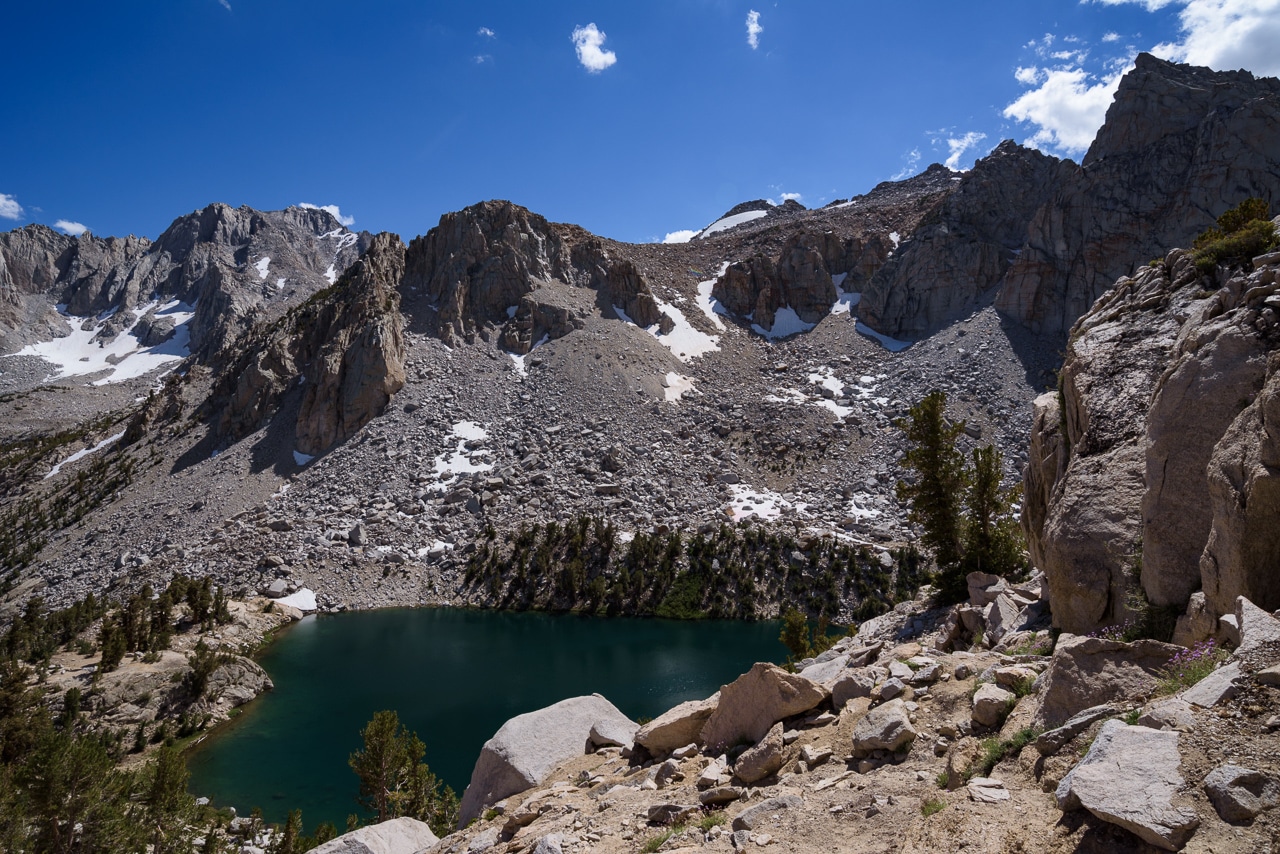
Heart Lake. Would love to have a night camping near the outlet of this lake in order to see the alpenglow on that wall to the right in the morning.
Above Heart Lake I quickly came to Big Pothole Lake and at that point I had left all the trees behind. Here is a landscape of rock. But it’s not completely devoid of life; in fact the ground was covered with small flowering plants eking out a life in the short summer grow season. These plants serve a vital purpose as well: in addition to breaking down the soil into forms that other life can use the plants help prevent erosion and keep the hillside in place. This is a major reason that cutting switchbacks is a major hiking no-no, because if you do this you are trampling fragile plants, killing them, and leading to erosion and environmental degradation. So please don’t!
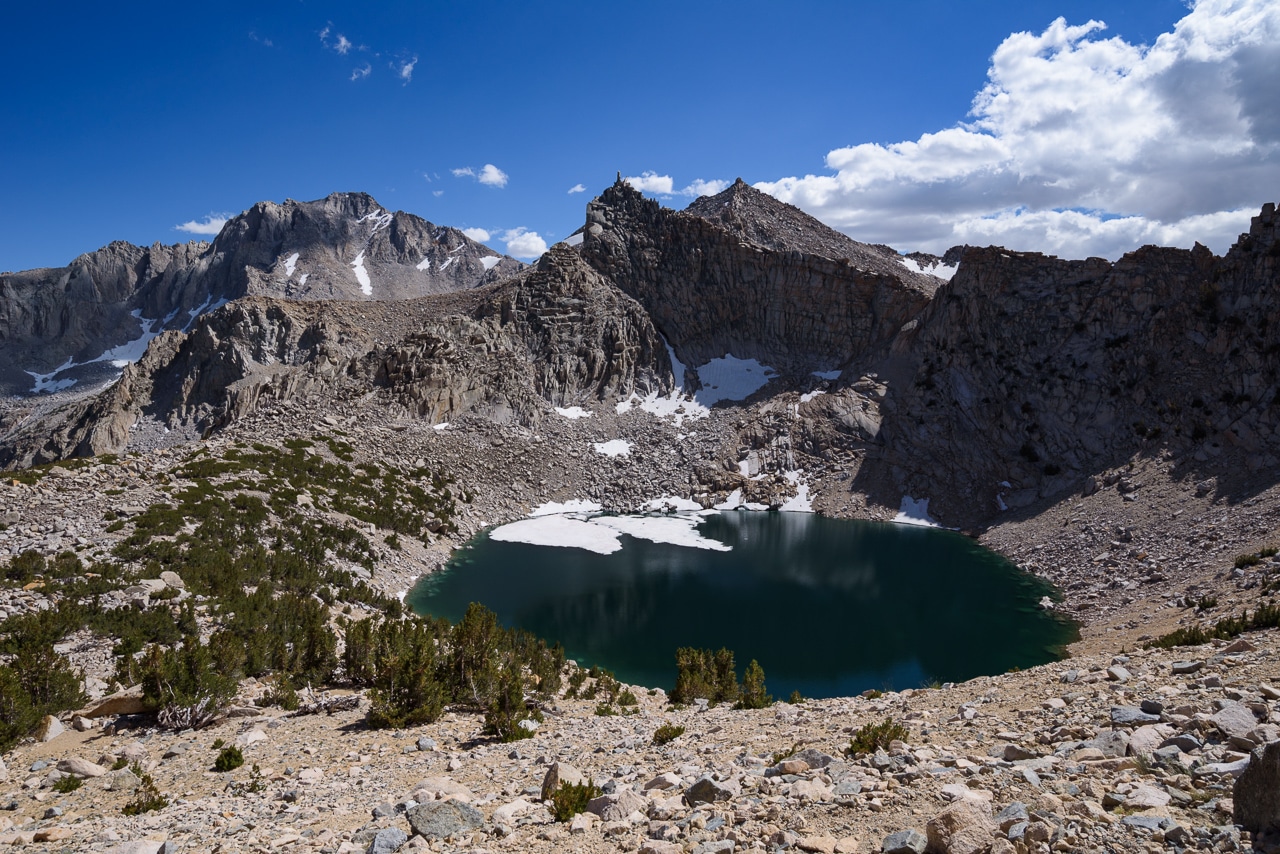
Big Pothole Lake. Check out that spire!
Many people will tell you that Kearsarge is a tough hike, mainly because it starts at 9,200 feet, then climbs rapidly to the pass at 11,700 feet. And if you aren’t used to the altitude it can certainly kick your butt. But I am lucky to live in Mammoth, at an elevation of nearly 8,000 feet above sea level. So I am almost always acclimated to the altitude. I’ve also found that the fastest way to get to a pass is the tortoise philosophy: pick a pace that you can sustain indefinitely and just keep moving. Trying to hike too fast leads to over-exertion and exhaustion, and even if you are taking rest breaks ultimately this fatigue will take its toll on your legs and lungs. But that slow and steady pace will get you where you need to go. In such a way I found myself on top of Kearsarge Pass barely two hours after leaving the car, with a monumental view of the Kearsarge Pinnacles to the west.
At this point the trail enters Kings Canyon National Park, a wilderness lover’s fantasy land. King’s Canyon is a massive park with almost no roads in it. It’s one of the best places to get off the beaten path and enjoy intense solitude. But for this trip I didn’t have the time to get deep into the park. Instead I was heading for those beautiful shimmering lakes at the foot of the Pinnacles.
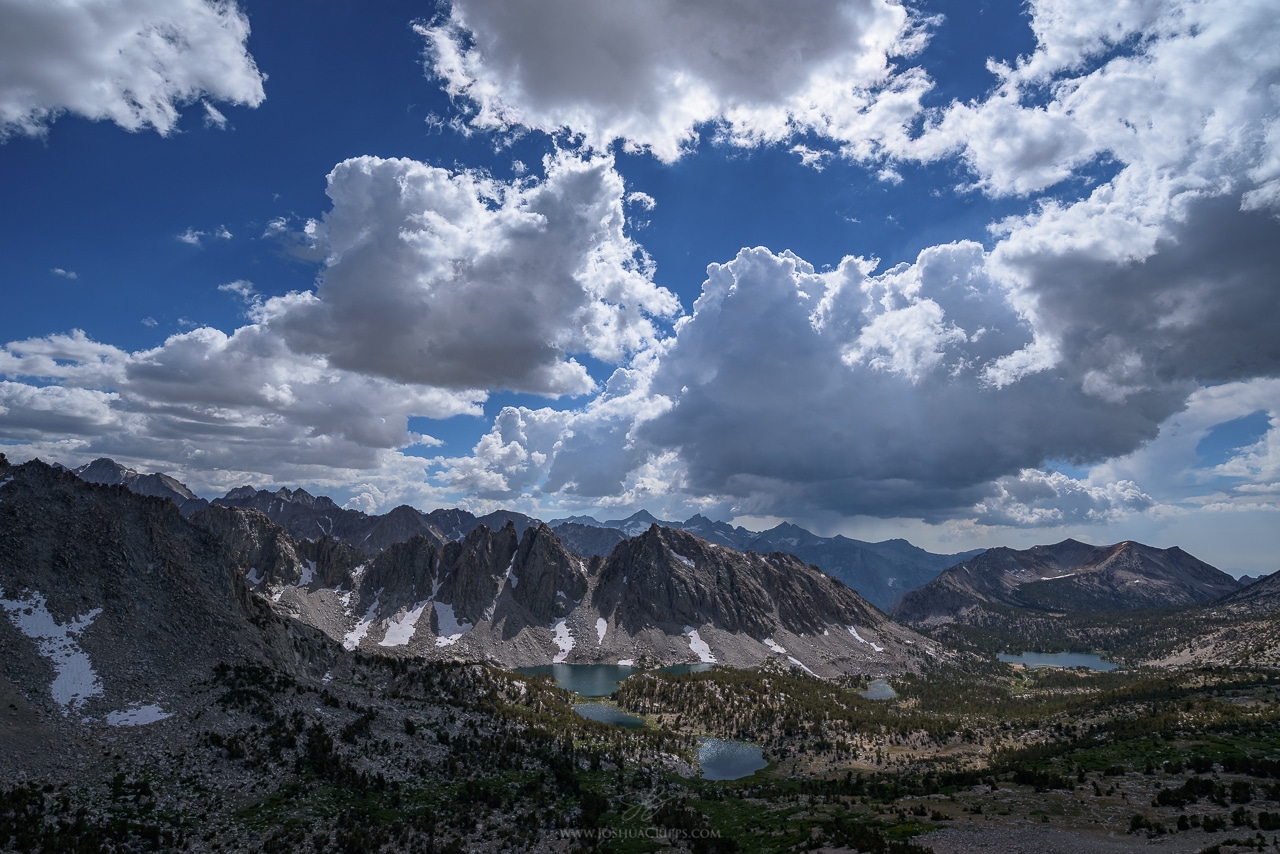
Kearsarge Pinnacles, seen from Kearsarge Pass, Kings Canyon National Park
Thunderclouds had been building during the afternoon and I wanted to set up camp before any rain started. So after a short dawdle on the pass I dropped over the west side and chewed through the trail down to the lakes.
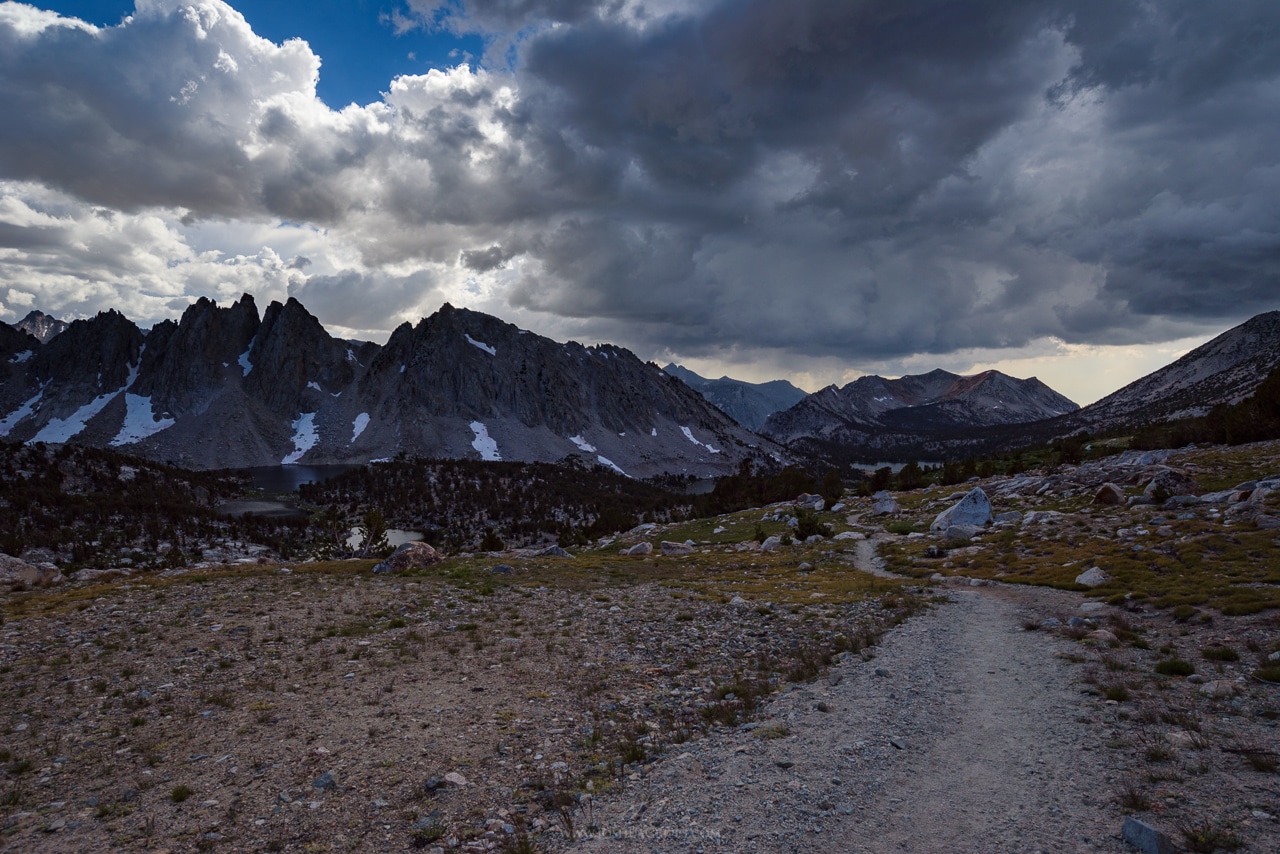
Thunderstorms building over the Kearsarge Lakes Basin.
On the way down the trail I was struck by the beauty of the landscape: grasses and wildflowers covered the hillside. Erratics and rocks left behind by slides punctuated the open spaces. And small streams and cascades trickled down the slopes.
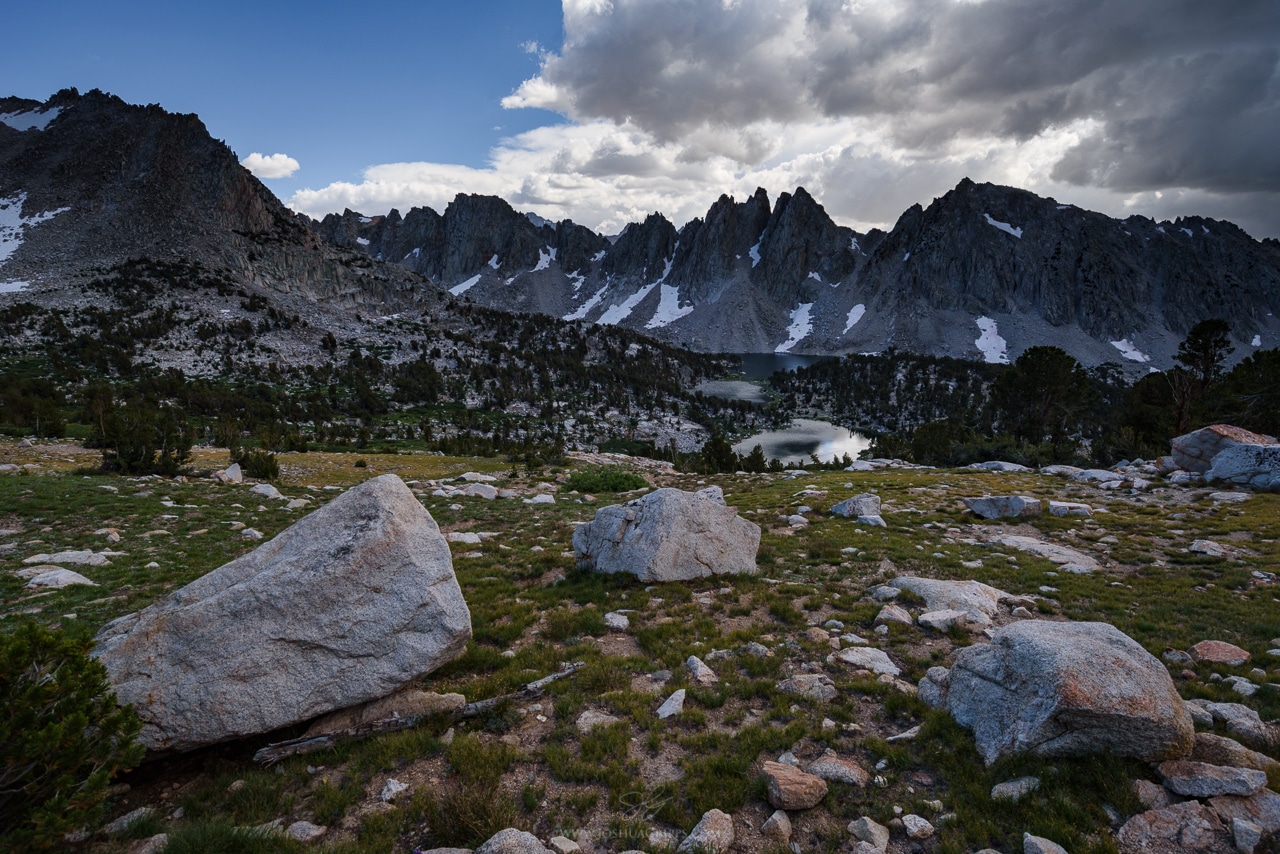
Erractics and other detritus dot the landscape.
I decided to camp on the hill above the largest Kearsarge Lake and found a beautiful, totally secluded spot to pitch my tent. As it was only mid afternoon and no rain had fallen yet I thought it would be good fun to head out for a wander. My topo map told a tale of another large lake up the canyon to the south and I wanted to see what it was like. I dropped down from camp to the shores of the largest Kearsarge Lake then found a series of boulders that allowed me to rock hop across a narrow part of it. Looking out to the west I could see some serious weather threatening. Still, I had my raincoat and a warm hat so I wasn’t too bothered.
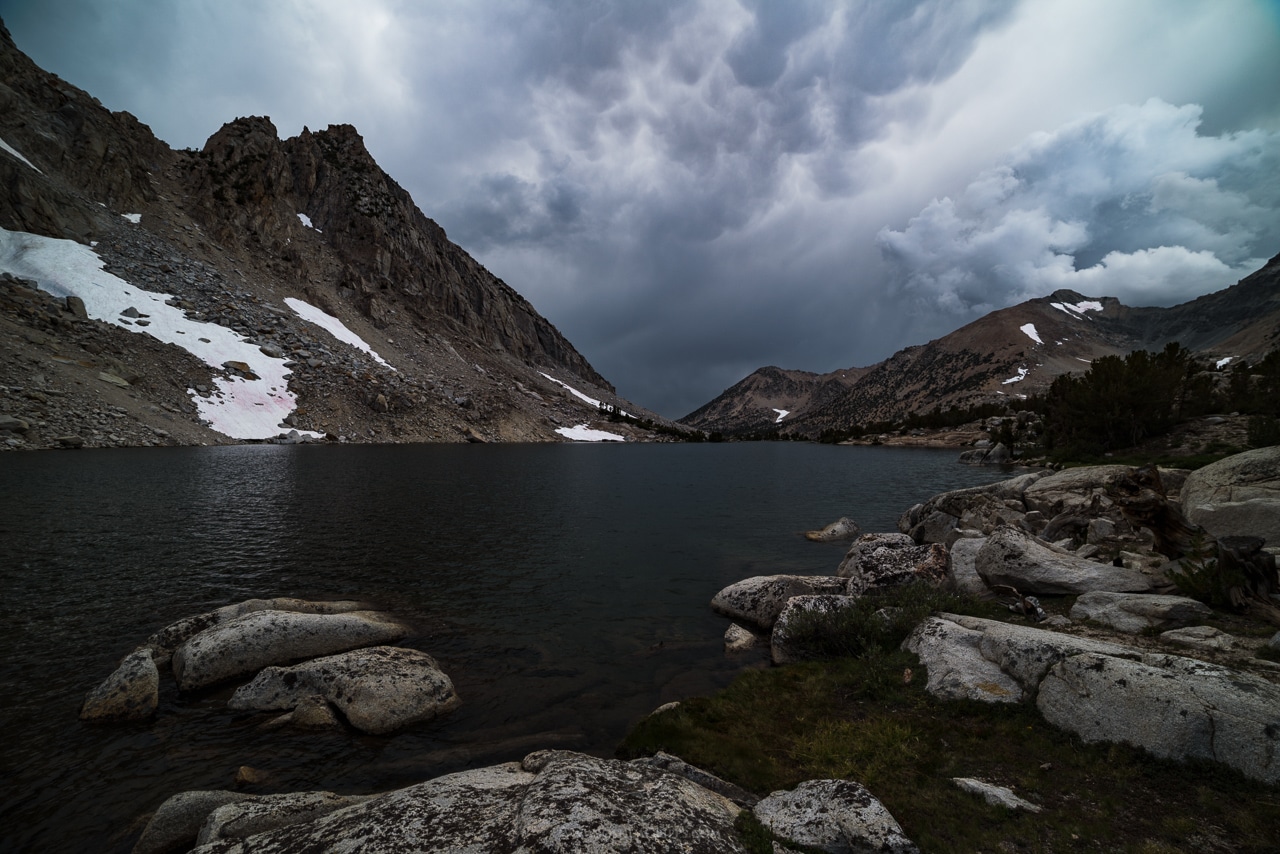
Thunderstorms loom above the Kearsarge Lakes.
Continuing up the canyon I found it to be a treasure trove of beautiful sites: large reflecting pools, endless cascades and sinuous streams, and craggy peaks towering above it all. I quickly realized the photography problem here wouldn’t be not being able to find a composition, but rather having to choose between all of the amazing compositions present.
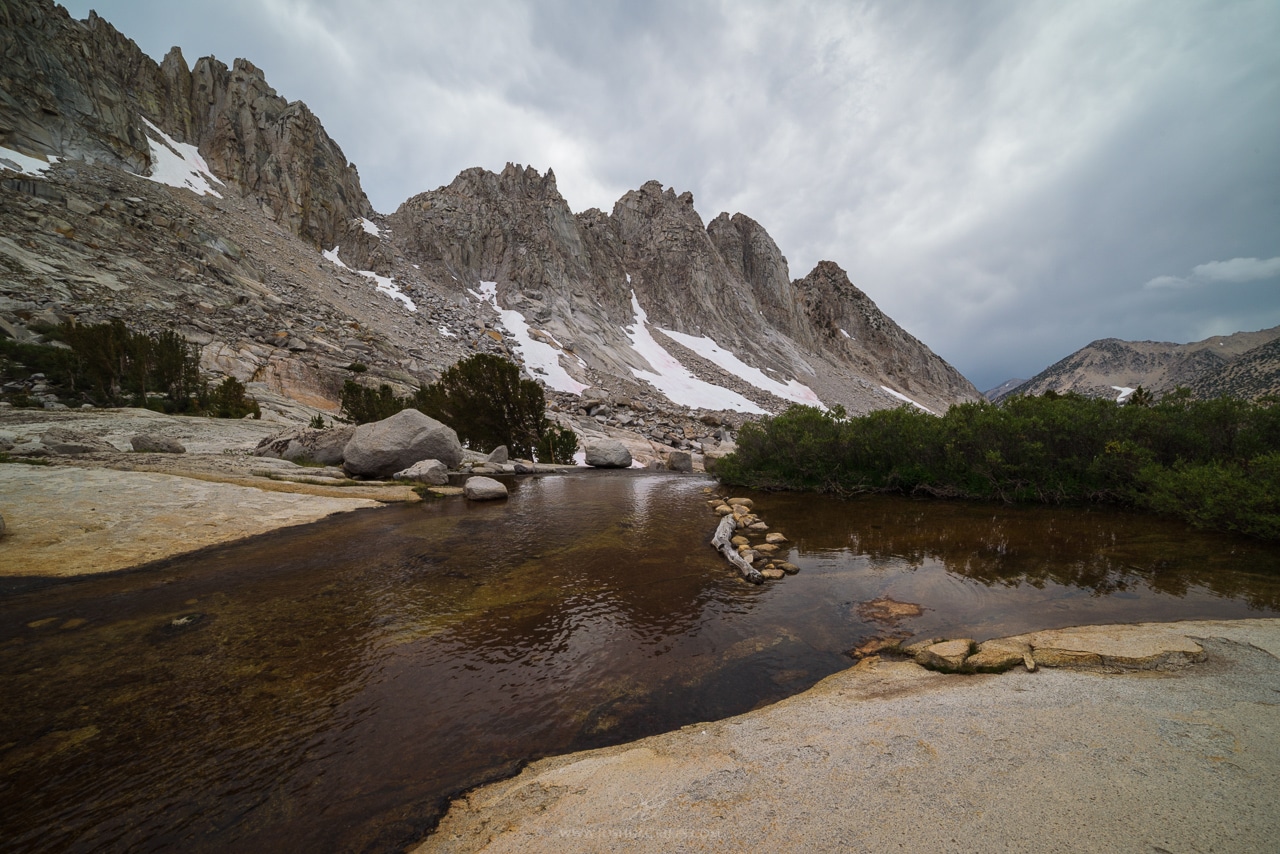
The Kearsarge Pinnacles reflect in a small pool.
After meandering and exploring for a good hour I finally came to the upper lake, a long, string-bean-shaped body of water sitting in a cul-de-sac of granite. At the head of the lake: imposing University Peak. I moseyed along the east side of the lake until I saw a lone fisherman out on a distant spur of rock. Not wanting to disturb his peace I turned around and wondered what to do next. It was almost two hours until the sunset still and I didn’t want to spend that time simply holed up in my tent. Instead I decided I’d climb up one of the gullies between the Pinnacles to see what I could see on the other side.
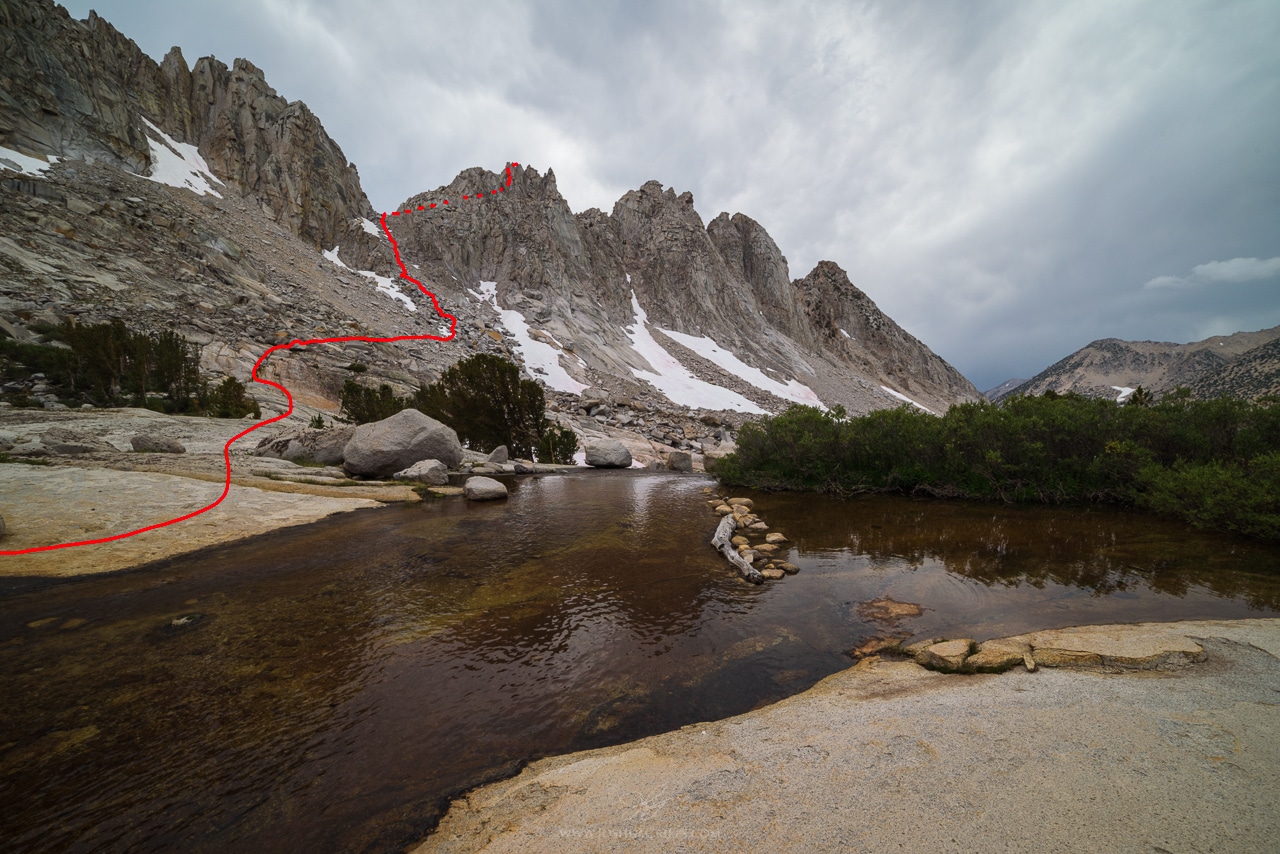
3rd/4th class route up the lowest Kearsarge Pinnacle.
Hopping over the stream in front of me I began the climb. It was easy going at first: simple ambling up 2nd class slab. But soon the route crossed a river of talus composed of huge, tractor-sized boulders. Navigating through that required a little tricky scrambling with some careful steps over 25-foot deep pits. Coming out the other side put me back in more navigable terrain made of smaller boulders and a fair bit of scree. From there it was simply a matter of making the slog to the top. Head down, feet up. Don’t look, just move. And sure enough, after about 15 minutes of this I broke out onto the pass.
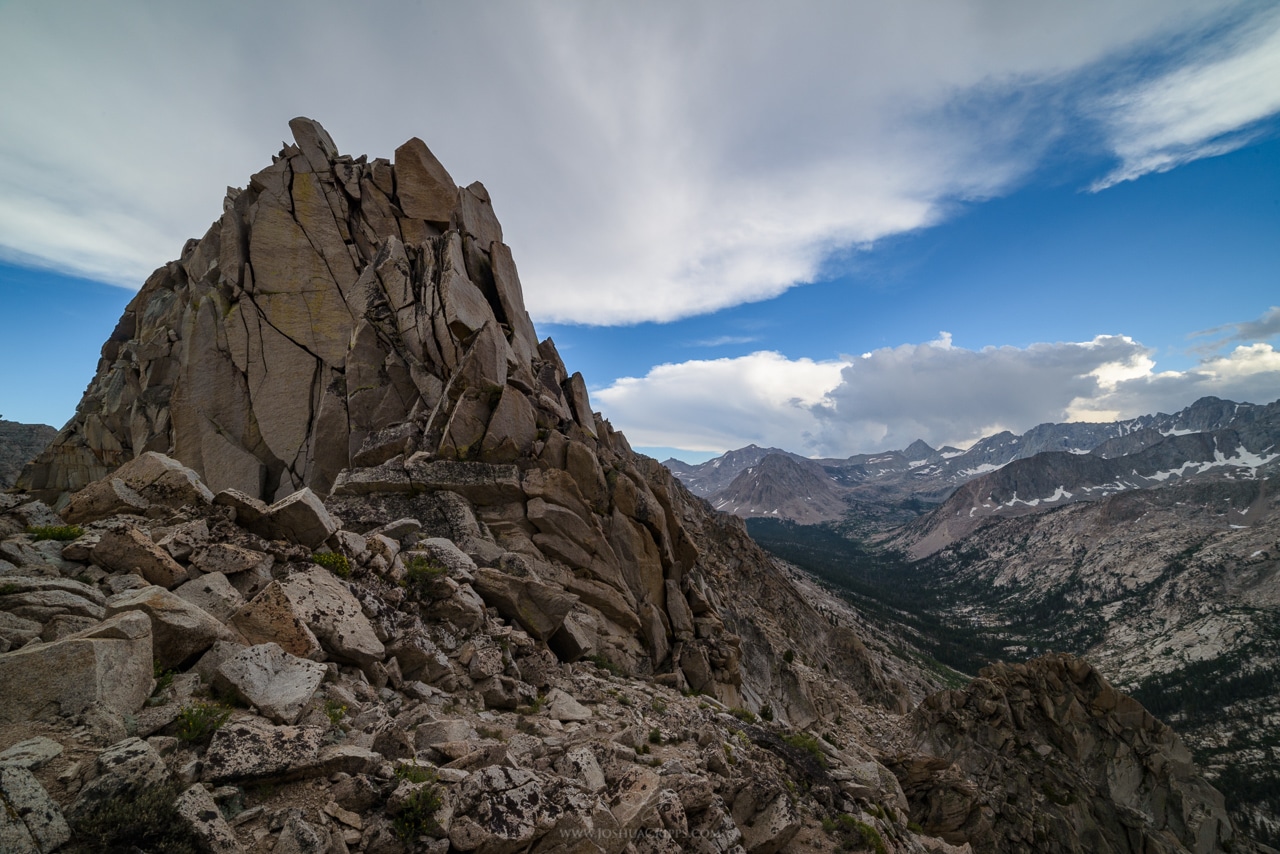
Kings Canyon National Park, seen from the Kearsarge Pinnacles.
The vista was extraordinary of course, with clear views to the south as far as Forester Pass (the highest pass along the John Muir Trail), and to the west down Bubbs Creek toward Fresno. My view to the north was block by the Kearsarge Pinnacles looming up above me. But after inspecting the rocky flank to my north I realized it was an easy 3rd class scramble, so on up I went. After a few minutes of that I came out on the pseudo-summit plateau of the lowest of the Pinnacles.
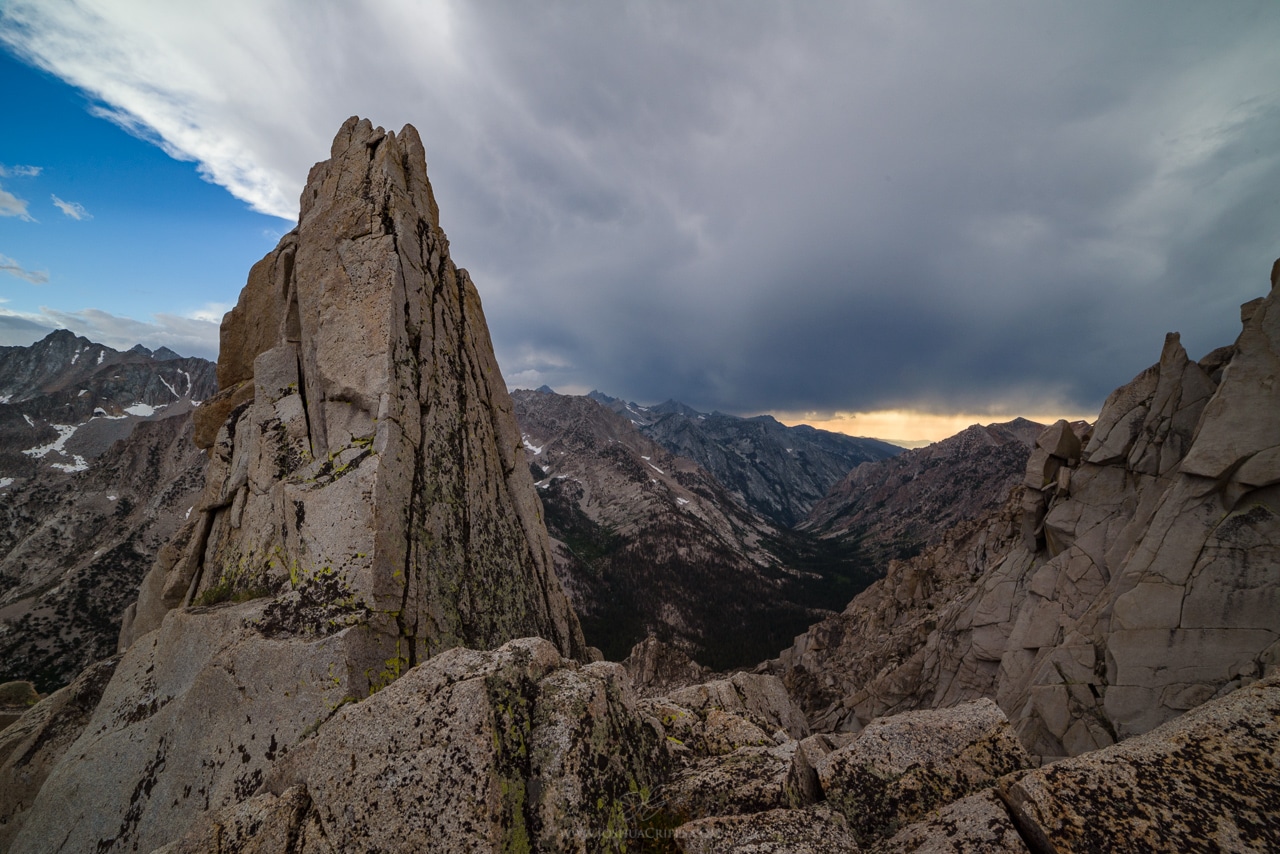
Looking west down Bubbs Creek from the Kearsarge Pinnacles.
As good as the views were from the saddle, now they were nothing short of legendary. The panorama of green valley to the south, East Vidette peak directly in front of me, and the Kings Canyon backcountry laid out before me was utterly gobsmacking.
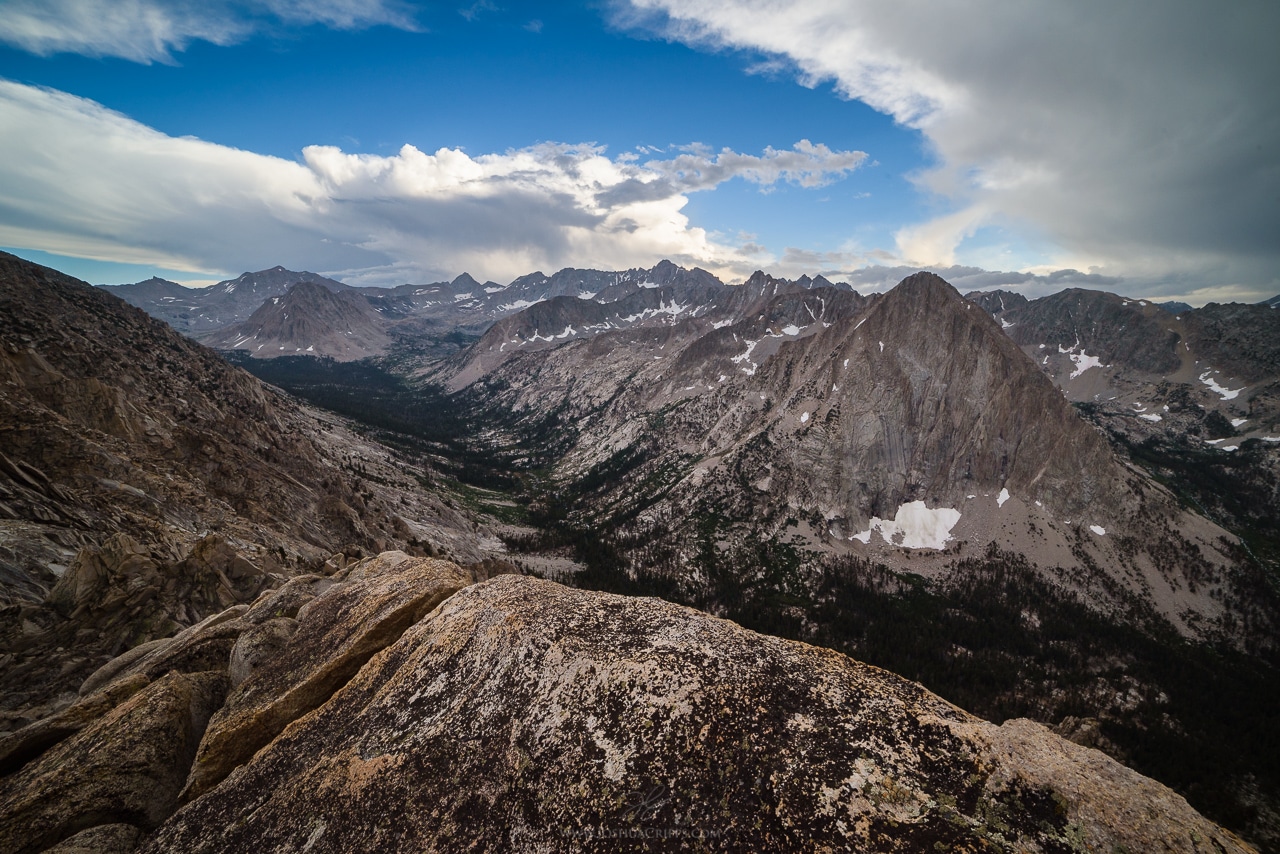
East Vidette, Kings Canyon National Park.
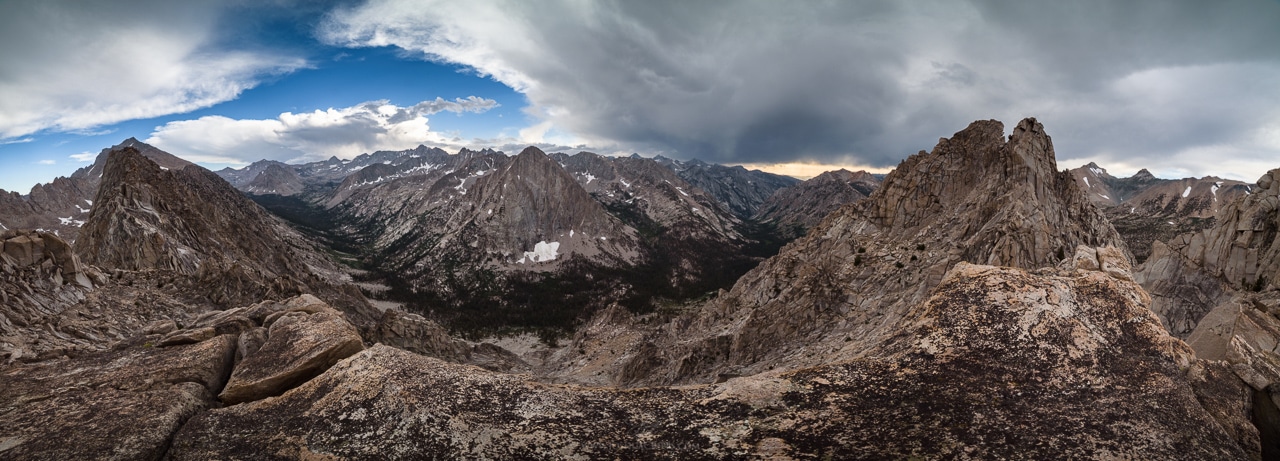
Kings Canyon Panorama.
After wiping the drool from my chin I wanted to see if I could actually summit the Pinnacle I was standing beneath. I started climbing a mix of 3rd and 4th class terrain until I was about 100 feet up, just below the actual summit. And here I stopped because although I was only 6 feet under the summit block, to gain it would have required an awkward, low-5th-class move up a corner and onto an overhang. It didn’t look that hard in all honesty, but the move was completely exposed and a fall would surely be lethal. So I contented myself with the almost-summit before scrambling back down.
At this point sunset was only about 40 minutes away and I wanted to be back down in my dreamland of streams and pools for that. I quickly descended the talus and scree of the gully I came up until I chanced upon a long runout of snow. I jumped on and boot-skied back down in a matter of minutes. I was just in time too, as when I got to the bottom the sun snuck out from the clouds to the west and illuminated University Peak with some of the most intense, ruby alpenglow I’ve ever seen. (Although I have since learned that this technically isn’t alpenglow).
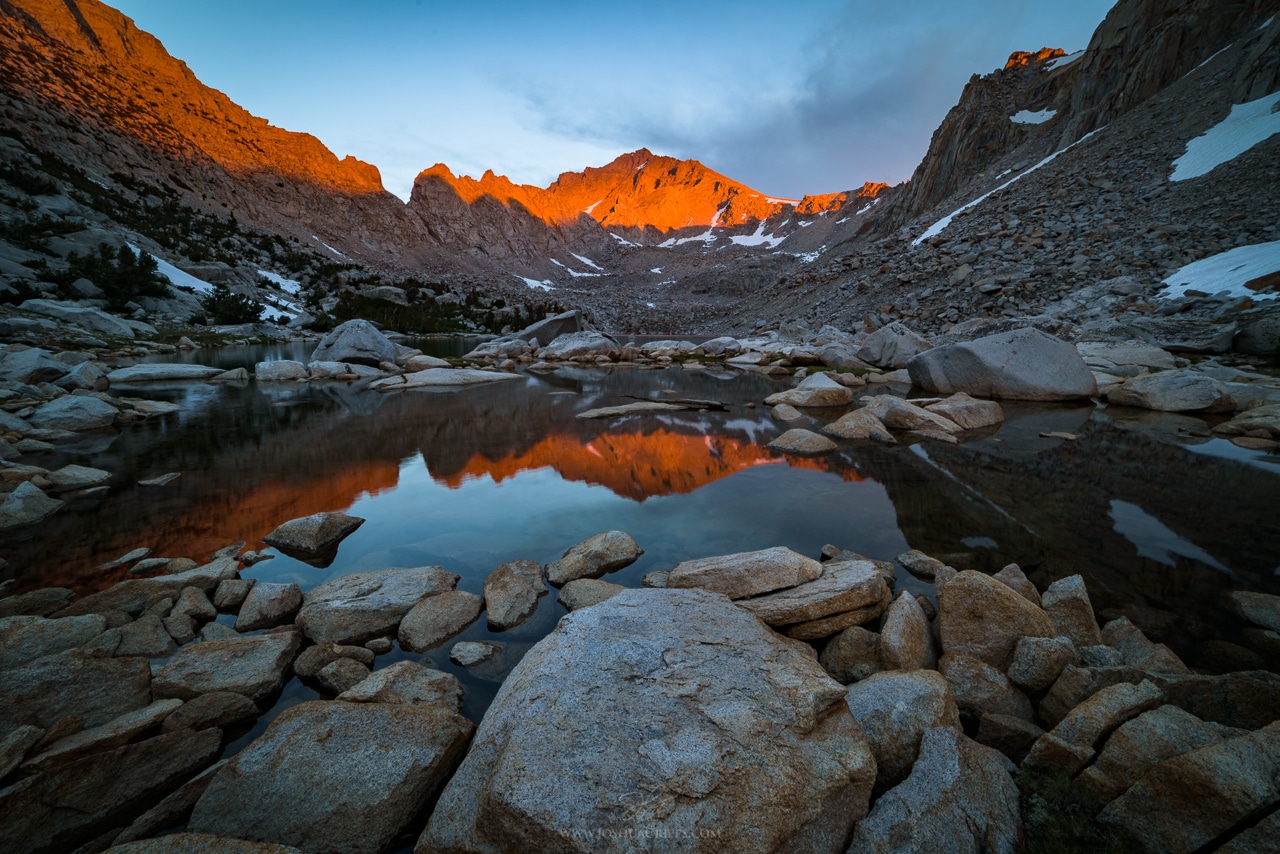
University Peak at sunset, Kings Canyon National Park.
Alas, other than that intense break, the clouds didn’t allow as much sunlight through at sunset as I’d hoped, so what could’ve been a spectacular light show turned into something rather drab. After shooting a few uninspired images I began to make my way back toward camp. Along the way I noticed that the clouds suddenly started breaking up, allowing a little twilight glow to ooze in and bathe the landscape. Back came out the tripod and camera and I was able to create a few more interesting, long exposure photos of the cascading streams below the pinnacles.
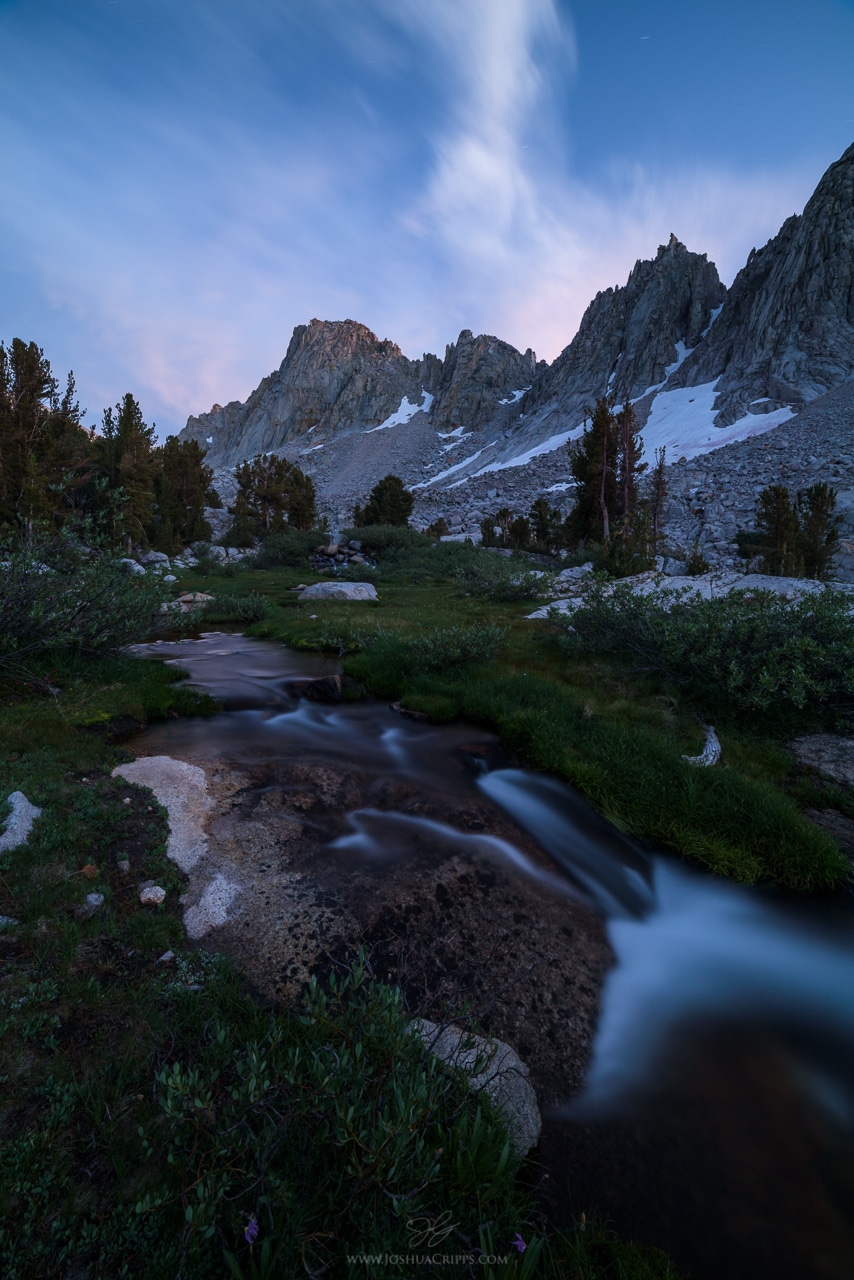
Long exposure of a stream under the Kearsarge Pinnacles.
A few stars had begun to twinkle by this time and during the two-minutes that each exposure took a few small star trails appeared in the shots.
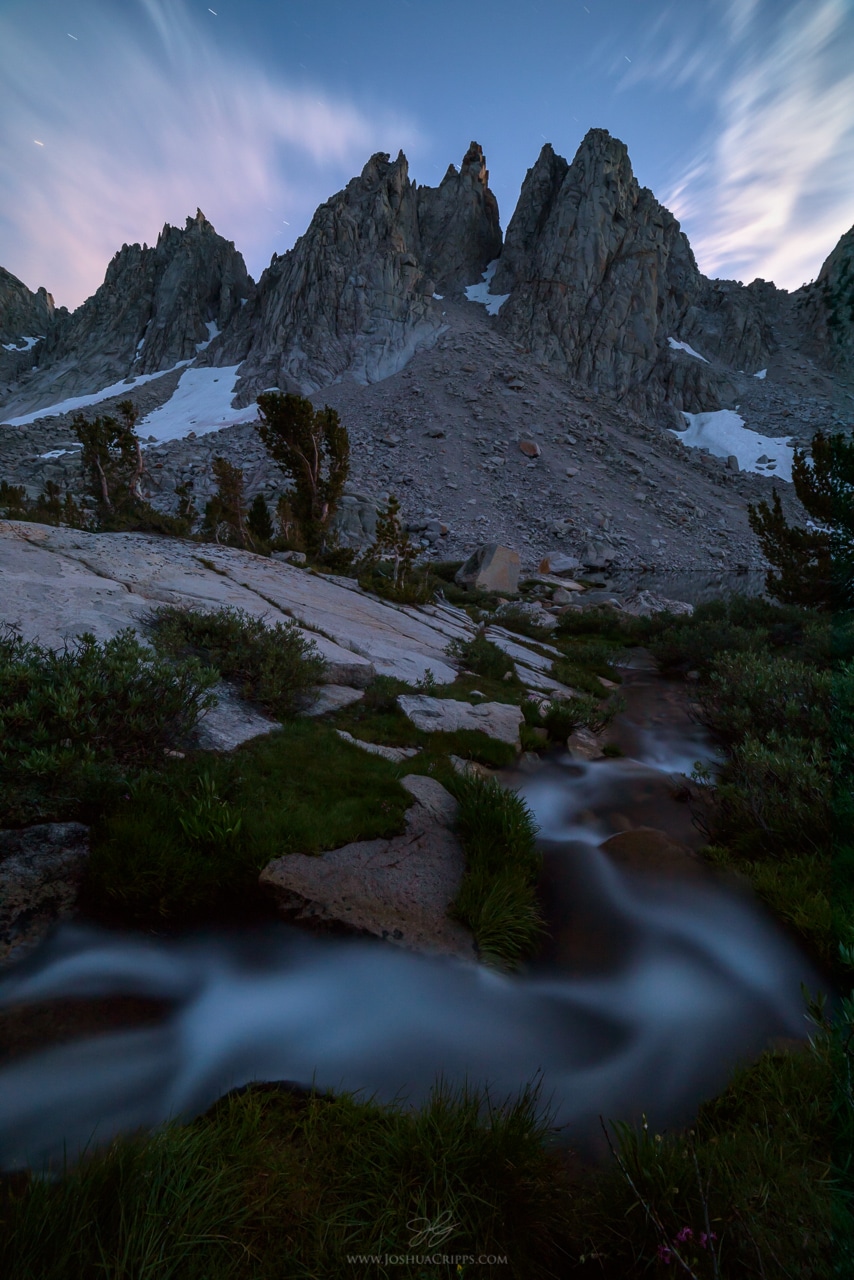
Kearsarge Pinnacles at twilight.
By the time I wrapped up these last exposures it was utterly dark and starting to get cold (I had been wearing shorts this whole time so far), so I bundled up my gear and trekked the 15 minutes back to my camp. I was eager to put on a pair of pants but when I got to my tent I discovered that I had completely forgotten to bring any! So there I was in a down jacket, furry hat, warm gloves, and lightweight running shorts. Ah well, at least it wasn’t windy. And after cooking dinner I snuggled into my sleeping bag and slept well, dreaming of bears and chipmunks and sunrise.
Early the next morning, about 40 minutes till sunrise, I slithered out of my nice cozy bag and into the chilly temps of the pre-dawn. Layering up with all my clothes to help compensate for my skimpily-attired legs I gathered my camera equipment and stalked back off to my favorite patch of streams and pools. Although the morning was 99% cloudless I was still happy to be out shooting. I knew that the warm glow of sunrise would soon hit the Pinnacles and light them up. It was simply a matter of waiting, squashing mosquitoes, and watching until the sun was in a good spot for an image. It took a surprisingly long time, over 40 minutes from first light on the peaks until the light was well down their flanks.
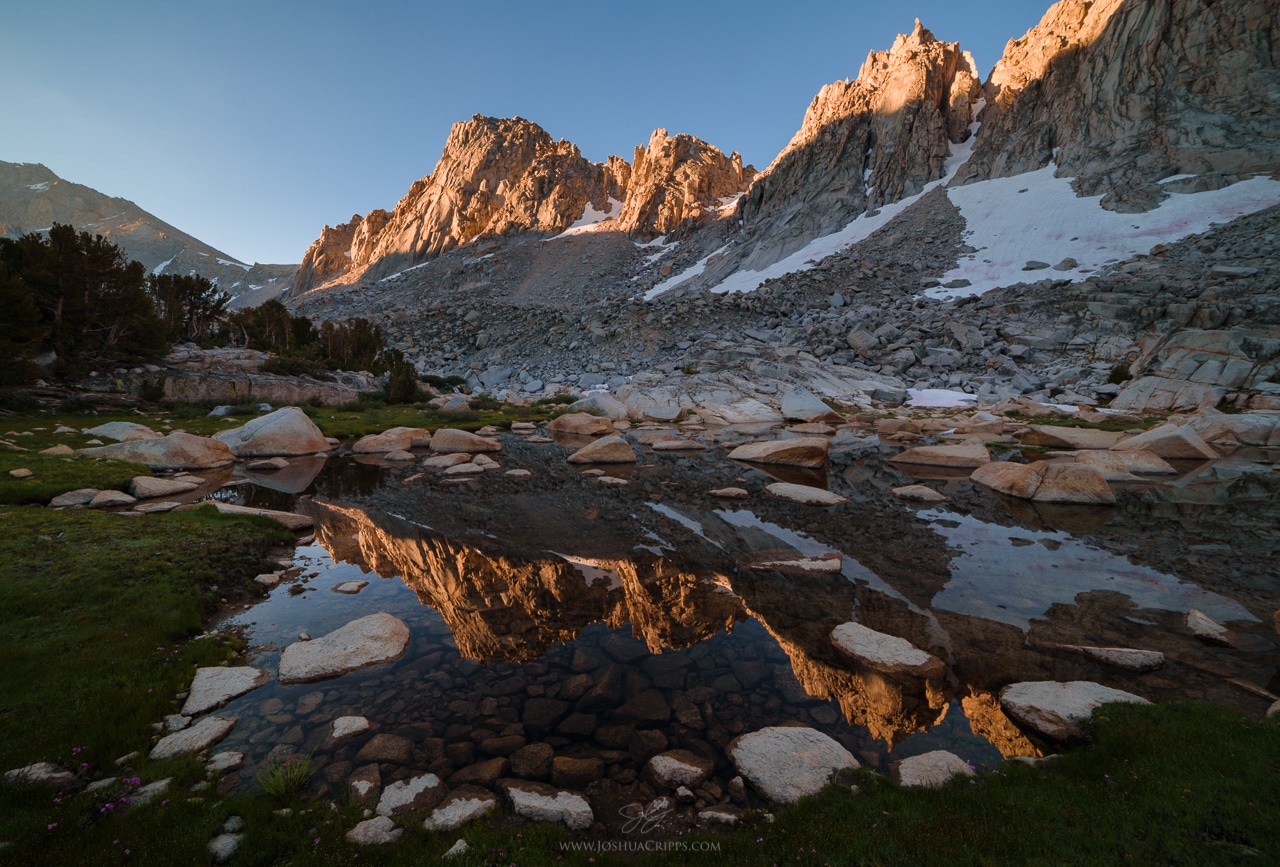
Kearsarge Pinnacles in early morning light.
I spent the next 45 minutes or so meandering through the meadows looking for pleasing compositions and found a few that I enjoyed.
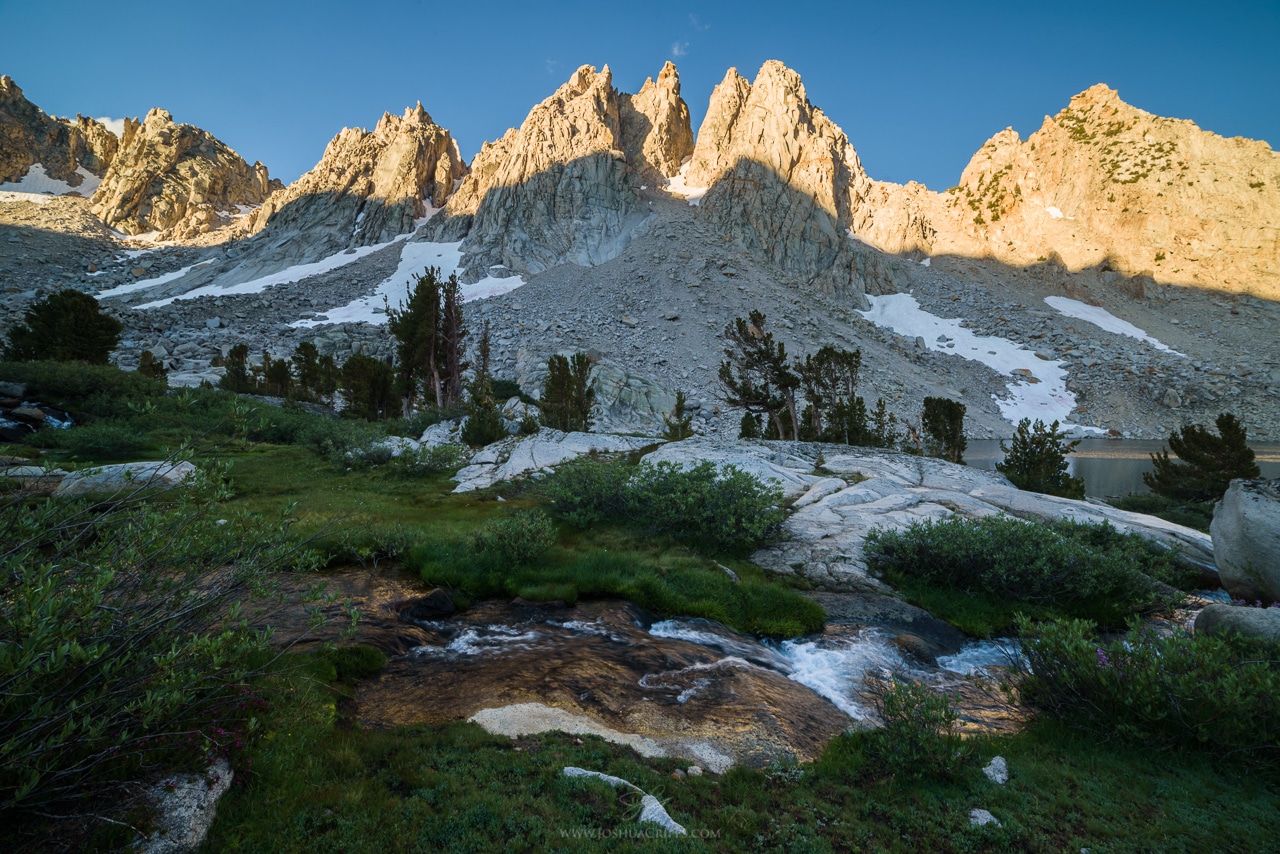
Kearsarge Pinnacles and stream in early morning light.
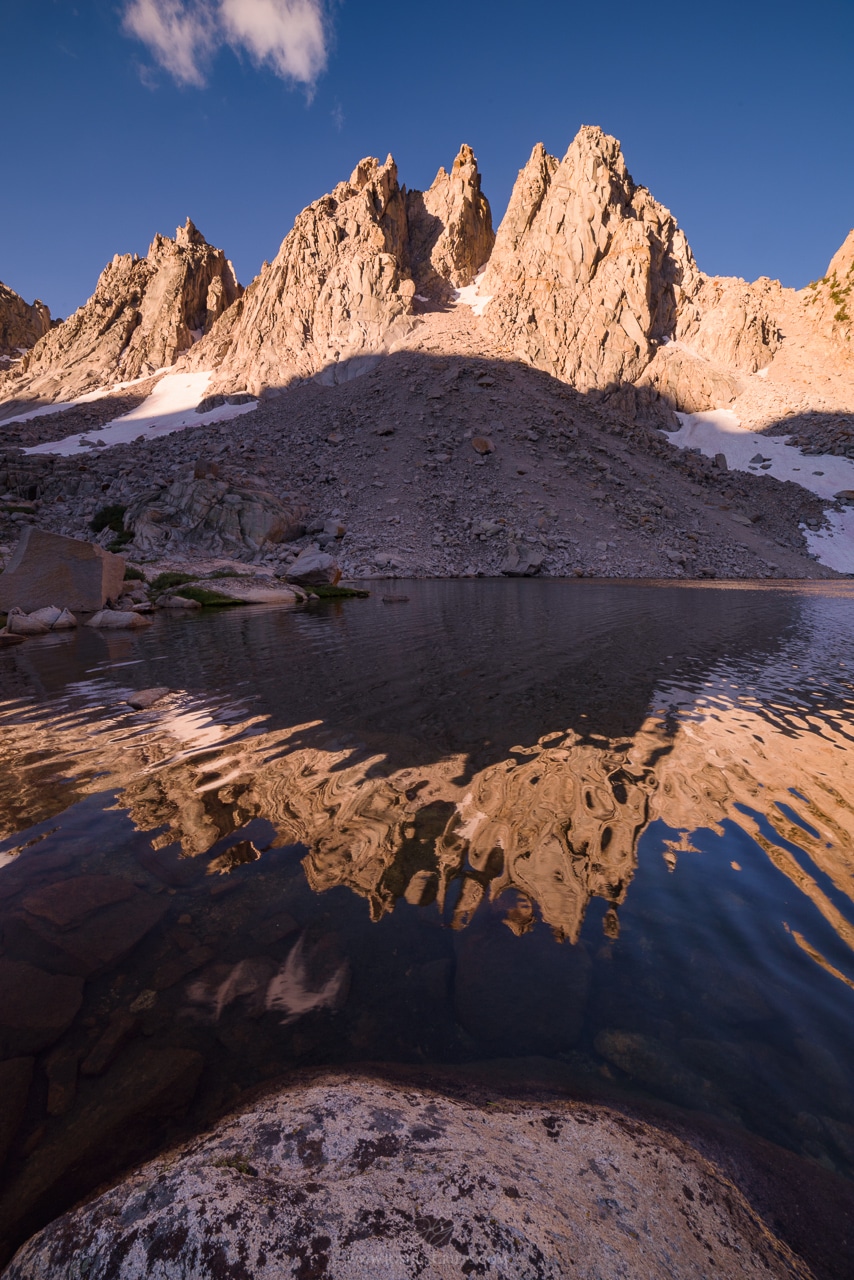
The wind had picked up a bit but some moderate reflections in the largest lake still made for a compelling scene.
Before long the light grew too harsh for large-scale scenes, so I headed back to camp. Along the way I spied some trees backlit beautifully by the morning sun, and I was glad I had schlepped my telephoto along on the trip.
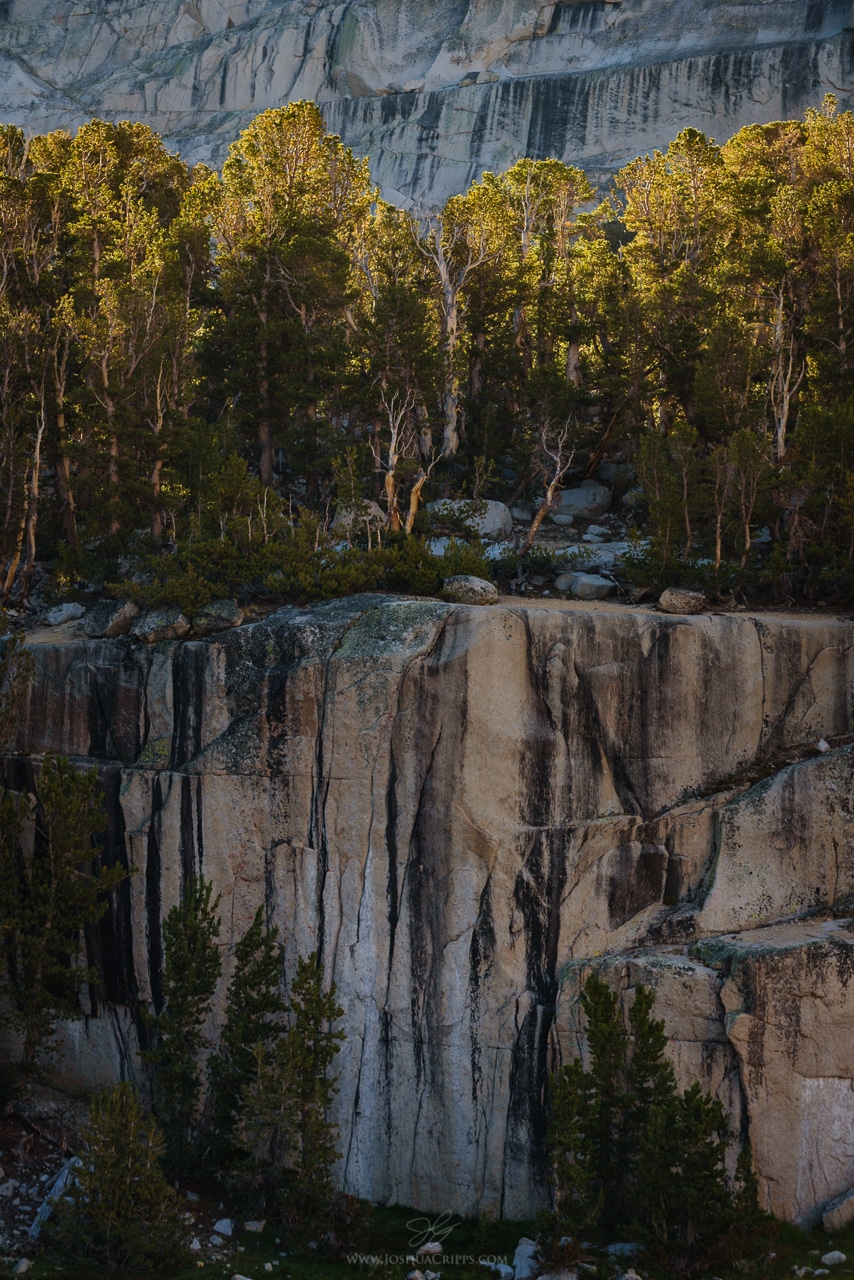
Lodgepole pines and granite, Kings Canyon National Park.
After a quick breakfast of oatmeal I pondered what to do with the day. It was early still and even a 3- or 4-hour dayhike before breaking camp would give me plenty of time to pack up and get to the trailhead by mid afternoon. I had become so entranced by the monumental views west from the top of the low Pinnacle that I decided to explore that area on foot. Tucking a few snacks and a jacket into my backpack I set off cross country into Kings Canyon NP.
After 20 minutes or so I came upon Bullfrog Lake, a remarkably scenic spot with views of East Vidette, Deerhorn Mountain, and a few other striking peaks. There I also rejoined the trail, which made the going much faster.
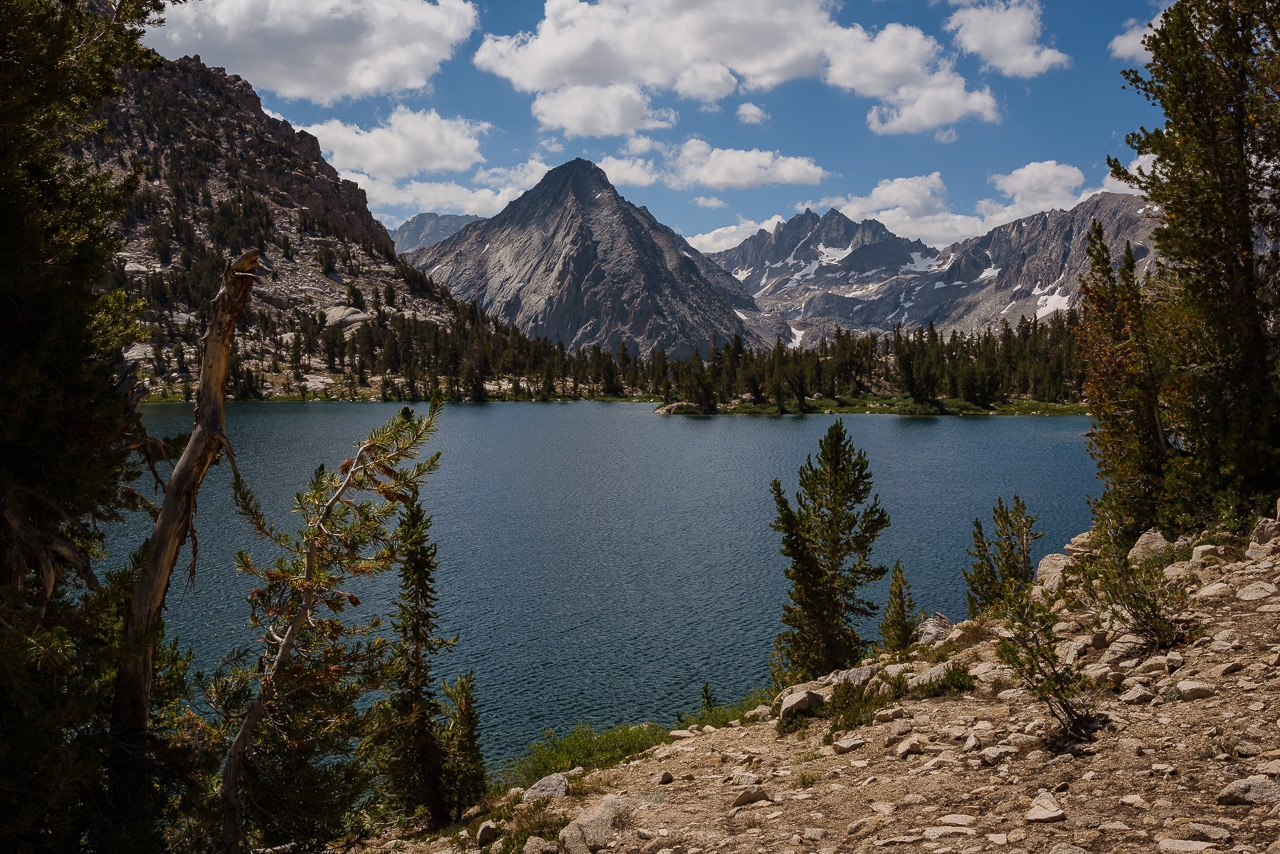
Bullfrog Lake, Kings Canyon National Park.
After another short, easy stretch through flooded and wildflower-laden meadows the trail met up with its more famous big brother: the JMT / PCT. It was immediately obvious something was different about this trail and opposed to the solitude I’d had for the previous 16 hours I was now passing other hikers in 10 minutes intervals. Which just meant I had to tone down my backcountry singing.
Moving south from the JMT trail junction the trail dropped altitude rapidly: losing over 1,000 feet in less than a mile. Every hiker I passed was heading uphill with a look that said, “I’m trying to have fun, but it’s not working.” For me, with a light pack on my back, and the easy downhill travel, all I could do was smile, laugh, and shout at the breathtaking views out over the Bubbs Creek canyon.
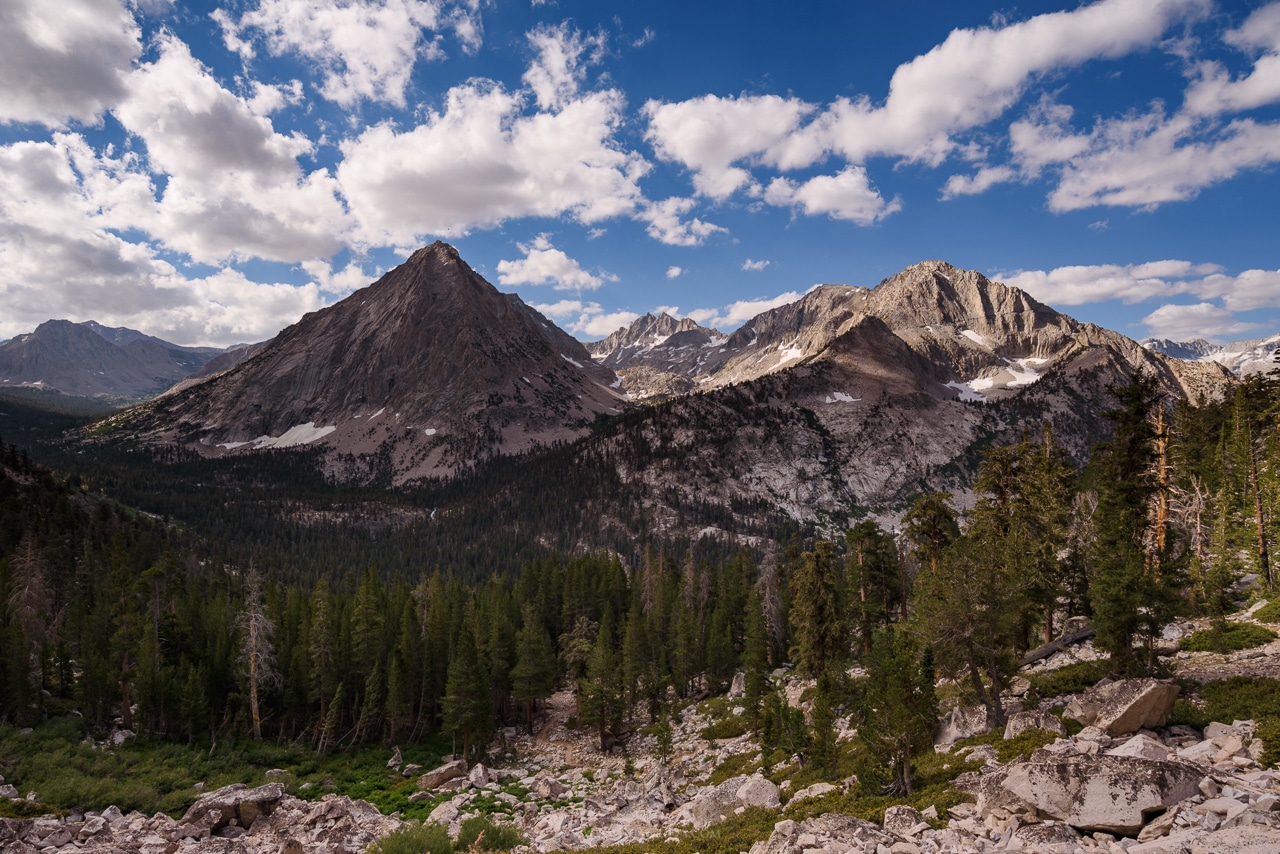
East Vidette (L), Deerhorn Mountain, and West Vidette, Kings Canyon National Park.
Descending down the trail I couldn’t help but notice the innumerable canyons and basins shooting off in every direction. Ah, to be a bird and to have easy access to these spectacular places. Clearly I need to spend more time trekking through this remarkable part of California.
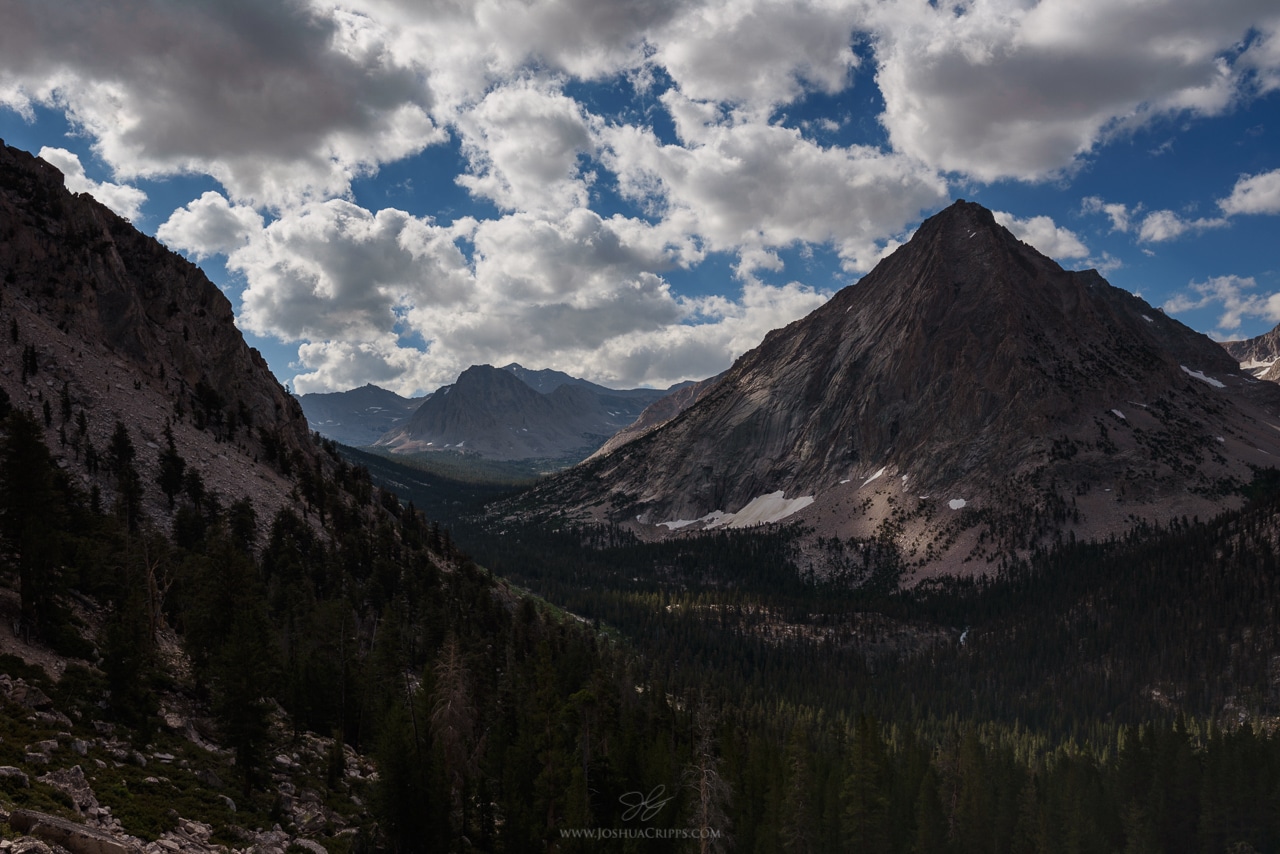
Bubbs Creek Canyon, Kings Canyon National Park.
A short while later I reached the bottom of the trail and continued to follow the JMT to the south for another mile or so till I reached Vedette Meadow. This was a good turn around point as any so I wolfed down the last of my Clif Bar, took a swig of water and began the trek back to camp. Soon enough it was my turn to lament the steep section of trail, but I only had 10 pounds on my back (most of it camera equipment) so fairly flew up the climb, passing a few hikers I’d seen on the way down.
Reaching camp a short while later I packed my bag up and cruised back over the pass and down to my waiting car. All in all a fantastic 24 hours in the backcountry. Be sure to watch the video account of this trip as well for some behind the scenes goodness. Apologies for the vertical video…I filmed most of it on my phone.
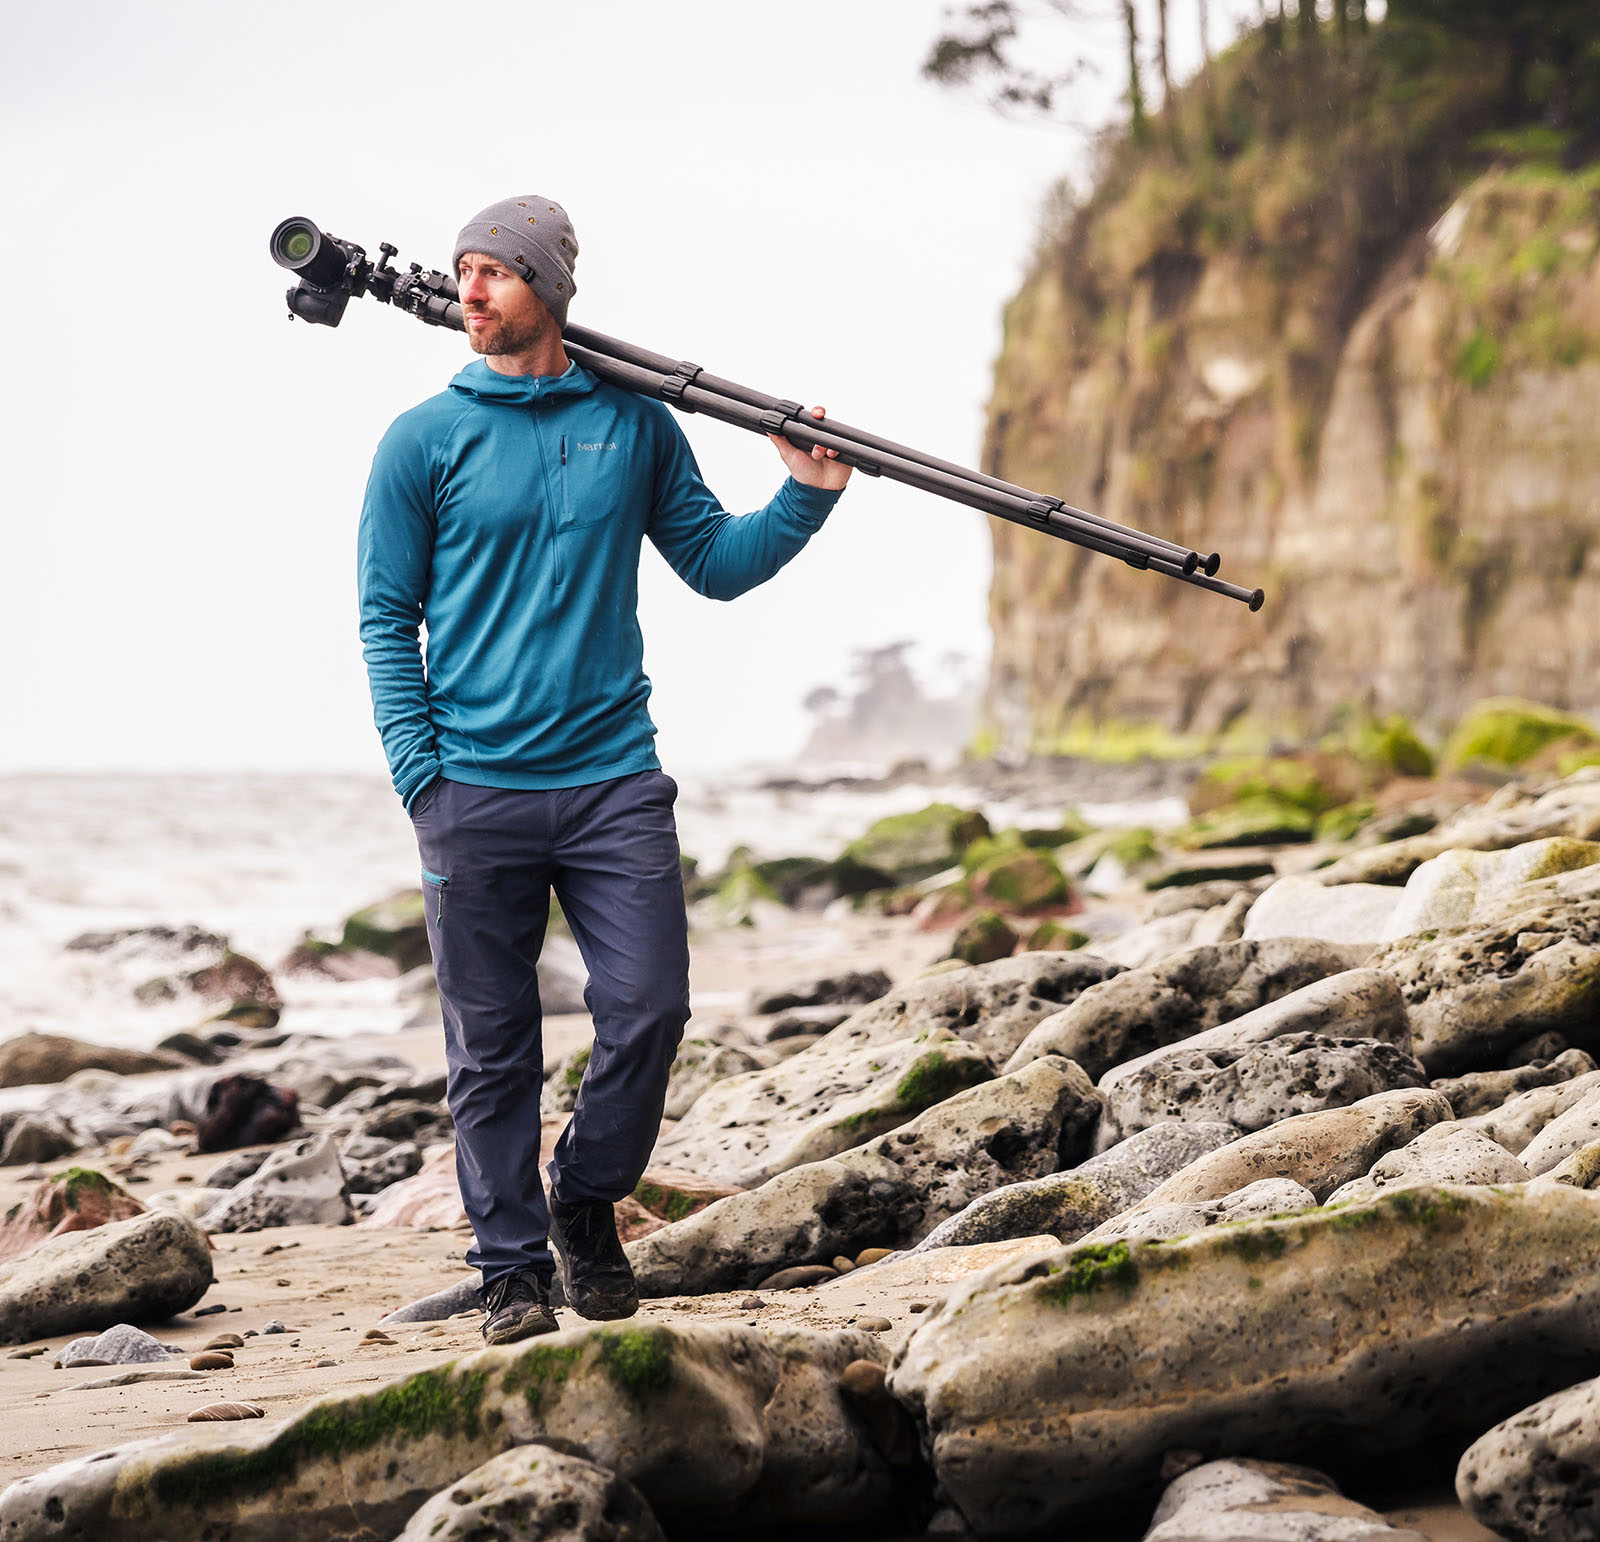
Joshua Cripps is a renowned landscape photographer who has garnered worldwide acclaim for his breathtaking images of our planet’s wild places. His photos have been published by the likes of National Geographic, NASA, CNN, BBC, and Nikon Global.
The Mt. Whitney Gallery was founded in 2023 by Joshua Cripps as a way to share his passion stunning landscapes of the Sierra Nevada and beyond.
Set at the foot of the breathtaking Sierra with a view of the range’s highest peaks, the gallery features large format, museum-caliber fine art prints of Josh’s signature photographs.
Course Login | Results Disclaimer | Terms and Conditions | Privacy Policy
© Copyright – Joshua Cripps Photography

17 Responses
Hey Josh, great write up and fantastic photos! Thanks for sharing with all of us.
All the best,
Shawn
Thanks, Shawn! I’m glad you enjoyed it.
Hey Josh,
I enjoy reading your reports about backpacking trips. I’d love to do some myself here in the Austrian Alps.
May I ask, what do you carry with you (apart from camera equipment)? Which backpack, which tent? Why do you use a tent instead of a bivy sack? How much and what kind of food/drinks do you bring with you? Do you have a camp stove with you? What do you take with you on longer backpacking trips (several days)?
Hope you are doing well.
Greetings from Austria,
Thomas
Hey Thomas,
Glad you enjoy the trip reports! Good question about the gear. Here’s my current equipment list:
– Hyperlite Mountain Gear Backpack Windrider 4400
– Enlightened Equipment 0°F Sleeping Quilt
– Big Agnes Q-SLX Sleeping Pad (I also bring a Thermarest Z-Lite for extra insulation when it’s colder than 20°F)
– Big Agnes UL Fly Creek 2 person tent (I like having some extra space to bring my camera gear inside with me, and to be able to move around)
– Pocket Rocket Cook Stove + Camping Gas + Aluminum Cook Pot + Cigarette Lighter + Camping Potholder + Fozzil Plate + Heavy Duty Plastic Spoon + BearVault
– Food (about 1kg per day. Oatmeal, Bagels, Tuna, Chocolate, freeze-dried meals from Backpacker’s Pantry or Mountain House, Energy Bars, Salty Snacks like pretzels or chips)
– Steripen Water Purifier
– Ibuprofen + Small Container of Sunscreen + Small Container of Big Repellent + Toothbrush and toothpaste
– Map + Compass + Headlamp + Pocketknife
– iPad Mini
– Black Diamond Z Carbon Trekking Poles
– Trekking Clothes (running shorts, quick-dry shirt with a flip-up collar, wide-brim hat, sunglasses, waterproof running shoes, Feetures socks)
– Night Clothes (Pants, beanie, Patagonia Nano Puff Jacket, lightweight gloves)
– Cold Clothes, when colder than 40°F (North Face Down Jacket, Warm Socks, Thermal underwear)
– Really Cold Clothes, when colder than 20°F (Goose down mittens, fur-lined hunter cap, balaclava, fleece pants, thermal shirt, warmer socks, Arcteryx Waterproof Jacket and Pants)
– Camera stuff
Hope that helps! Let me know if you have any more questions.
Cheers, and happy holidays!
Josh
Hey Josh,
thanks for the detailled information! That helps a lot. Just wondering, do you guys use kg? I thought in the US it’s still lbs.
Thanks again and all the best for 2018!
Greetings from Austria,
Thomas
Yeah, for the most part the general population uses lbs.
Happy New Year!
Oh sorry, I missed your last answer. Happy New Year to you, too!
In the video, you have your camera attached to your chest, always ready to shoot, I guess. What did you use for this?
What is the general camera/tripod handling while hiking? If you see something worth shooting, do you have your tripod also within reach without taking off your pack? If so, how/where do you carry it? Or do you shoot handheld only during hiking/scouting? I guess it would be cumbersome to always take off your pack for every photo you take to get the tripod.
Thanks again for your help!
Thomas
Hey Thomas,
To attach the camera to my backpack I use the Peak Design Capture Pro; awesome piece of equipment. I keep my tripod strapped to the side of my backpack 95% of the time and for scouting / hiking I shoot handheld. But of course, any time conditions are good enough to want to take a serious photo then the tripod comes out. 🙂
Take care,
Josh
Hey Josh,
thank you. Looks like a great piece of equipment. That could be what I’m looking for! But it looks like it is not compatible with an L-bracket at the same time. If you do vertical compositions, do you switch the base plate of the Capture Pro with an L-bracket, or do you simply tilt your ballhead to the 90° position (which is not as stable as using an L-bracket and upright ballhead position).
All the best!
Thomas
Correct: unfortunately the Capture clip doesn’t work with L Brackets. So for this I simply tilt my ballhead 90°.
Thanks for your help, Josh! I will look into it and I am looking forward to summer season in the Alps.
Thomas
Amazing video and photos as always. I would love to hear more about the gear you used for the hike. How much weight did you carry? Which lens(es) tripod system did you use.
(For anyone who has not gone on one of Josh’s photography classes, They are awesome.)
Hi Ken, good to hear from you! I hope you and Lori are doing well.
On this trip my pack was about 30 pounds total for the single night out. There’s about 18 pounds of backpacking equipment, plus 10-12 pounds of camera gear. I use a carbon fiber tripod from Induro that weighs around 3.5 pounds. Then I brought my D750, an 18-35mm lens, a 14-24mm lens, and a 70-200mm f/4 lens. Plus a spare battery and some cleaning equipment. Hope that helps! Let me know if you have any specific questions about the gear.
Merry Christmas,
Josh
Josh, thank you for sharing with us. As always your videos are entertaining and inspirational. Being from Minnesota I can only dream of beautiful mountain photos or in this case drool over your shots.
My pleasure, Mike, and glad you enjoyed the article. Sounds like a trip out west should be in your future!
Beautiful photos as always, and I couldn’t stop laughing during your video! I hiked through the area on August 7 this year; I wonder if I passed you on the JMT/PCT? If I recall, the junction between the JMT and the Kearsarge Pass Trail was completely flooded; it was strange, a lake in the middle of an otherwise dry, sandy area. It sounds like you stayed a little further south on the Bullfrog Lake Trail, however.
Thanks for sharing your stories and photos!
Thanks so much, Andrew. Glad you enjoyed the account. I hiked through on August 20th so it seems we missed each other. Hope you had a great hike!