For those who don’t know what burning and dodging is, I’ll summarize here really quickly: burning is a way to selectively darken parts of your photo, and dodging is a way to selectively brighten parts of your photo.
Now why would you want to do this? There are a couple main reasons. One is to correct exposure issues in the frame, like if you need to balance the brightness of one area with another, or if you want to emphasize certain highlight and shadow areas. You can also use burning and dodging to add atmosphere to an image. But the big daddy reason is this: to completely control and direct your viewers’ attention in your photo. In photos people will pay more attention to the bright parts than the dark parts, and knowing this you can get them to look at whatever you want them to look at.
Ansel Adams was a master at this process and if he wanted you to look at a certain part of the photo well by gum he burned and dodged that sucker until you couldn’t help yourself but look exactly right there. For example, here’s a before image. Fine, but with a little burning and dodging I force your attention away from the edges of the frame and right to that big beautiful mountain in the middle. It’s sort of like mind control, so try not to abuse your soon-to-be powers too much.
Photoshop has dodge and burn tools built in and they do work, but I don’t like using them because of one key issue: they are destructive. You use these tools directly on the image itself, which means you’re actually changing the pixel values of the photo itself, which is kinda like making a copy of a copy: the more you do it, the worse the image quality gets. So if I dodge dodge dodge, then burn burn burn, things get totally effed.
Instead we’re going to employ the magic of blending modes to burn and dodge in a completely non destructive way. Hit Crtl/Cmd Shift N to bring up the new layer dialog. In the blend mode select soft light and check the 50% gray box. Now switch from the burn/dodge tools to the normal brush tool by hitting B. In a soft light layer anything that’s brighter than middle gray will brighten the underlying layer, and anything that’s darker than middle gray will darken it.
In other words, if I paint with white on this soft light layer, it’s going to brighten the photo. (definitely use a low opacity) And if I paint with black it’s going to darken the photo. So now you can do really cool things like easily add vignettes, and brighten the center of your photo with some simple brush strokes. And best of all, I can always undo these brush strokes, delete this layer, reduce its opacity and do all the other cool things you can do with a separate layer, making this completely non-destructive.
Now you probably noticed that this kind of burning dodging isn’t very targeted; unlike the built-in burn and dodge tools where you can select what tonal range to affect, this just sort of works on everything indiscriminately. And if I use too much in one spot it makes the photo either too flat or too washed out. So be sure to check out Part 2 of this video where I show you some easy techniques to prevent that washed out look, as well as target the burning and dodging more precisely.


Joshua Cripps is a renowned landscape photographer who has garnered worldwide acclaim for his breathtaking images of our planet’s wild places. His photos have been published by the likes of National Geographic, NASA, CNN, BBC, and Nikon Global.

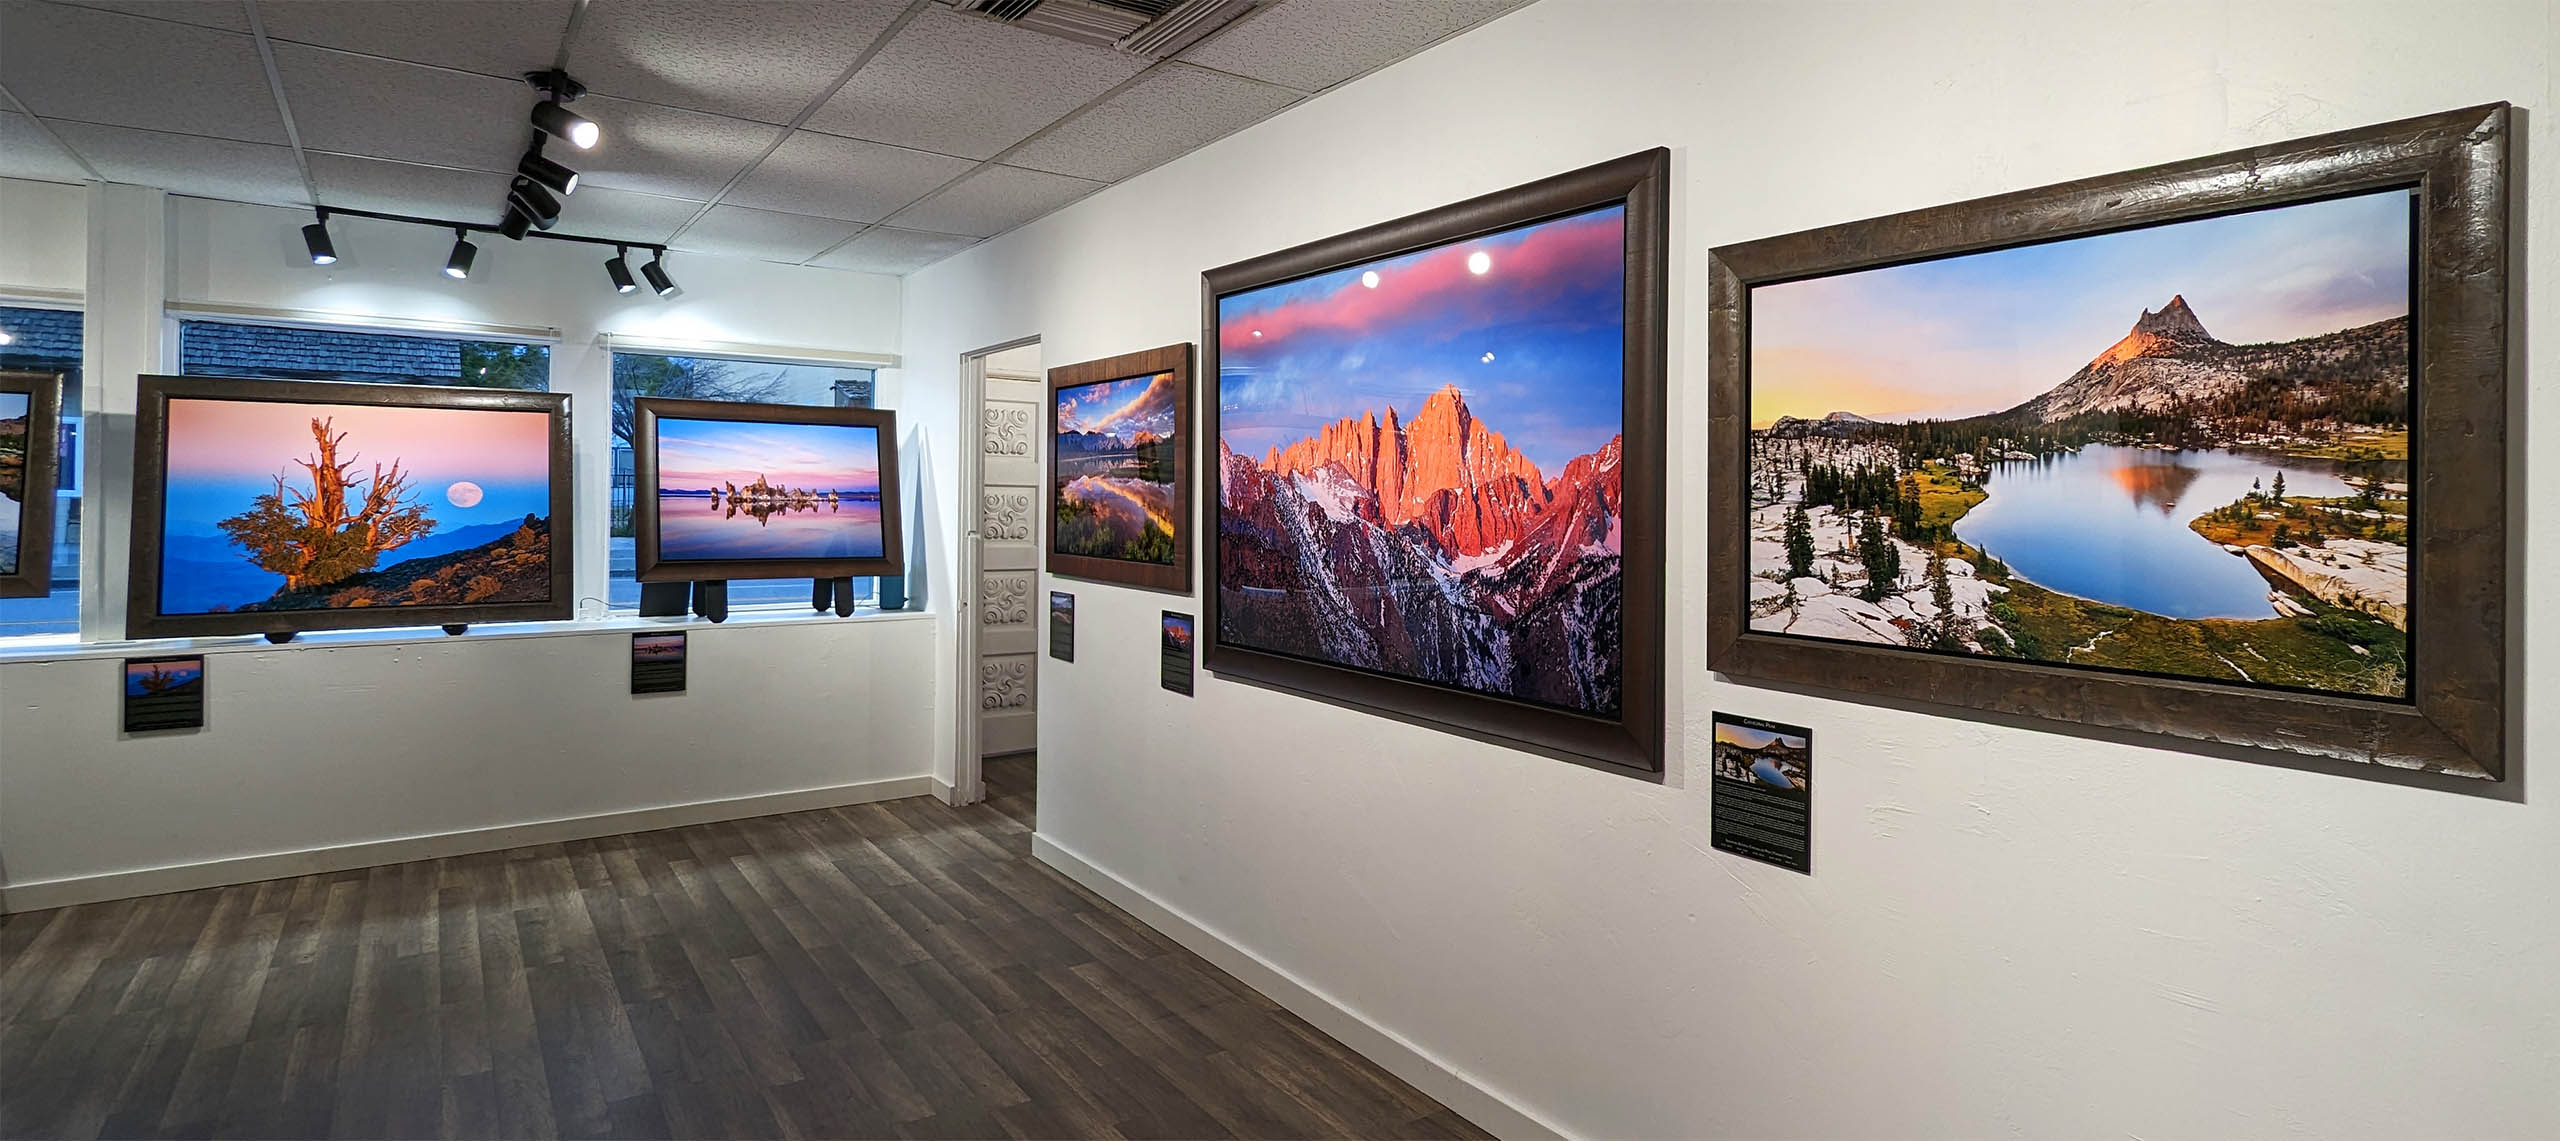
The Mt. Whitney Gallery was founded in 2023 by Joshua Cripps as a way to share his passion stunning landscapes of the Sierra Nevada and beyond.
Set at the foot of the breathtaking Sierra with a view of the range’s highest peaks, the gallery features large format, museum-caliber fine art prints of Josh’s signature photographs.
Course Login | Results Disclaimer | Terms and Conditions | Privacy Policy
© Copyright – Joshua Cripps Photography
