In part 1 of this video we talked about dodging and burning on a 50% gray layer. It’s an amazing way to d/b non destructively but it’s got two problems: 1) it can wash out your colors, and 2) it’s not very targeted. So now we’re going to learn a couple of easy techniques to deal with these issues.
When you dodge with a plain white brush the image gets lighter and lighter but it also gets whiter and whiter, hence the washed out look. So to fix that issue we’re not going to use white, but rather we’re going to dodge with a color. The best method is to simply grab a dominant color from the area you want to dodge, then go over to the color picker and select a bright version of that color. The closer to white it is the more it will dodge, the closer to the true color the more color it will impart. Somewhere in the middle is usually best.
Now we can dodge without making things washed out, giving the image some nice atmosphere, but our dodging is still not very targeted. For example, say I want to dodge this cloud without brightening the surrounding shadows. Or what if I want to lift the shadows in the mountains without affecting the bright areas? There are many complicated ways to do this but I’m going to show you a super simple one, booyah!
First, take your image and add a burn and dodge layer. Now add a layer mask. And before you do anything else go to Image -> Apply Image. Select the defaults and click OK. Photoshop has taken a black and white copy of the photo and made it into a layer mask.
As I’m sure you all know, when it comes to layer masks white reveals and black conceals. In other words, wherever our mask is bright our adjustment will show up, and wherever our mask it dark it won’t. Which means we now have an amazing way to dodge and burn exactly what we want. Want to dodge those highlights with a little color? pop pop pop, the shadows are unaffected.
Or say you want these shadowy trees to be just a little brighter? No problem, make another burn and dodge layer. And go Image -> Apply Image. This time, select Invert and click OK. Select the layer mask then hit Ctrl/Cmd M to bring up a curves adjustment. Use the little hand, the targeted adjustment tool, and whatever you want to be affected by your dodging, the trees for example, click and drag up. Whatever you don’t want to be affect, the mountains for example, click and drag down. Now our dodging is just where we want it.
And that’s all there is to it! some tried and true, easy techniques to burn and dodge like a Photoshop ninja. Try not to cut anyone’s arm off with your katana skillzzz.


Joshua Cripps is a renowned landscape photographer who has garnered worldwide acclaim for his breathtaking images of our planet’s wild places. His photos have been published by the likes of National Geographic, NASA, CNN, BBC, and Nikon Global.

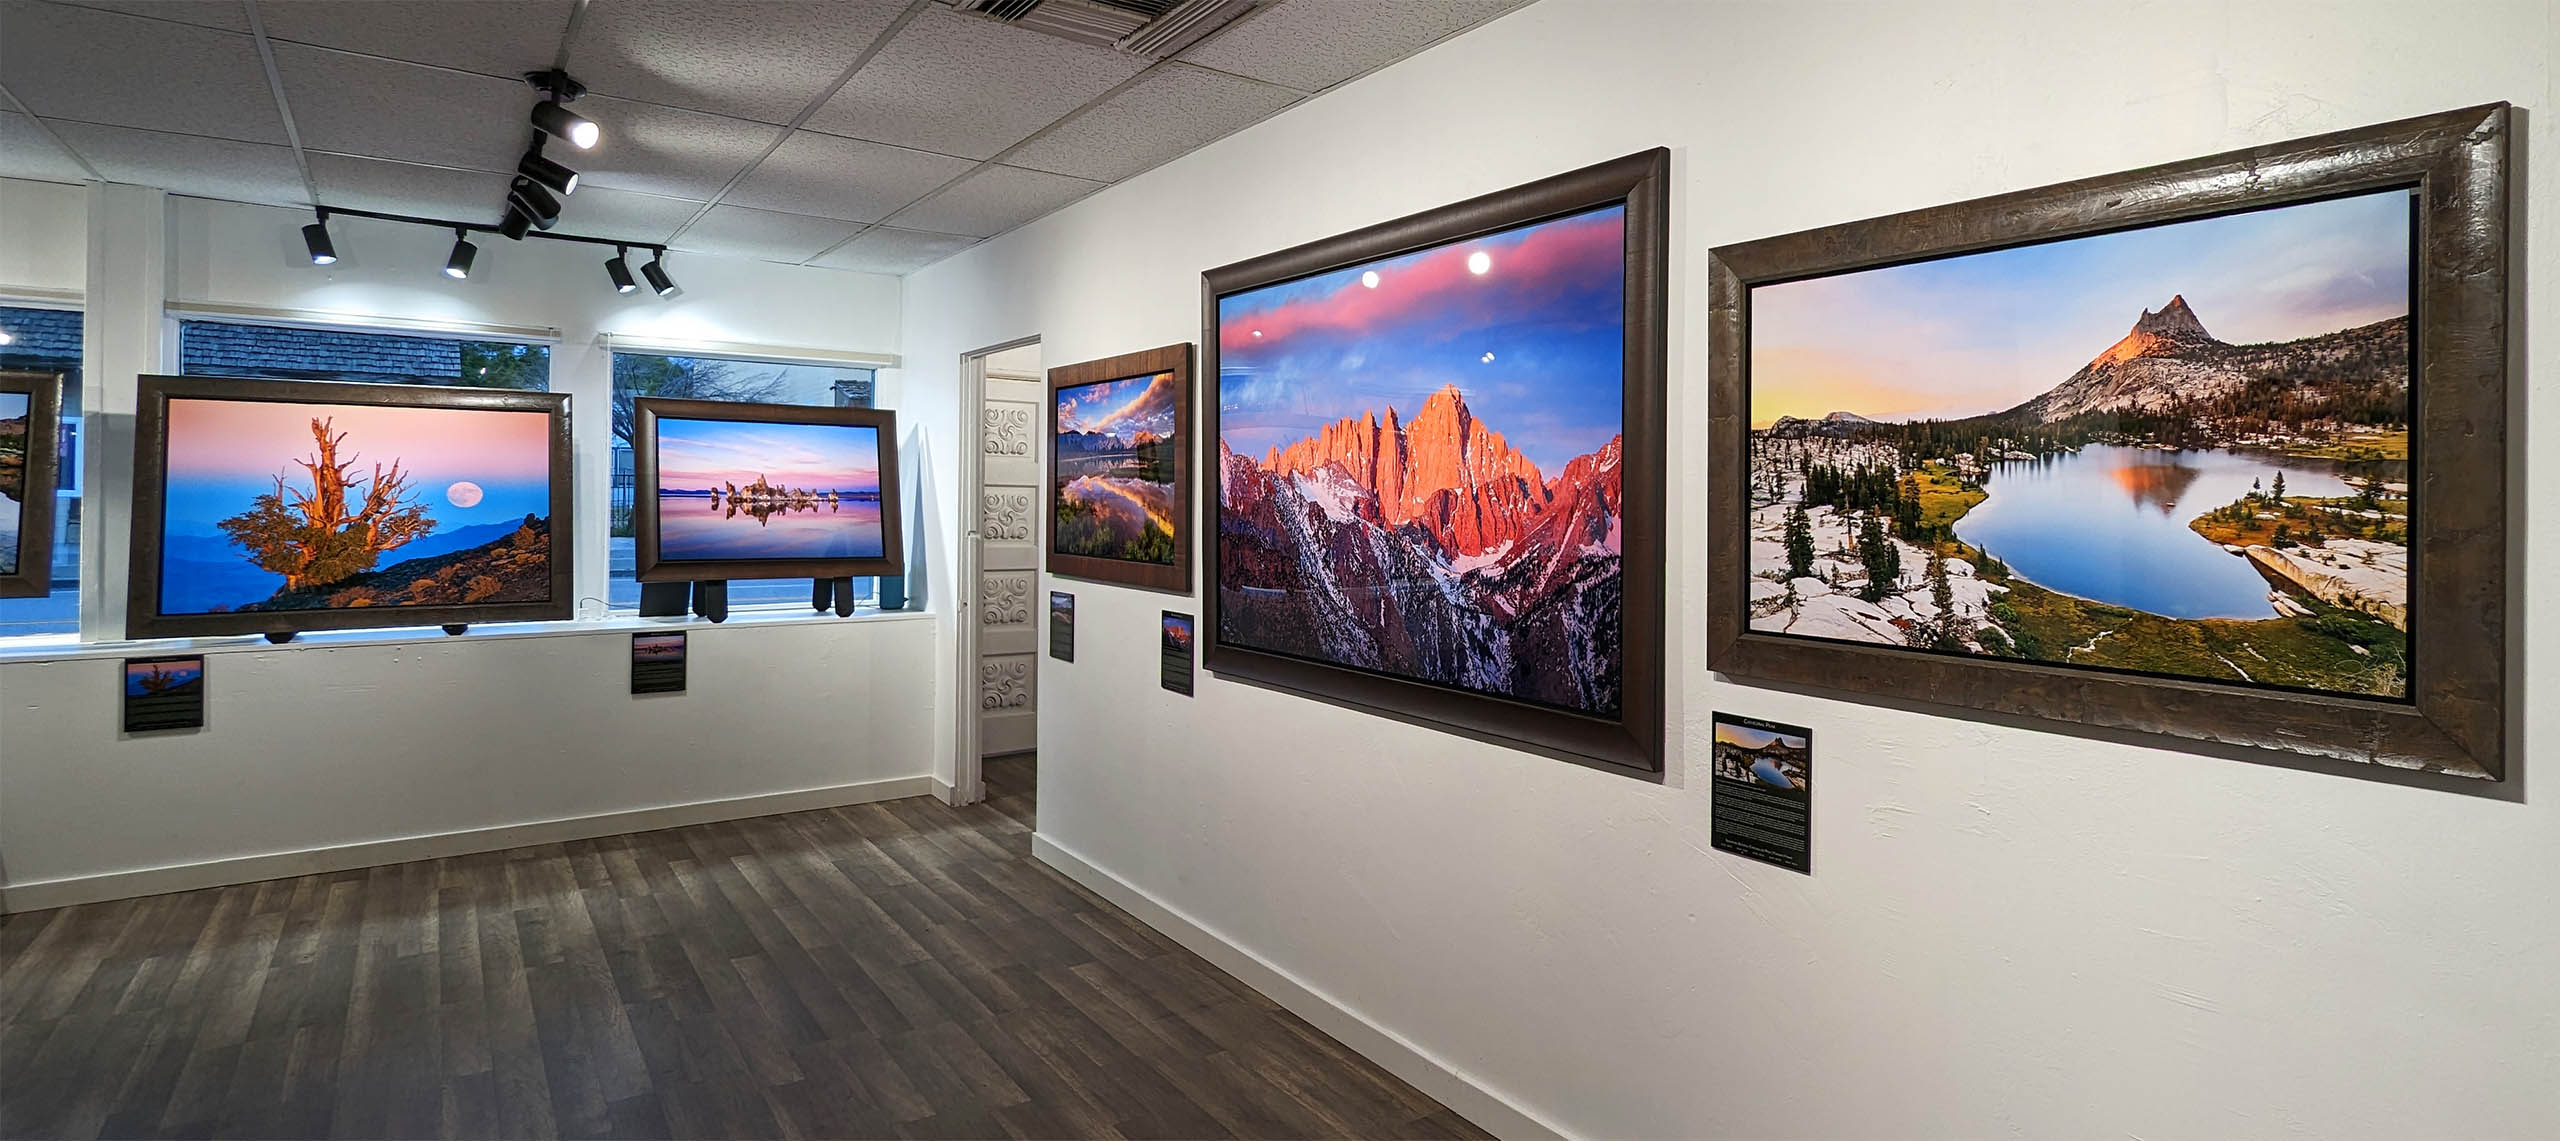
The Mt. Whitney Gallery was founded in 2023 by Joshua Cripps as a way to share his passion stunning landscapes of the Sierra Nevada and beyond.
Set at the foot of the breathtaking Sierra with a view of the range’s highest peaks, the gallery features large format, museum-caliber fine art prints of Josh’s signature photographs.
Course Login | Results Disclaimer | Terms and Conditions | Privacy Policy
© Copyright – Joshua Cripps Photography
