Want to learn how to add sweet rays to your photos? here’s how…
This technique will work for a lot of images but the best ones will have speckled clouds with a lot of light and dark which will give you the best look for the beams. We are going to isolate some of the brightest areas of the photo and then we are going to duplicate them and stretch them out in a way that will make them look like light beams.
Start by creating a completely new layer using: Ctrl + Alt + Shift + N and then add a layer mask to that.
One of the quickest ways to isolate highlights in Photoshop is to go to:
This creates a gray scale copy of the image as a layer mask – which is very cool! And it will help us to highlight those light and shadow areas.
Next you want to make those a little more obvious and you can do this by holding Alt / Option clicking on the layer mask thumbnail, that brings up what the layer mask looks like. Then Ctrl + M brings up a curves dialogue allowing you to adjust the tones of that layer mask.
I drag the black point to the right and the white point to the left to isolate the highlights of the image.
Now turn the highly defined mask into a selection by:
Now you can delete the masked layer as we are only interested in the highlight layer from now on. And here’s the fun part where we get to blur it out and make it look a lot more like sun beams!
Go to:
Filter > Blur > Radial Blur
This will allow you to stretch out your image from a center point – make sure your blur method is set to zoom and I like to put the amount up to 100 and select in the box roughly where your light source is.
This will create a bit of a blur, so now you want to exaggerate them and make them really defined so I am going to blur them a couple more times by hitting Ctrl + F
To make this stronger, duplicate the layer a bunch of times using Ctrl + J and then group all of this together by holding Shift + clicking on the bottom layer to select them all and use Ctrl + G to put them in a group.
By adding another layer mask we will be able to get rid of the bits that are highlighted that we don’t want to see, clicking Alt + layer mask fills it with black and then we can paint them back in where we want them.
Using the B brush tool with a white F/G color and a low opacity gives a subtle stroke which is the best for this.
Now, figure out where the highlights are: start at the highlights and paint away from the light source. You might find there are some areas where there are unwanted overlap, so once you have painted them you can come in with a black brush with high opacity and paint areas where the beams shouldn’t be.
Also make sure the sun beams don’t highlight backwards over dark areas, they should come out of highlight areas not shadow areas.
And that’s all there is to it!


Joshua Cripps is a renowned landscape photographer who has garnered worldwide acclaim for his breathtaking images of our planet’s wild places. His photos have been published by the likes of National Geographic, NASA, CNN, BBC, and Nikon Global.

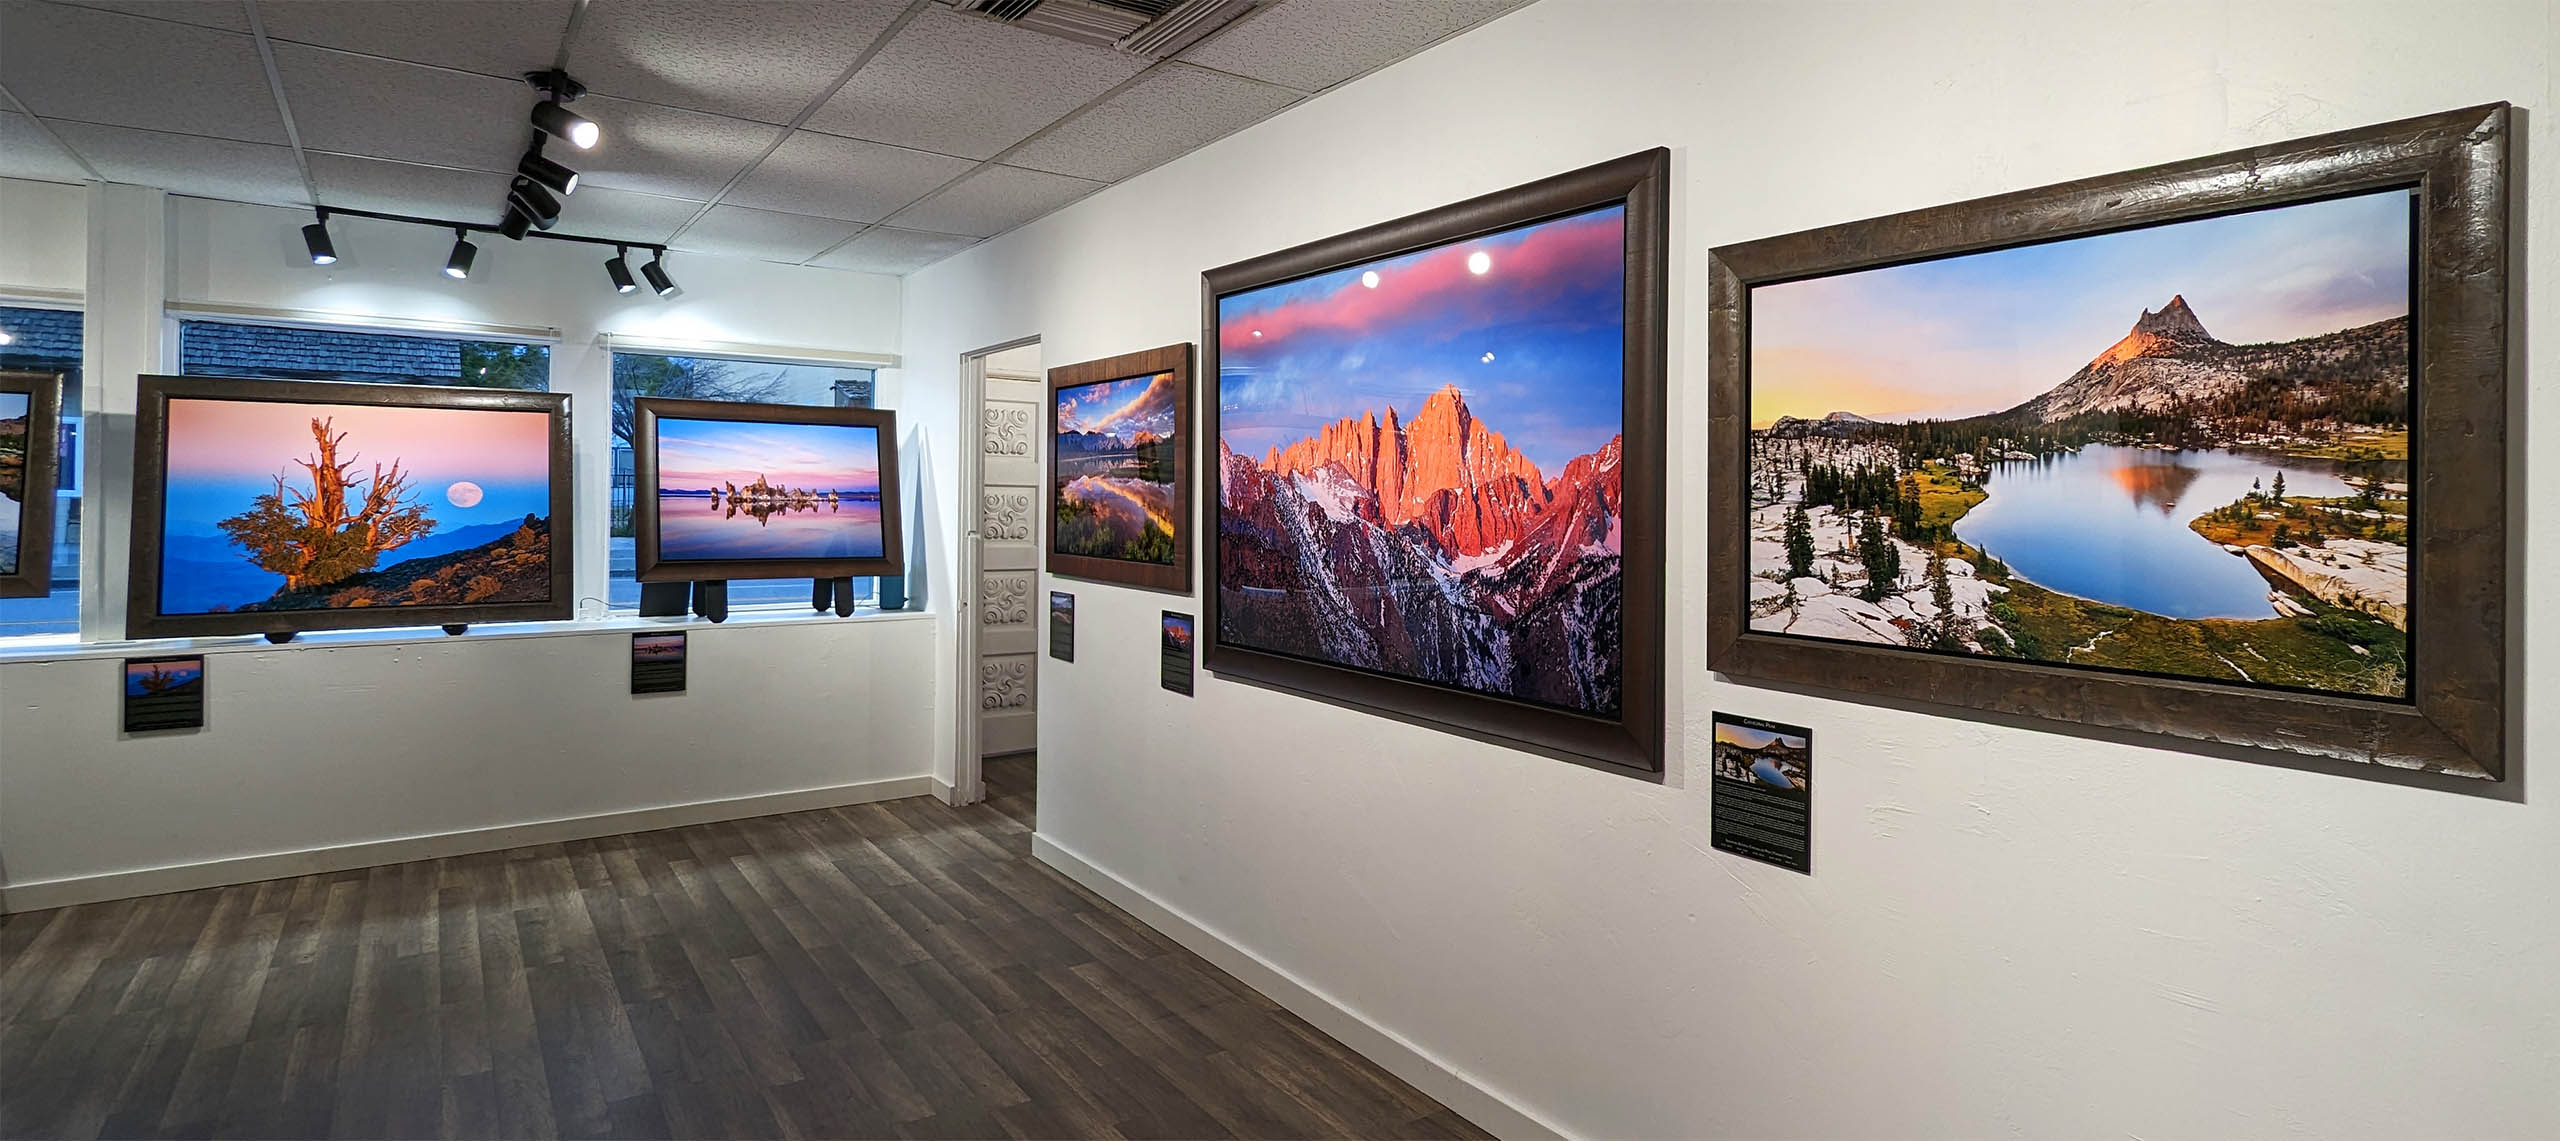
The Mt. Whitney Gallery was founded in 2023 by Joshua Cripps as a way to share his passion stunning landscapes of the Sierra Nevada and beyond.
Set at the foot of the breathtaking Sierra with a view of the range’s highest peaks, the gallery features large format, museum-caliber fine art prints of Josh’s signature photographs.
Course Login | Results Disclaimer | Terms and Conditions | Privacy Policy
© Copyright – Joshua Cripps Photography
Get free tutorials, workshop invites, and exclusive photo tour updates delivered to your inbox.
📷 Easy-to-follow video and written tutorials
🌄 Early access to photo tours & workshops
🧭 Pro tips from real-world shooting experience
No spam. Unsubscribe anytime.
