Once you have a photograph you want to turn into a print, the next step is deciding HOW to print it. The sheer number of choices for print media, finishes, and sizes can be overwhelming. In this article I will breakdown the main options to help you decide what’s right for you.
In my view, as of 2025 there are four main options when it comes to print media: Paper, Canvas, Metal, and Acrylic. Each offer a unique impression, distinct pros and cons, quirks and pricing. Let me break it down:
| Medium | Paper | Canvas | Dye-Sub Metal | Acrylic Face Mounts |
|---|---|---|---|---|
| Overall Impression | Elegant and timeless. The classic look. | Painterly, soft, contemporary. | High impact, vivid, and striking. | High impact, vivid, and striking. |
| Pros | There are many different paper types to suit any image, from subtle to high impact. Inexpensive. Can print at home. Extremely high color and detail reproduction. 60 year+ lifetime. | Inexpensive to produce, can be ordered easily online, arrives ready to hang. | Extremely vibrant prints which seem to glow with their own light. 60 year+ lifetime. Waterproof and scratch resistant. Arrives ready to hang. | Extremely vibrant prints with the absolute highest level of detail and clarity. 60 year+ lifetime. Arrives ready to hang. |
| Cons | Requires framing, which adds complexity and cost. When framed, glass can obscure the print. | Doesn't reproduce fine detail very well, can easily be scuffed and damaged. Lower lifetime, depending on how it's printed. | Can be difficult to accurately color profile and proof. | Extremely expensive to produce, can warp if not produced correctly, acrylic front can scratch easily. |
| Cost | Low initially, but framing requires a high cost on the backend before you can hang it. | Low. | Medium, on par or slightly cheaper than framing a paper print. | Very high, 1.5x - 2x cost compared to a dye sub metal print |
| Quirks | There are many different paper types, from matte to lustre to glossy to metallic to pearl, each suiting a different type of photo. This can require a lot of experimentation until you find a paper that works for you and your work. But since you can buy a photo printer for your home, the process of proofing, experimenting, and printing can be a lot more fun, and offer a lot more control than other print styles. | None really. What you see is what you get with canvas. Just make sure whoever is doing the printing is using archival inks and canvas. | Due to the way they are manufactured, metal prints are extremely difficult to accurately color profile. Which means soft proofing generally doesn't work and you need to rely on hard proofs. This can make the proofing process tedious. | When doing acrylic facemount prints you need to choose a paper type (I HIGHLY recommend Fuji Pearl), an acrylic type (TruLife is the best), a backing material (acrylic is the best, not a backing board), and sometimes even an adhesive. If you pick anything less than the best materials, your print runs the risk of warping, delaminating, or getting scratched. If you're going to spend the money on an acrylic, go in whole hog. |
| Best For | Any and all types of prints. | Softer, more painterly images. Printing large on a budget | High impact images with lots of color, detail, and contrast. | High impact images with lots of color, detail, and contrast. |
Here at The Mt Whitney Gallery, I exclusively produce dye-sub metal prints because my photographic style (lots of light, color, detail, and contrast) suits these types of prints. If I was displaying softer images when less contrast, color, and detail, I would be tempted to use a more traditional framed paper print.
The dye-sub metal prints are extremely vivid and impactful. When lit correctly, these prints seem to glow with their own light. Because there is nothing in-between you and the print (no glass or acrylic cover), the images seem incredibly present. Many of the prints in the gallery feel actually three dimensional.
Acrylic facemount prints arguably have a slight edge over dye-sub metal in terms of detail and clarity. However, the difference is subtle; most people would never notice it. But acrylics are much more expensive to produce, have more quirks, and can be damaged more easily. For me, those annoyances are not worth the tradeoff to get 1% more print quality.
For years I avoided making dye-sub metal prints because I never saw results I was happy with. Sometimes the colors and details would be significantly different than my print file. But as it turns out, making a beautiful dye-sub metal print is as much an art as it is a science. It requires the printmaker to have a high level of awareness of how a photo will reproduce, and to be able to make subtle tweaks to the print file in order to get the best results. So if you want to get into dye-sub metal prints, my advice is to send the same photo to a few different print makers and ask for a test image to see which one you like the best.
I did this in the months before opening my gallery and ended up falling in love with the prints from Magna Chrome. They make hands down the most beautiful dye-sub metal prints I’ve ever seen, and they also do framing, which adds a really elegant final touch to the prints.
Magna Chrome also offers a 10% discount to anyone who finds them through me, using the code CRIPPS10.
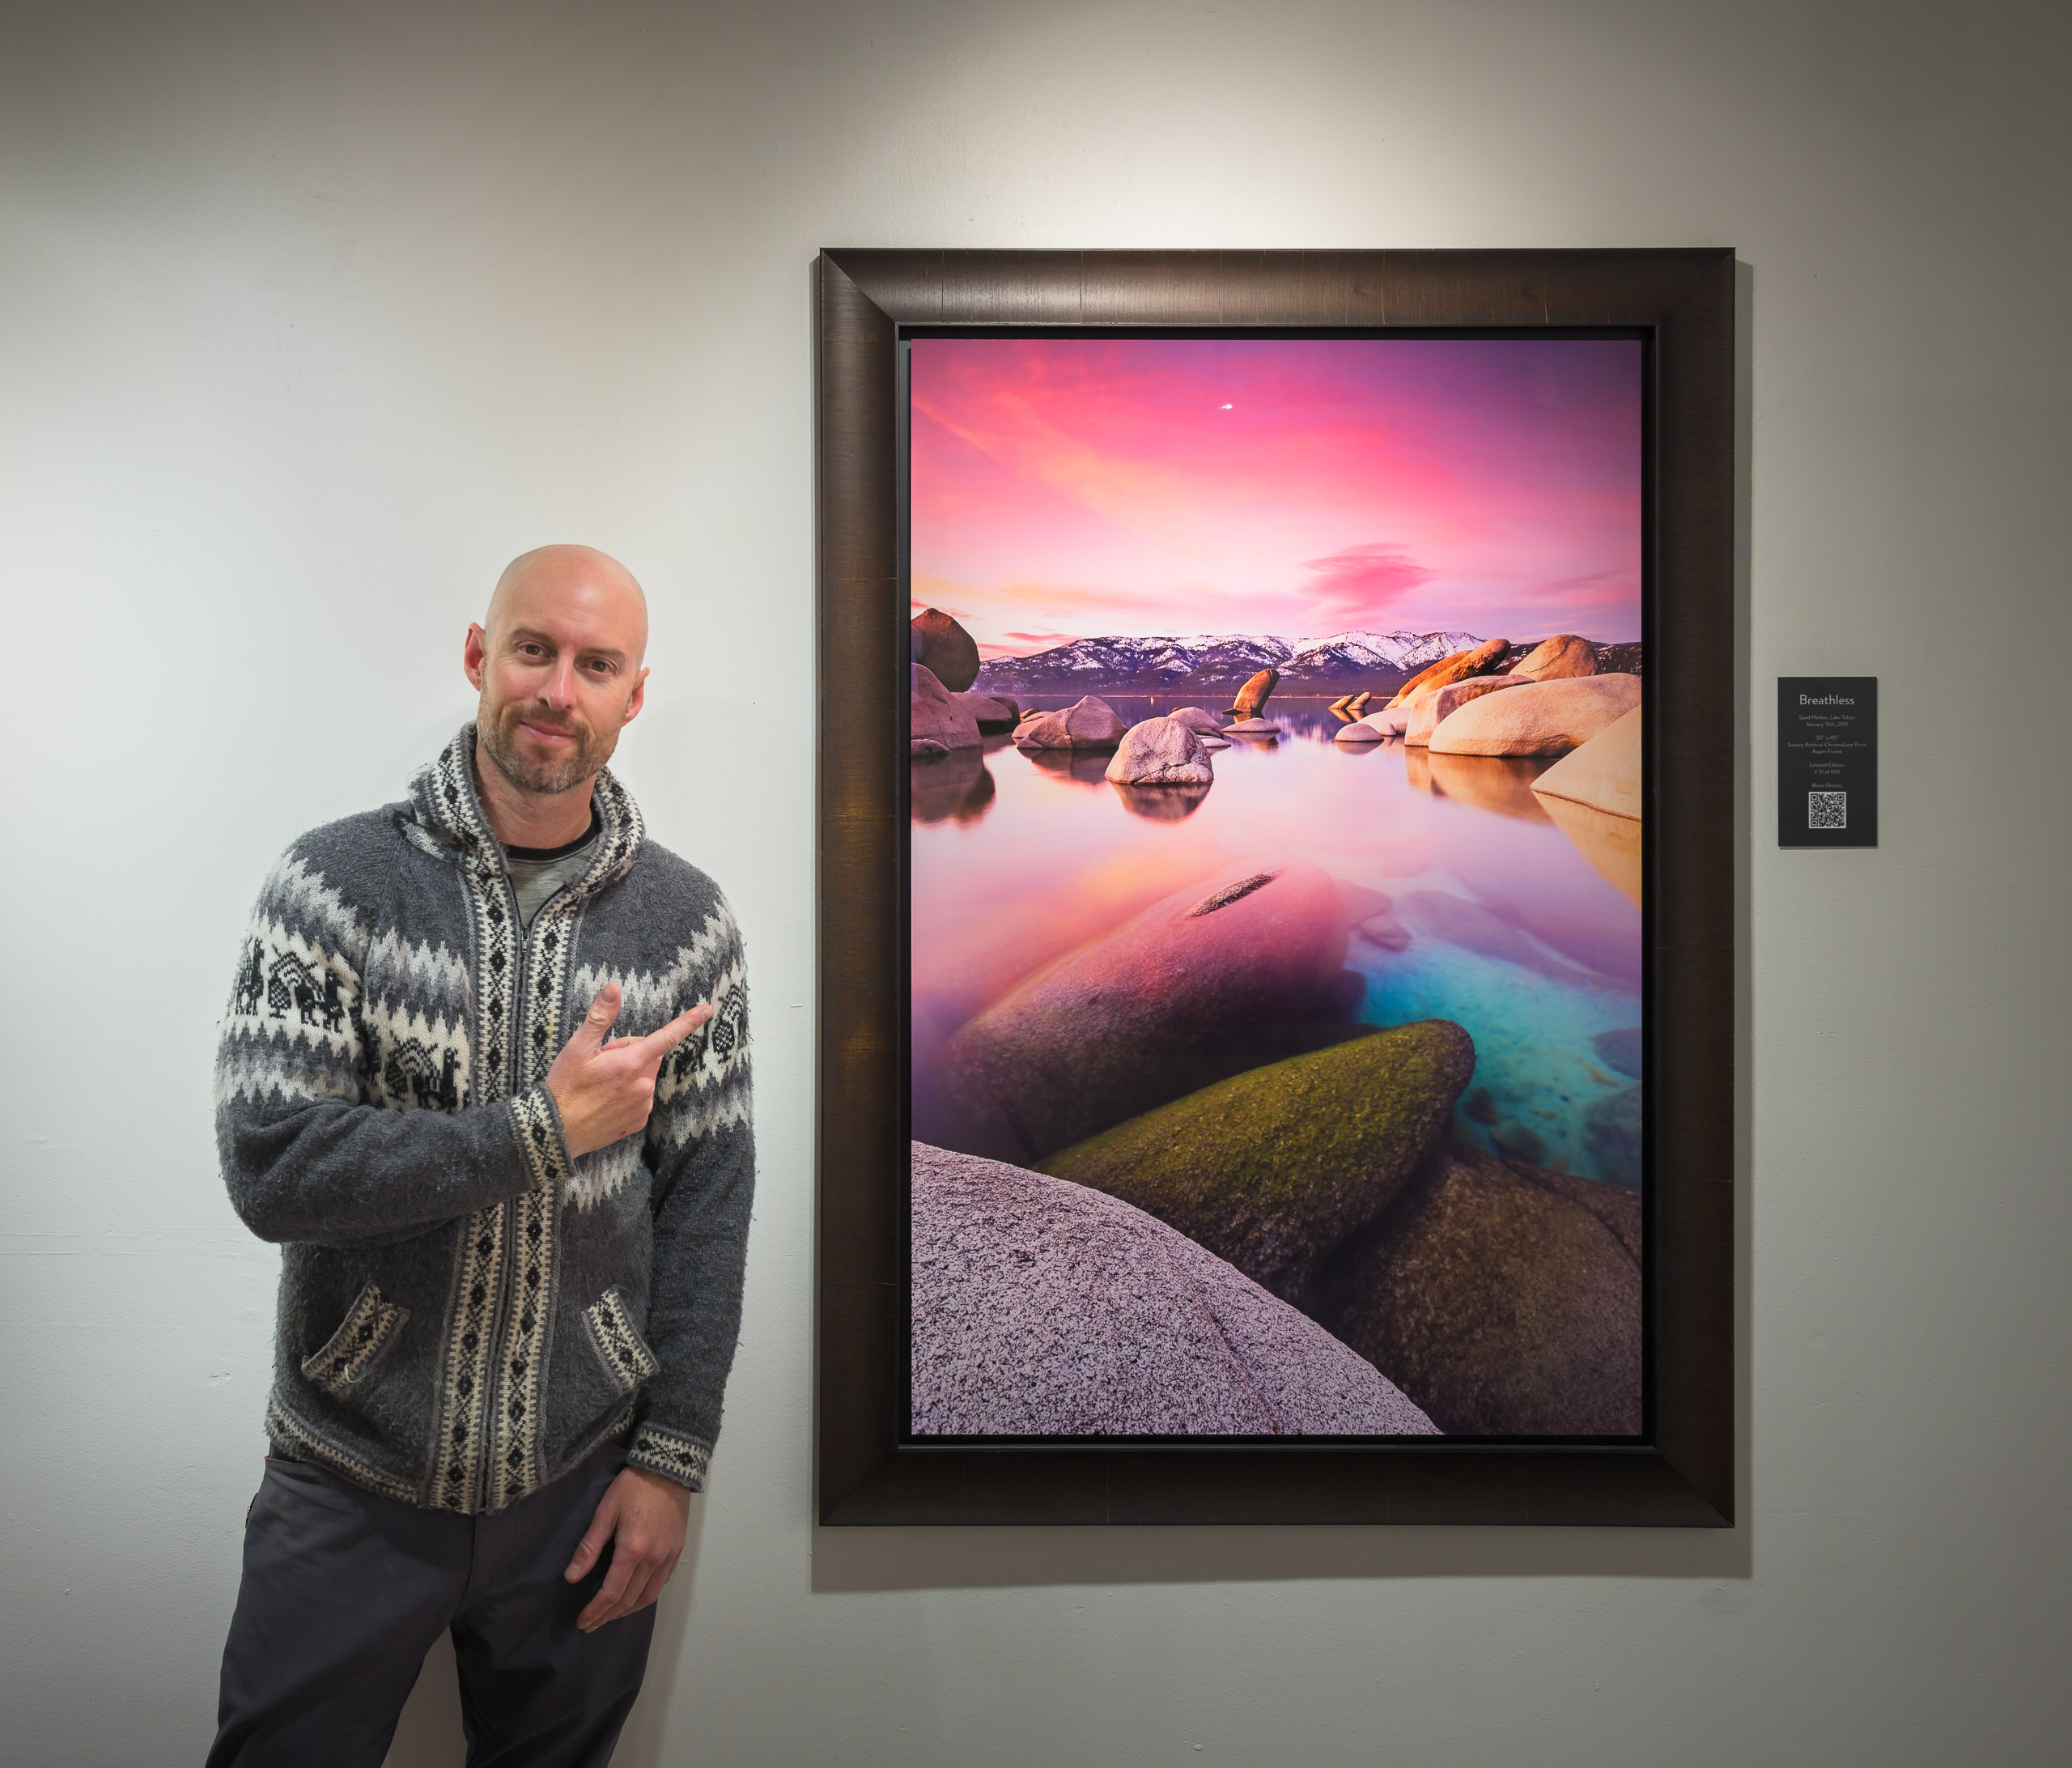
Big, bigger, BIGGER!! In general my advice is to print your photos as large as you can. I can’t even begin to explain how much more emotionally impactful a 6-foot-wide print is compared to a 16″ x 24″. There are many photos I have here at the gallery that I hesitated to print because I always thought the photo was missing something. “It just doesn’t have the same impact looking at it on my screen as it did when I photographed it.” It turns out that what these photos were missing was simply being printed BIG. So whenever you can, print large.
I suggest you start by thinking about what size print makes you think, “wow, that’s pretty big.” Then print the next size larger. It’s ok if it feels a little scary. Every time I pull the trigger on a 40″ x 60″ or 48″ x 72″ for the gallery it’s a little scary, but it’s always worth it when I unwrap the print and am hit in the stomach by the impact.
This idea of printing large goes doubly for anyone who is trying to sell their prints. Whether you are displaying your work in a gallery, a coffee shop, or an art festival, the more noticeable your prints are, the more likely someone will find an emotional connection with them, and ultimately buy them. On top of this, I’ve seen time and time again that people will often buy a print in the size a large size if you have one on display, or they’ll request a smaller copy of the same image. But the inverse is almost never true: rarely will anyone see a small size print and request a larger one. So if you want to sell larger, more expensive pieces, you should to showcase those.
But, let’s be real. Although printing large is very satisfying, it isn’t very practical advice for most people. Very few of us have enough blank wall space in our homes to print as many photos as we’d like as large as they deserve.
What I recommend instead is to figure out how big the space is that you have to fill, and print a photo to that size. Make you have some breathing room around the print so it doesn’t feel too tight in the space. A few inches on the sides, top, and bottom is sufficient for anything up to about 2 feet wide or tall. Prints that are three to four feet wide need 5-8″ of buffer, and anything 5 feet and up should get at least 6-10″ of space around it. This is just a rough guide though and your tastes may vary. You can take some painter’s tape or a piece of cardboard cut to size to block out different print sizes on your wall to see which one feels best.
But before you pull the trigger on an 8-foot-wide print, or even a 2-foot-wide print, I recommend you first create a small test print to ensure that the photo looks the way you intend. We’ll talk about proofing, as well as processing for print, in the next article.

Joshua Cripps is a renowned landscape photographer who has garnered worldwide acclaim for his breathtaking images of our planet’s wild places. His photos have been published by the likes of National Geographic, NASA, CNN, BBC, and Nikon Global.

The Mt. Whitney Gallery was founded in 2023 by Joshua Cripps as a way to share his passion stunning landscapes of the Sierra Nevada and beyond.
Set at the foot of the breathtaking Sierra with a view of the range’s highest peaks, the gallery features large format, museum-caliber fine art prints of Josh’s signature photographs.
Course Login | Results Disclaimer | Terms and Conditions | Privacy Policy
© Copyright – Joshua Cripps Photography